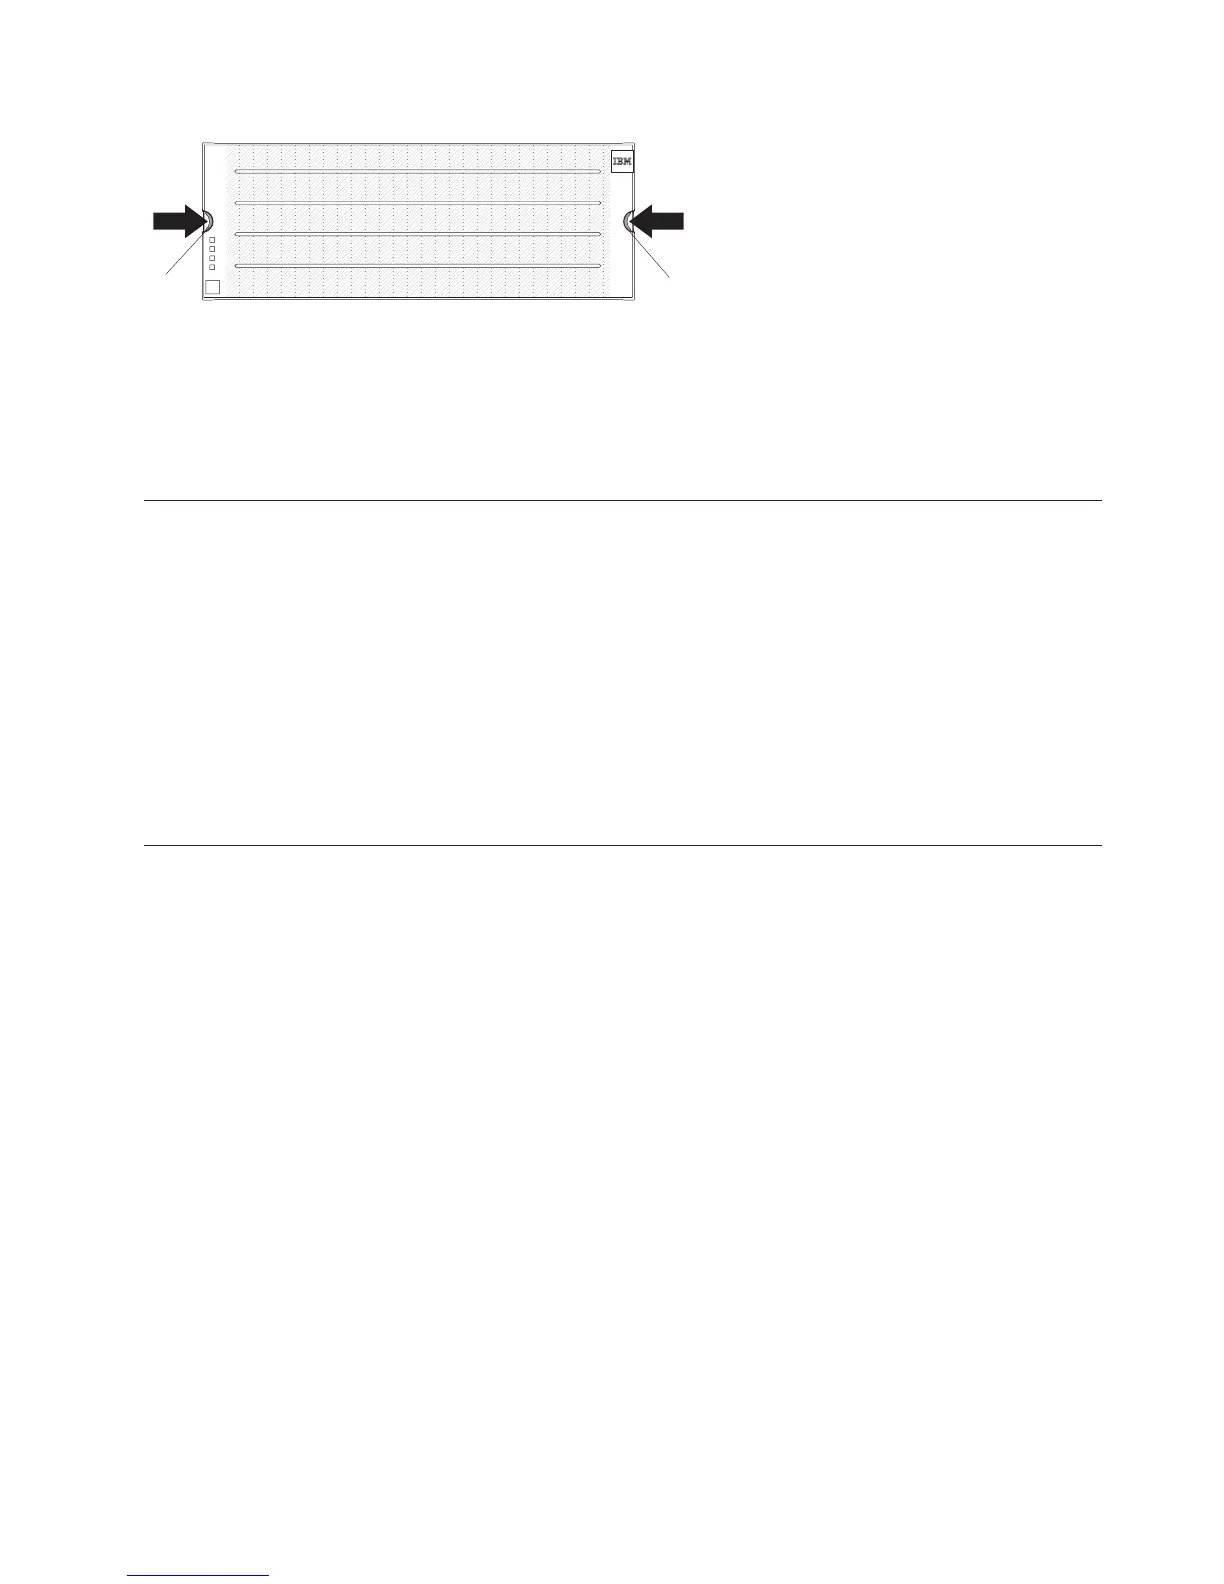
b. Pull the bezel toward you to remove it from the enclosure.
2. Install the bezel by completing the following steps:
a. Orient the bezel to the front of the storage expansion enclosure (see Figure 80).
b. Press the bezel inward until both latches lock the bezel in place.
Working with environmental service modules
This section describes how to replace an ESM.
Attention: To avoid overheating the storage enclosure and causing damage to its components, replace
failed parts within 10 minutes. The Recovery Guru in the Storage Manager software identifies failed
parts.
Do not remove the failed part from the storage enclosure until you:
v Review the replacement procedure for the failed part in this guide.
v Locate screw drivers or any other hand tools that you might need to replace the failed part.
v Receive the replacement part and are ready to install it in the enclosure.
Replacing an ESM
About this task
To replace an ESM, complete the following steps:
Procedure
1. Read the safety information found in the prolog of this document.
2. Disconnect the SAS cables from the ESM.
3. Open the two release levers. The ESM moves out of the bay approximately 0.6 cm (0.25 inch).
Latch
Latch
Figure 80. Removing the bezel
Chapter 5. Replacing components 119