Removing a ServeRAID adapter
To remove an ServeRAID adapter on 4U server models with non-hot-swap power
supplies, complete the following steps. For the 5U server model with hot-swap
power supplies (Model name: 2582-F4x), please see the next sub-section.
1. Read the safety information that begins on page vii and “Installation guidelines”
on page 163.
2. Turn off the server and all peripheral devices; then, disconnect the power
cords and all external cables.
3. Carefully turn the server on its side so that it is lying flat, with the cover facing
up.
Attention: Do not allow the server to fall over.
4. Remove the side cover (see “Removing the side cover” on page 166).
5. Remove the air duct.
6. Disconnect any cables from the ServeRAID adapter or any cables that impede
access to the ServeRAID adapter.
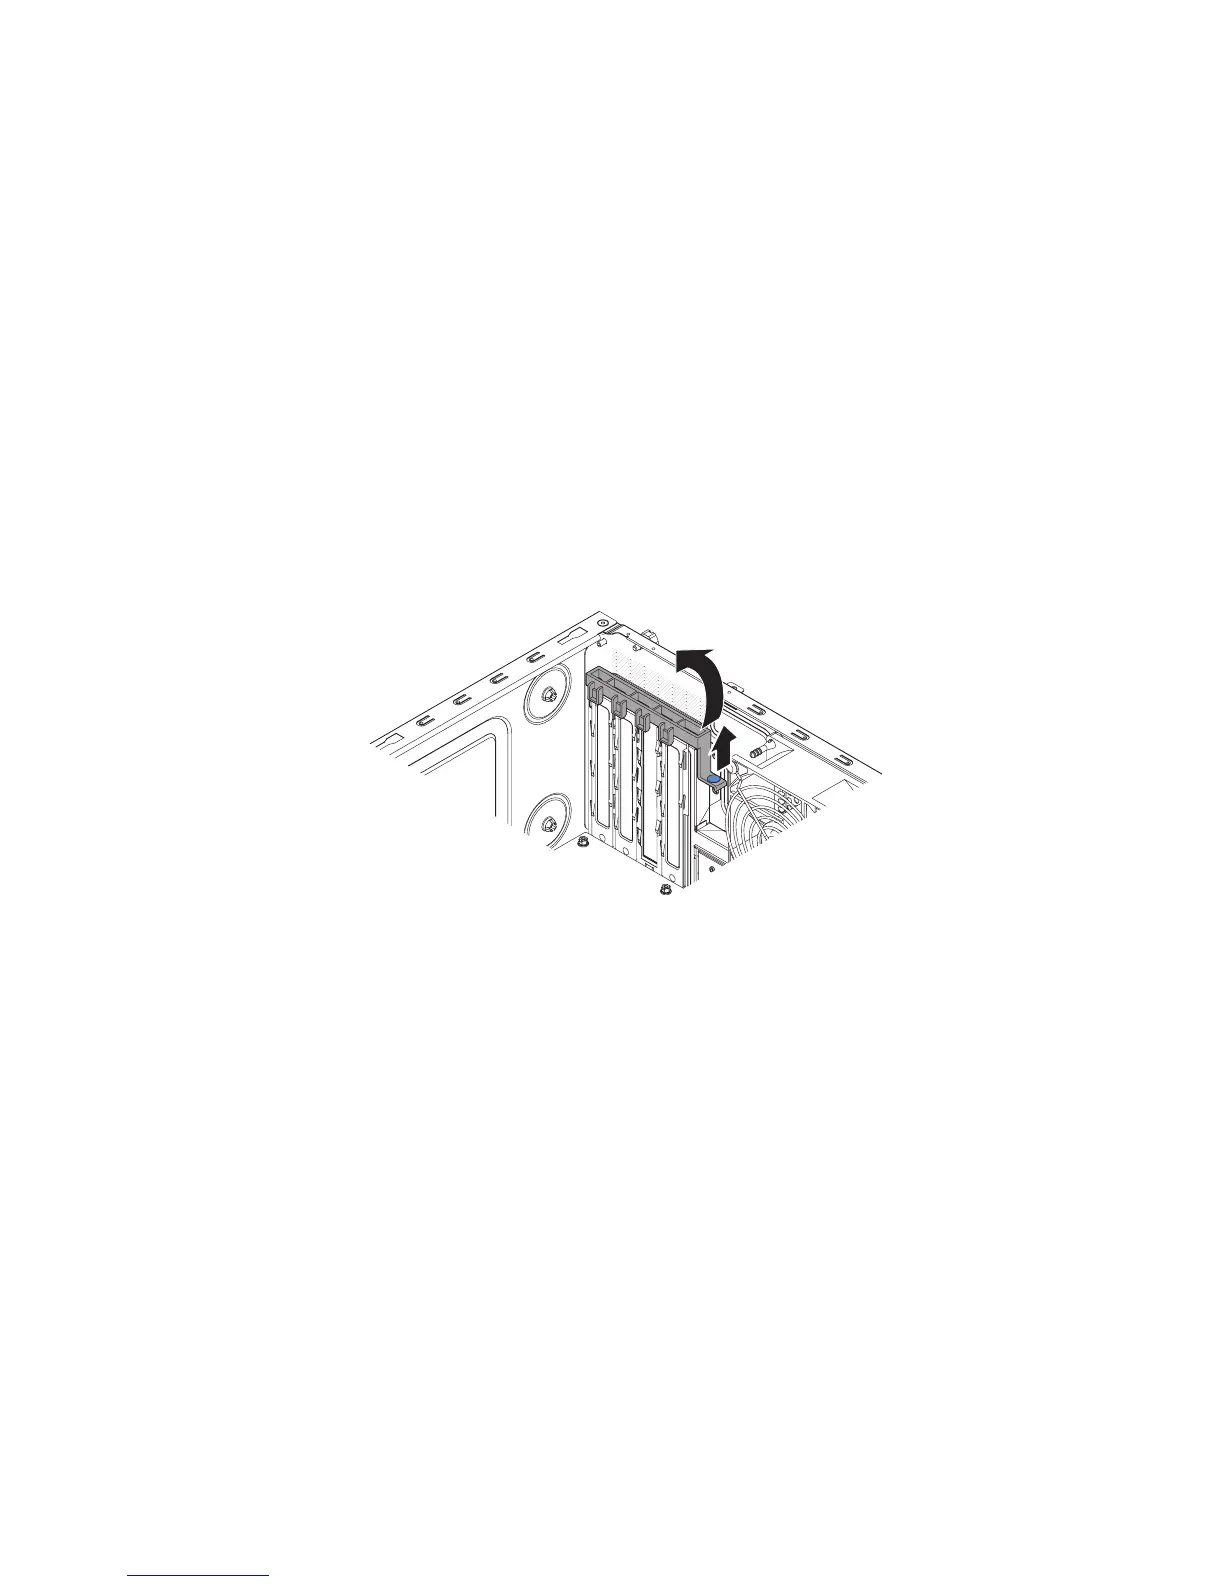
7. Lift the end of the rear adapter retention bracket till the tab disengages the
hole on the chassis.
8. Rotate the rear adapter retention bracket upward to remove it from the
chassis.
9. Remove the expansion-slot screw at the rear of the adapter if any.
10. Carefully grasp the adapter by its top edge or upper corners; then, pull the
adapter to remove it from the server.
Attention: Expansion-slot covers must be installed in all empty slots. This
maintains the electronic emissions standards of the computer and ensures
proper ventilation of computer components.
176 IBM System x3100 M4 Type 2582: Problem Determination and Service Guide

 Loading...


