Attention: To maintain proper system cooling, do not operate the server for more
than 10 minutes without either a drive or a filler panel installed in each drive bay.
1. Read the safety information that begins on page vii and “Installation guidelines”
on page 163.
Note: You do not have to turn off the server to remove hot-swap drives from
the hot-swap drive bays.
2. Remove the lower bezel (see “Removing the lower bezel” on page 171).
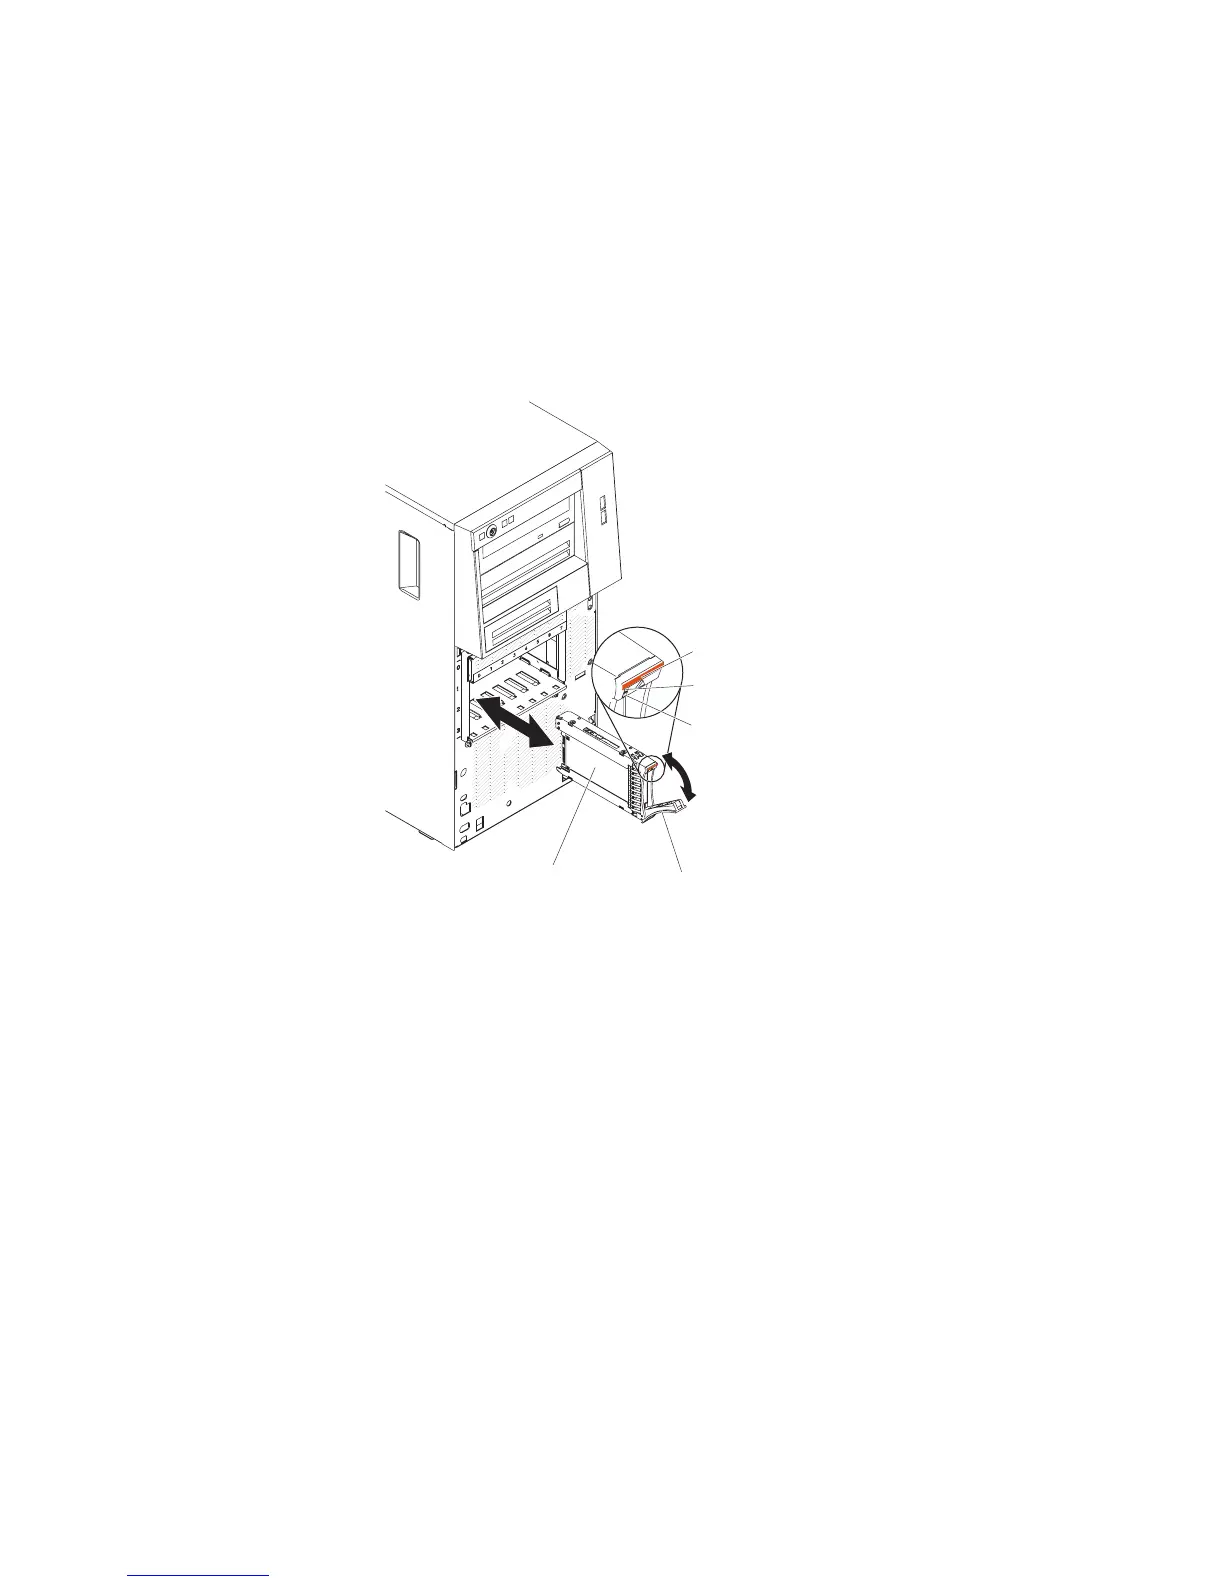
3. Rotate the drive tray handle of the drive assembly that is to be removed to the
open position.
2.5-inch hot-swap
hard disk drive
Drive handle
Activity LED
(green)
Error LED
(yellow)
Release latch
4. Grasp the handle of the drive assembly that is to be replaced and pull the
assembly out of the bay.
5. If you are instructed to return the drive assembly, follow all packaging
instructions, and use any packaging materials for shipping that are supplied to
you.
Installing a hot-swap hard disk drive
This procedure applies only to the 5U server model with hot-swap power supplies
(Model name: 2582-F4x).
Before you install a hot-swap hard disk drive, read the following information:
v The hot-swap drives must be either all SAS hard disk drives or all SATA hard
disk drives; the two types cannot be combined.
v Inspect the drive tray for signs of damage.
v To maintain proper system cooling, do not operate the server for more than 10
minutes without either a drive or a filler panel installed in each drive bay.
v You do not have to turn off the server to install hot-swap drives in the hot-swap
drive bays.
v See the Installation and User's Guide for additional information.
Chapter 5. Removing and replacing server components 199

 Loading...


