S
MART
AXIS P
RO
/L
ITE
U
SER
'
S
M
ANUAL
FT9Y-B1378 3-5
3: I
NSTALLATION
AND
W
IRING
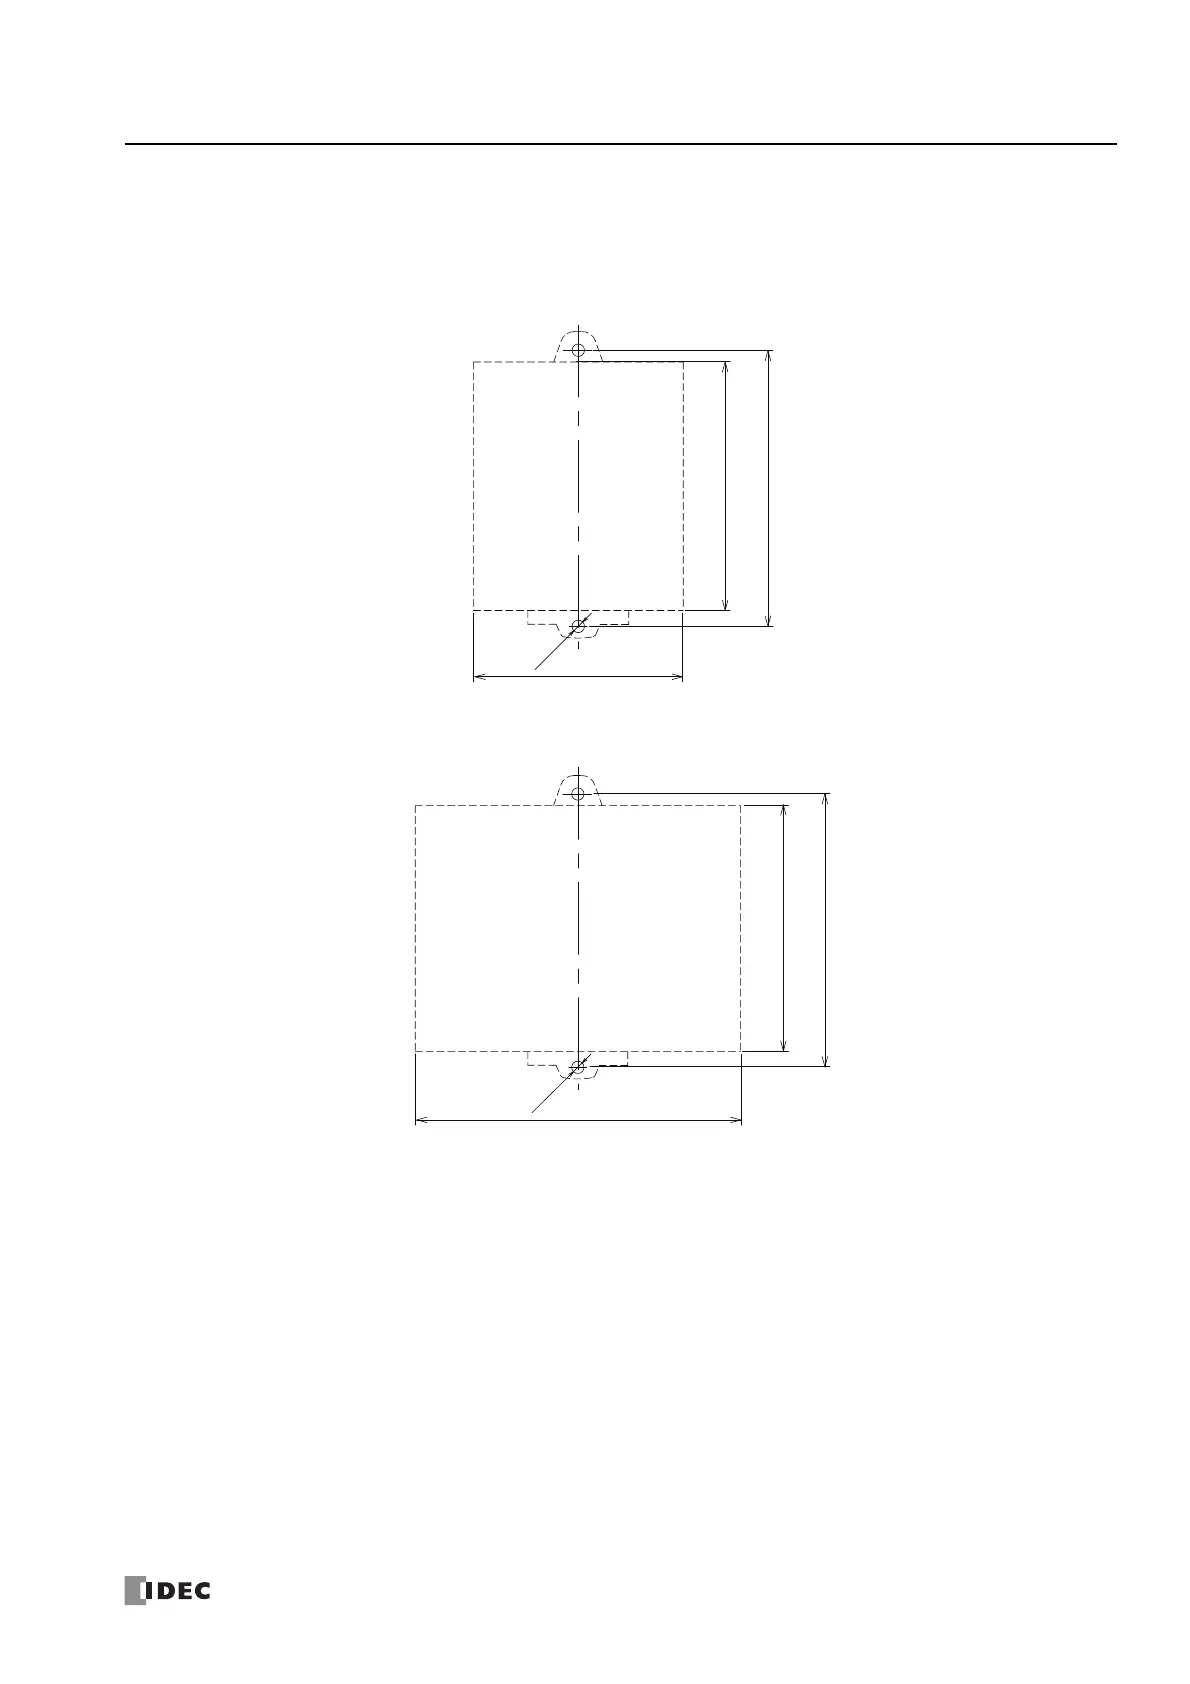
Mounting Hole Layout for Direct Mounting on Panel Surface
Attach the SmartAXIS to the mounting plate using M4 tapping screws, as shown below, or make 5 to 6mm mounting holes and
secure the SmartAXIS using M4 pan head screws.
Always give sufficient consideration to operability, ease-of-maintenance, and environmental resistance when deciding on the
mounting position.
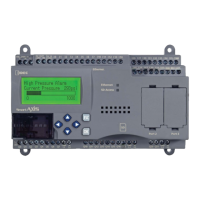
• 12-I/O type (FT1A-H12RA, FT1A-B12RA, FT1A-H12RC, FT1A-B12RC)
• 24-I/O type (FT1A-H24RA, FT1A-B24RA, FT1A-H24RC, FT1A-B24RC)