4.3.10 Editing Start and End Angle (MANUAL Mode only)
Use the , soft keys to navigate to the Start Angle or End Angle parameter
(only selectable for AC output). Pressing the Edit soft key will provide one of the
following screens:
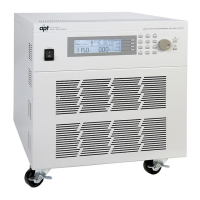
Start Angle = indicates the start angle that is programmed into the instrument.
Start Angle Range: indicates the start angle range that can be programmed into
the instrument.
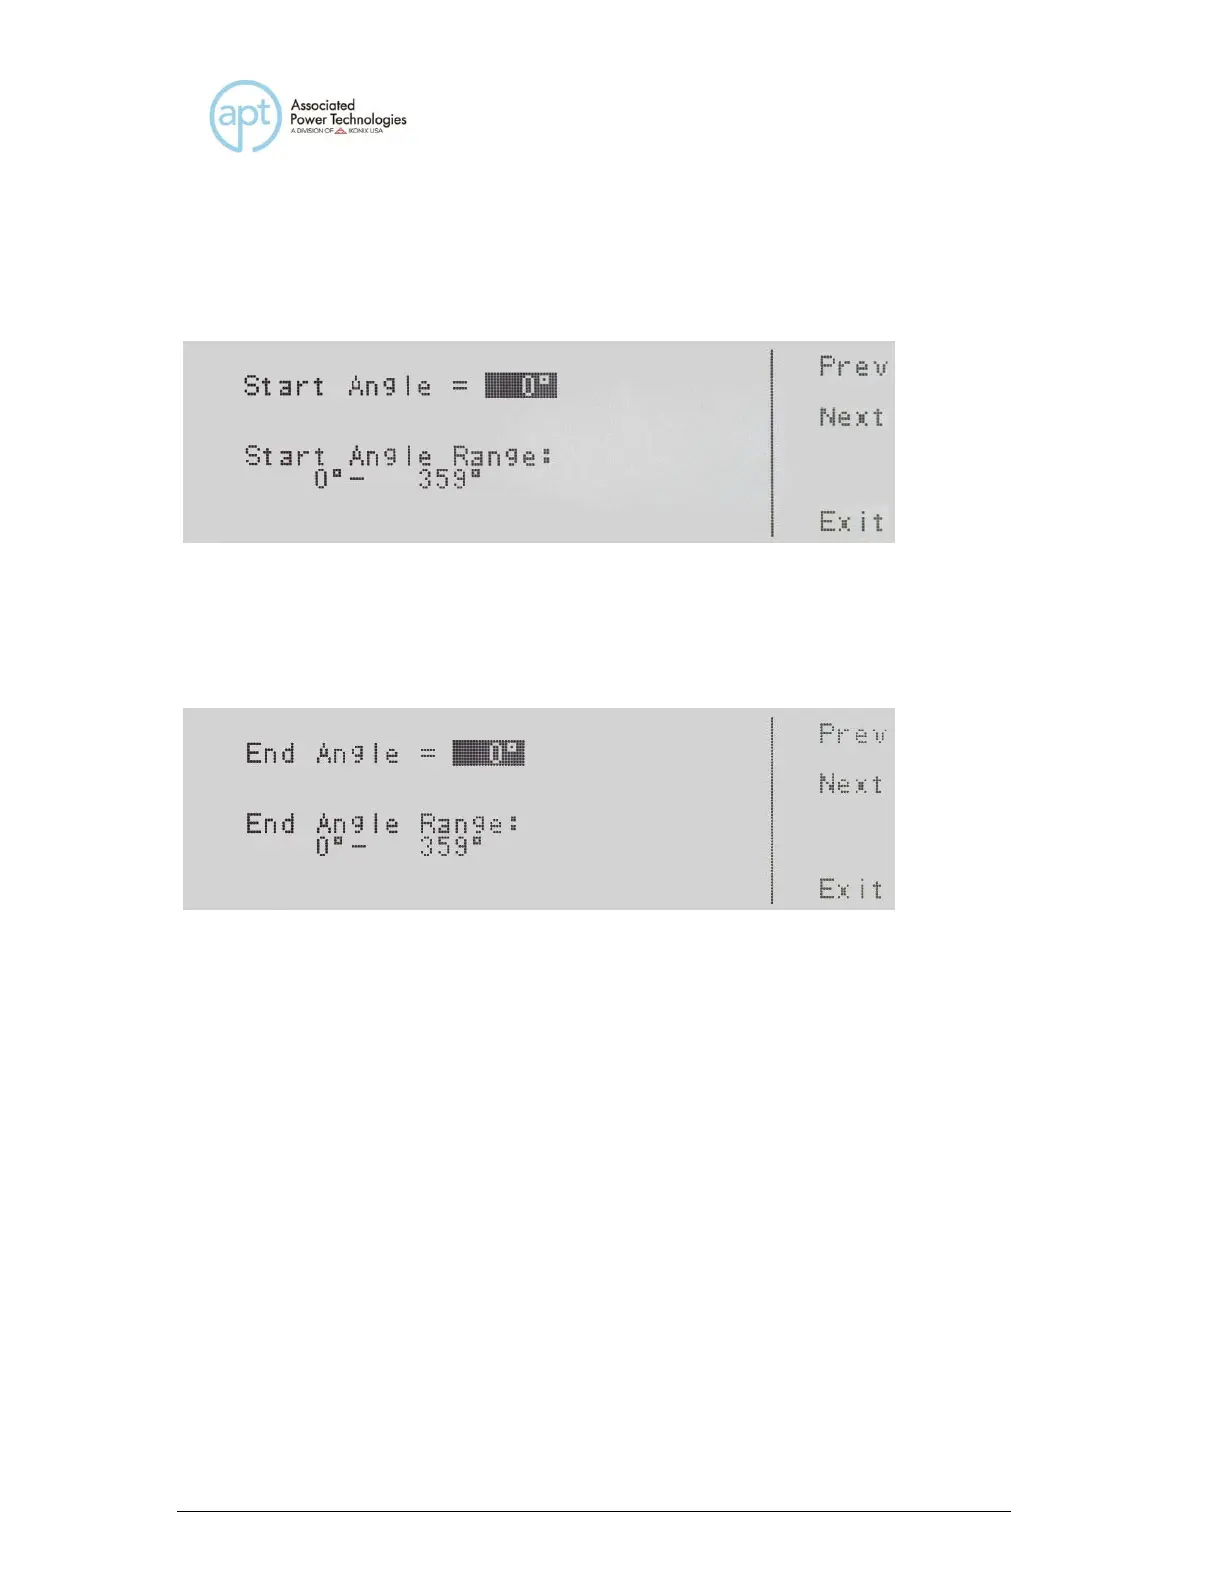
End Angle = indicates the end angle that is programmed into the instrument.
End Angle Range: indicates the end angle range that can be programmed into
the instrument.
To change the start angle or end angle use the numeric keypad and type the
degree value. Once you type in a number a shaded black box (■) will begin
blinking acknowledging the parameter is being changed. Press the Enter soft key
to accept the parameter, or press the Esc key to move back to the Start Angle or
End Angle parameter screen. When the Enter soft key is pressed the degree
angle is accepted and you transition into the next parameter: Results.
If you wish to bypass editing this parameter and move to the next parameter you
can press the Prev or Next soft key.
4.3.11 Editing Results
Use the , soft keys to navigate to the Results parameter. Pressing the Edit
 Loading...