ASSIST PLUS – Operating instructions V02 Operation
18 INTEGRA Biosciences AG
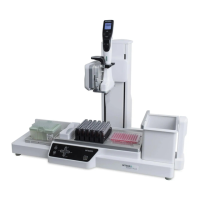
4.3.2 Via communication cable
Alternatively to Bluetooth pairing, the pipette can be connected to the ASSIST PLUS using
the communication/charging cable (PN 4548).
4.4 Running a program
Place all required labware (reservoir, plates, etc.) on the deck.
You are prompted to place the pipette on the ASSIST PLUS device, see “3.6
Attaching
and removing an electronic pipette” on page 12. Press the blinking Start/Pause key (17)
on the ASSIST PLUS device. It switches to solid white, the ASSIST PLUS homes and the
program will be performed automatically.
C
AUTION
Keep hands out of area of moving ASSIST PLUS parts during the run.
A program can be interrupted by pressing the Start/Pause key (17). Either press the
Start/Pause key again to continue the program or press Abort on the pipette to abort
the program.
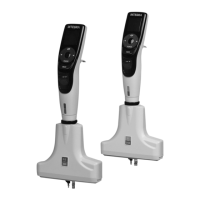
Click in the 4-pin of the communication cable to the pipette back and
plug in the cable to the pipette holder of ASSIST PLUS.
On the pipette screen next to the battery indicator a plug symbol
indicates the successful connection of the ASSIST PLUS.
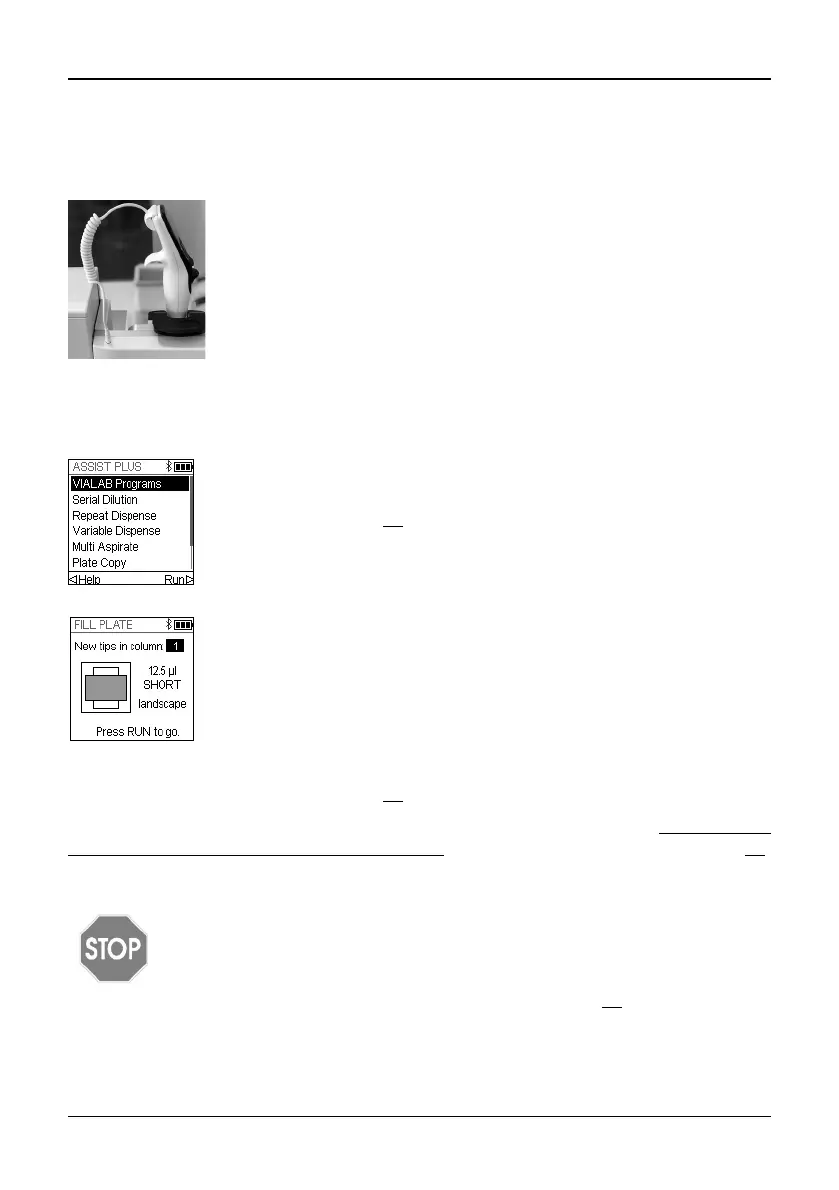
From the ASSIST PLUS menu select the program category and the
program you would like to run and press OK.
Press the Run key (30
).
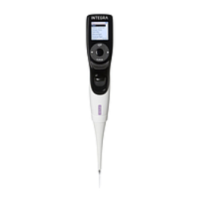
Press OK to select the first complete row/column with new tips, e.g.
Column 2.
Insert the appropriate tip box in the correct orientation, e.g. 300 μl
landscape. Press the tip box down so that it rests completely on the
deck. 300 µl and 1250 µl tip boxes have lids with latches. Either
remove the lid or open it towards you and not towards the back when
placing the box on the instrument.
Press the Run key (30
).