D-0120794-C – 2019/11
Orion Rotary Chair Installation Instructions Page 11
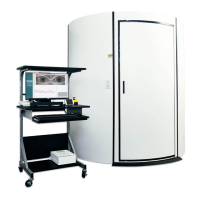
Locking Brackets between Panels
Fixing two panels with the provided
screws and adjusting the panel levels
using shims.
Caution: Keep walls stabilized with hands when the next panel is positioned to prevent damage due
to fall.
Set panels #3, 4, and 5 in place and insert a screw into each panel as it is locked together. Make sure the
wall joints fit tightly together. Note: If a gap appears in the bottom or top of the wall joint, one or more of the
walls connection tabs did not lock. Lift the panel and reassemble. The rectangular hole in bottom of panel #3
is for the cables for motor, camera, and instrument. Line up the hole with the wire channel in the booth floor.
Set panel #6 in place. Before securing the last joint between panels #6
and #1, you should push the walls in at the base all around the perimeter
to bring #1 and #6 closer. When the panels are close together, open the
door and lift up on the door panel, then push the door frame and the
panels together (this joint is the hardest to latch). Pull down on panel #1
and lock into place. Carefully inspect the wall joint to make sure that it
has latched without a gap. Put the final screw in the top panel to join both
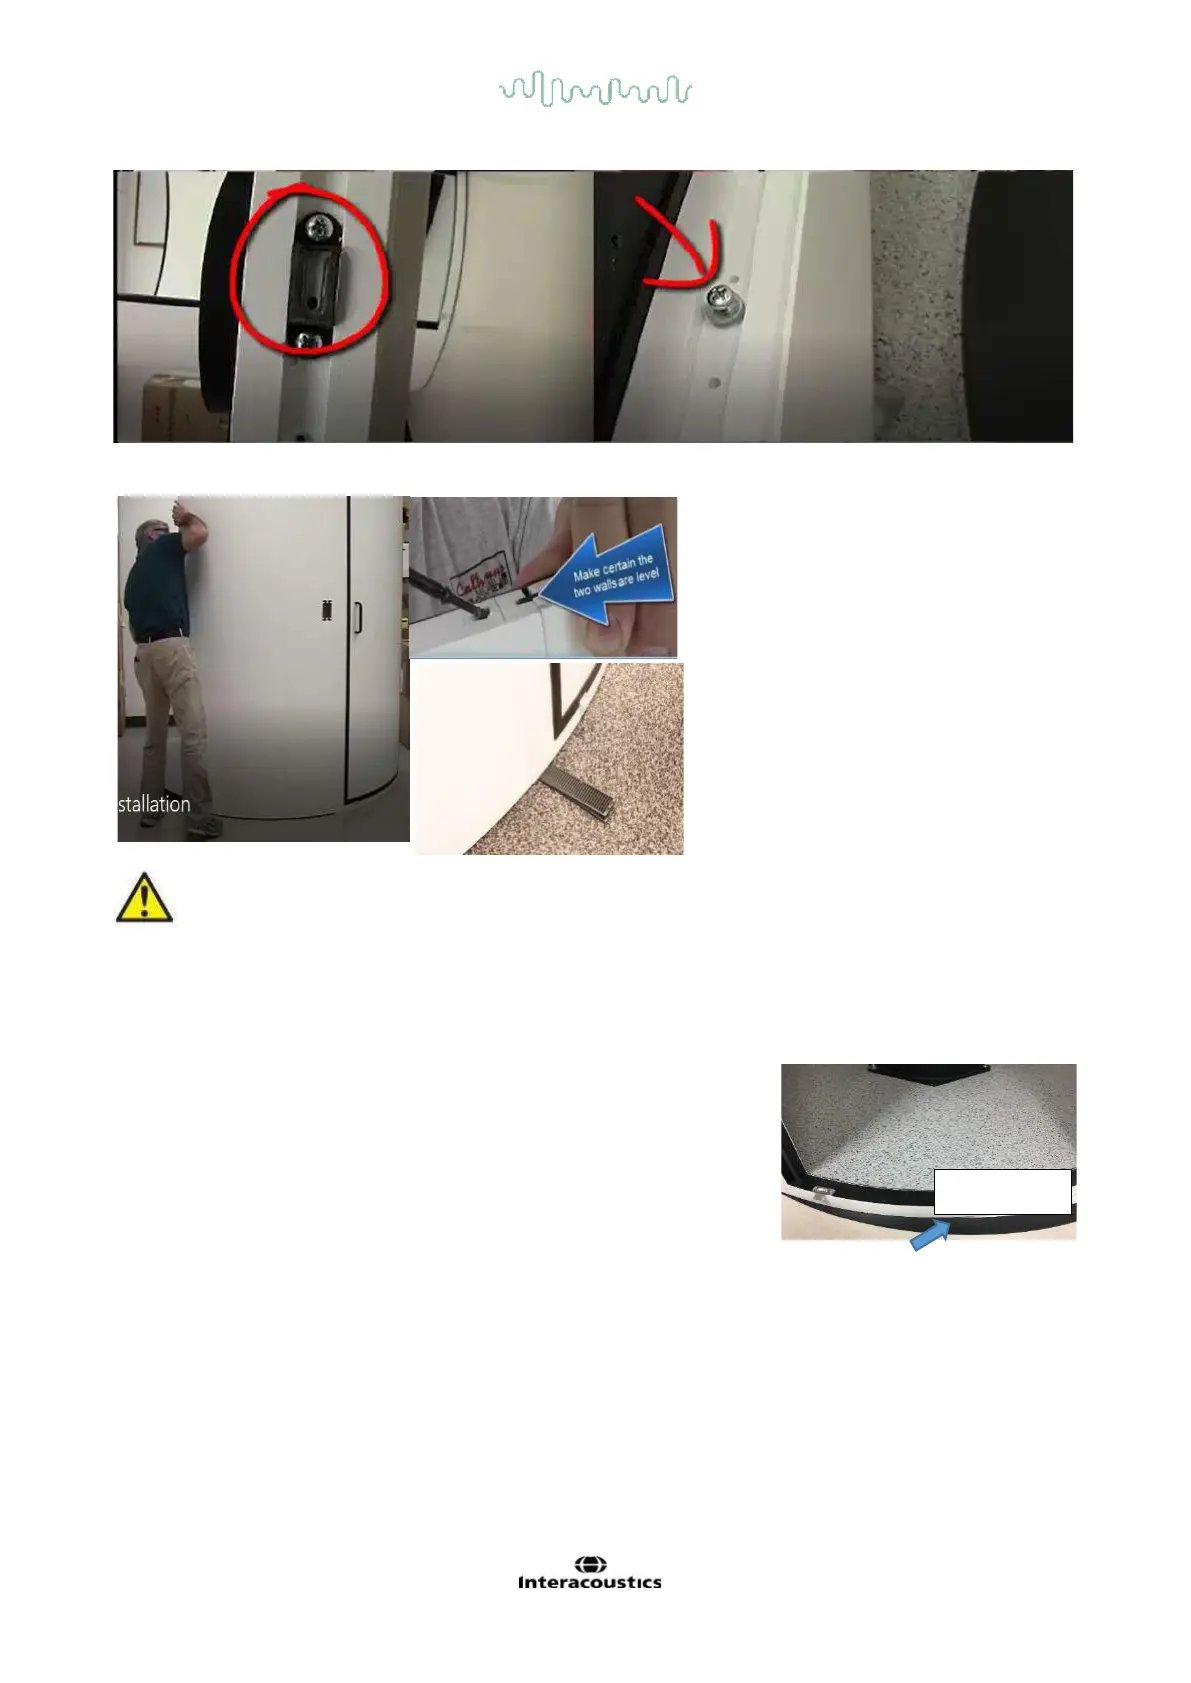
panels together. Place a curved threshold strip under the door, use
multiple threshold strip if necessary to keep the threshold in place with friction. This threshold strip protects
the narrow door frame from cracking when stepped on.