D-0120794-C – 2019/11
Orion Rotary Chair Installation Instructions Page 20
4 Chair installation
4.1 Prepare the booth for chair installation
Ensure that the booth is at its final location.
Ensure that you have following tools and mounting hardware listed and shown below.
• Hammer drill
• Vacuum
• Ratchet with 9/16” / 1.43 cm deep socket
• Adjustable wrench
• A can of compressed air
• 16 oz Hammer
Items supplied with chair system:
• Yellow Drill Guide
• Three Booth Mount Sleeves (Grey)
• 1/2” / 1.27 cm concrete drill bit set to 4.2” / 10.67 cm drilling depth
• Anchor installation tool
• Three 3/8” / 0.95 cm -16 threaded female concrete drop-in anchors
• Threaded Rod, 3/8" / 0.95 cm-16 Thread Size, 5" Long
• Three ½” thick washers (Black)
• Three 3/8” /0.95 cm -16 Nylock nuts
• Three standard nuts and washers
Ensure that the operator wears ear protection while drilling.
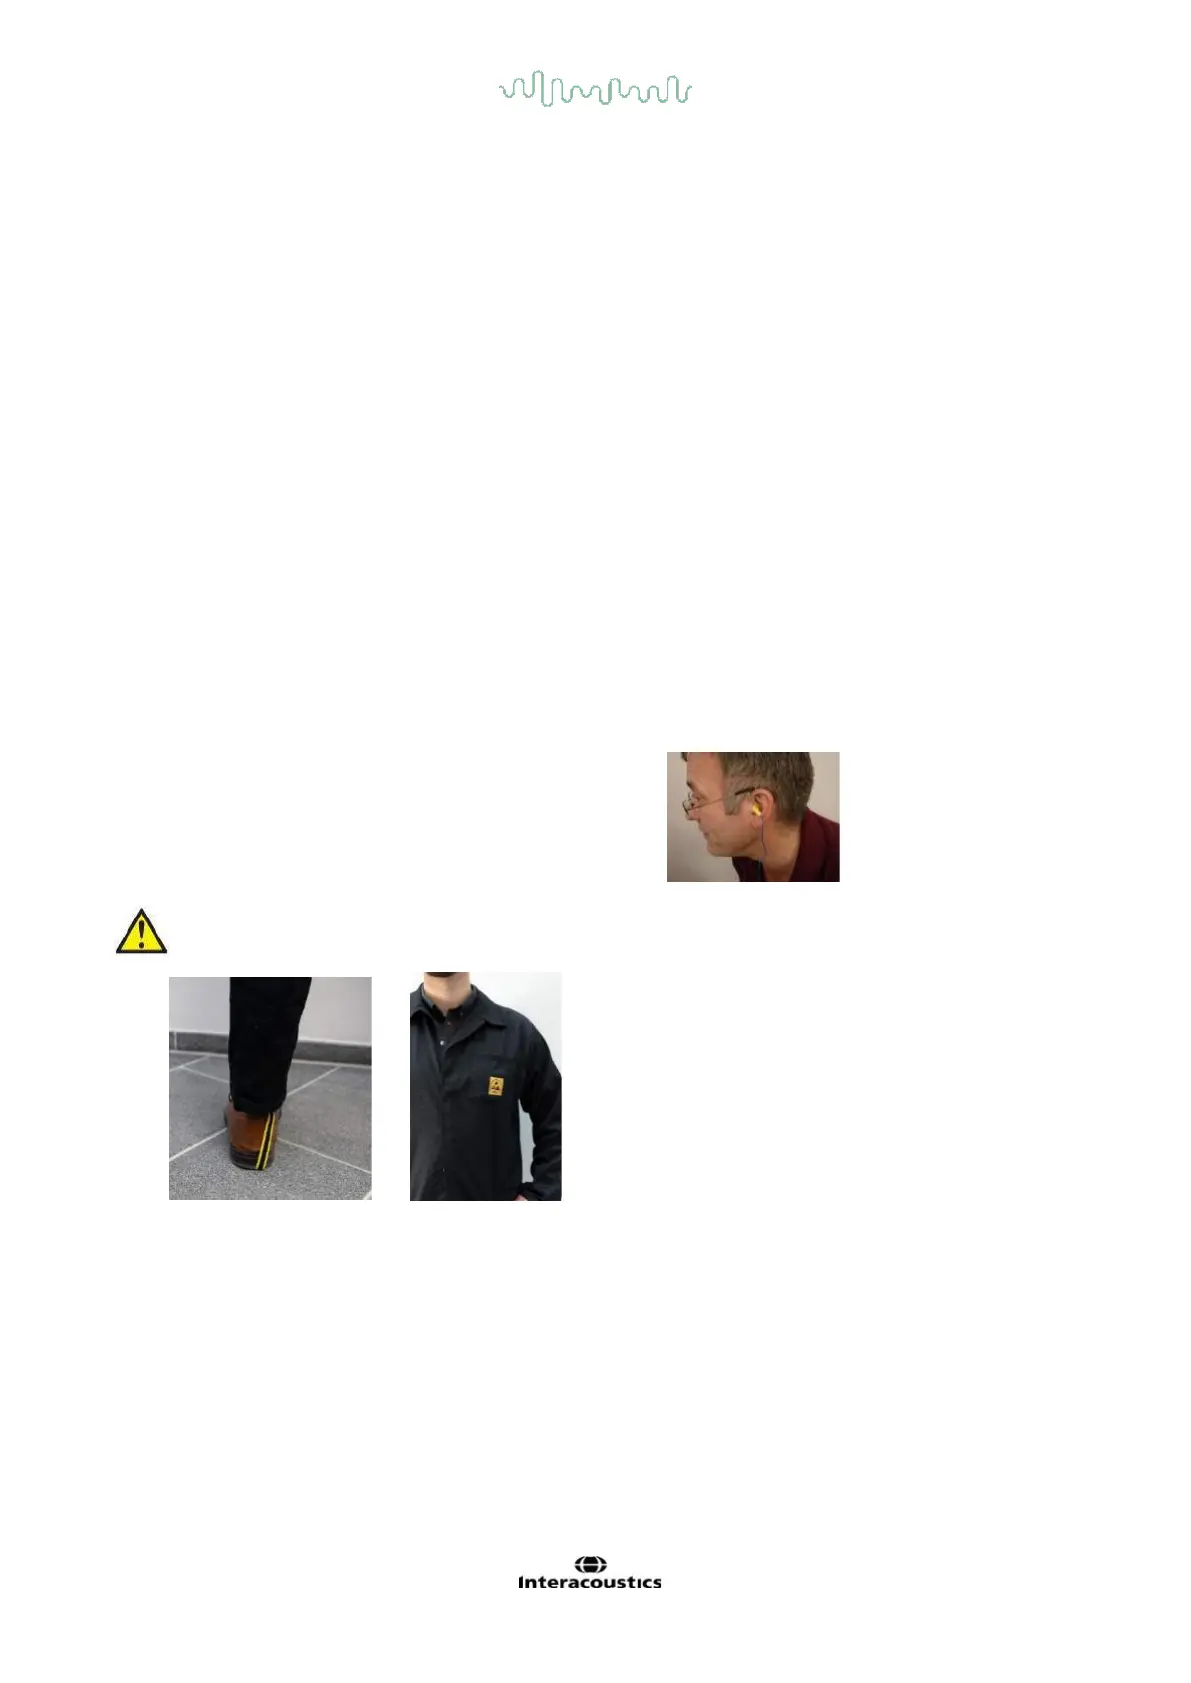
Ensure that the appropriate protective measures have been taken for operator before handling the
electrical things during chair installation to avoid accidents like static discharge.
Insert the drill guide in a mounting hole. Drill down to the drill bit stop (4.2“ / 10.67 cm depth). Remember to
use hand vacuum to remove the dust while drilling. See photo below with yellow tape on drill bit. The 4.2” /
10.67 cm measurement is from the top of the booth floor, through the floor into the concrete. Use the hand
vacuum with hose attachment to clean out the drilled hole. Repeat the steps for all three holes. Use a
can of compressed air to blow out dust from inside the hole. Have the vacuum running to catch the dust.