Intermec EasyCoder 501 – Service Manual Ed. 7
90
Chapter 11 Label Taken Sensor
11.2 Installation, cont.
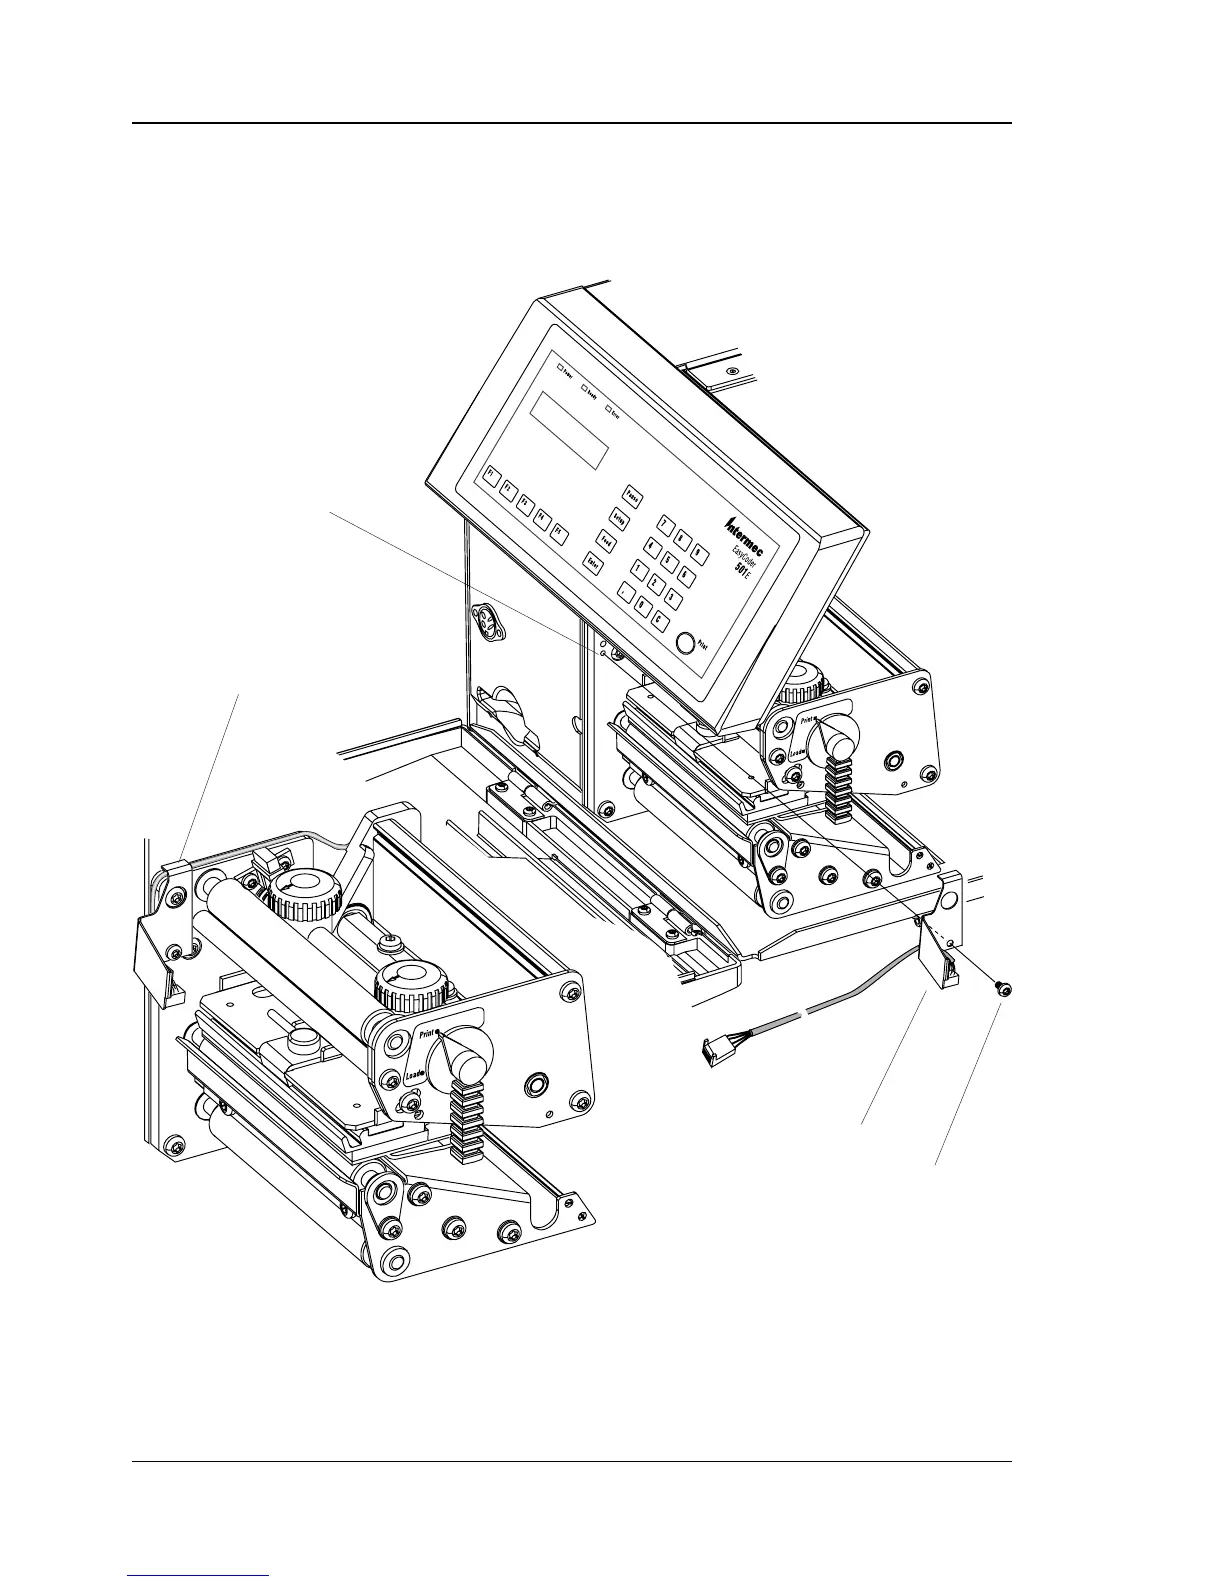
• Using the screw included in the kit, fi t the sensor/bracket assem-
bly to the inner wall of the print unit as shown by the two
illustrations below. Fit the cable underneath the top part of the
bracket, as illustrated in the lowermost picture.
#T10 Torx Screw
LTS assy.
Fit LTS here
Cable held by bracket
The illustrations show the print unit of an EasyCoder 501 E. The
EasyCoder 501 LL has a slightly different type of print unit (see
Chapter 8.2) which, however, does not affect the installation of the
LTS.