VT X A12 | Rigging Manual
35
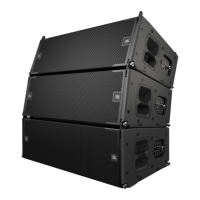
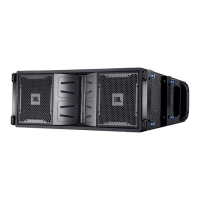
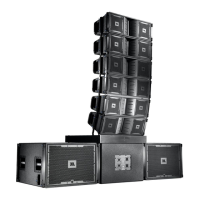
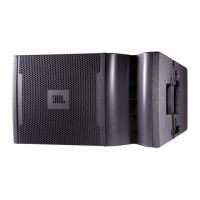
10 - DEPLOYING A12 SYSTEMS
The suspension of a VTX A12 system by a trained technician should be a simple and straightforward process. Ensure all steps
below are followed and the array will suspend safely and efficiently. Failure to follow the steps outlined below may damage equipment
and/or result in a potentially hazardous condition.
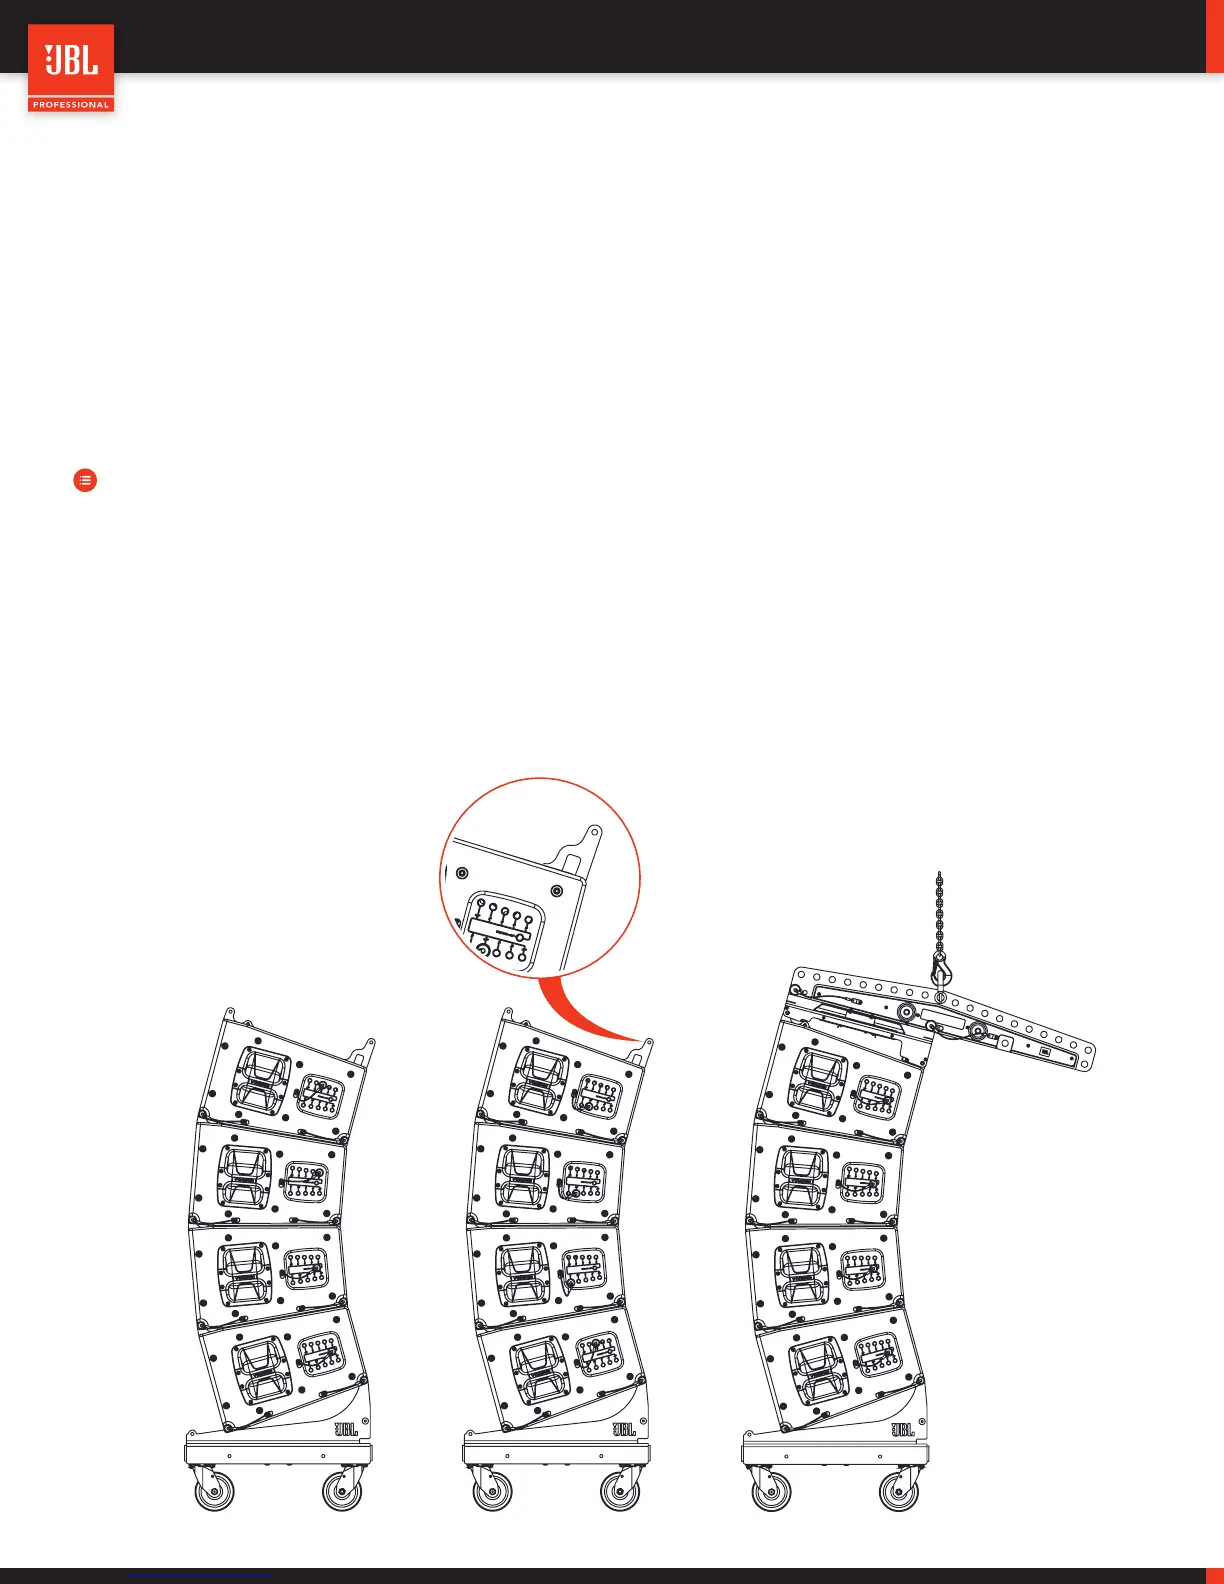
10.1 - PRE SELECT ALL THE ANGLES
Suspending a VTX A12 Array is a simple and straightforward process. Carefully follow the next few steps to correctly and safely
suspend an array.
STEPS:
• Using the quick release pins (QPR’s) located at the Angle Selection Panel, select the desired inter-enclosure splay angles
for all cabinets.
• Do this by removing the QRP from it’s 10-degree storage position, and moving it to the desired position indicated by the
label. If the desired angle is 10 degrees, then the QRP does not need to be moved since the 10-degree position is also the
transport position.
• Use your hands to pull up the top rigging arms until fully engaged. This will make connecting stacks together much easier.
 Loading...