radio control system
EN
If you have installed optional sticks with switch or button ends, make
sure that while adjusting the stick length you observe the wires that
pass through the stick shaft and through the gimbal opening in
order to prevent damaging the connecting cables. The safest
method is to remove the small set-screw from the side of the stick
housing to allow the switch or knob internals to remain stationary
while you rotatethe stick housing for height adjustment.
Warning:
1
2
3
4
5.1 Control Stick
3. Disconnect the main battery.
7. Replace the back cover and tighten all the screws.
6. Connect the main battery.
4. Do not connect the USB cable or charging adapter to the
transmitter.
Note:
1. Turn off the transmitter.
If you want to remove the back cover of the transmitter, proceed
as follows:
2. Use a T6 screwdriver to unscrew all the screws on the back
cover of the transmitter and remove it.
5. Adjust the sticks as you need.
Warning:
Keep contact with transmitter PCB to a minimum.
Risk of damage electrostatic charge!
The stick length is adjustable to suit your flying style. The stick end
separates into two parts.
5.1 Control Stick Length Adjustment .1
1. Hold the top part of the stick end firmly an dunscrew by turning
counter-clockwise .
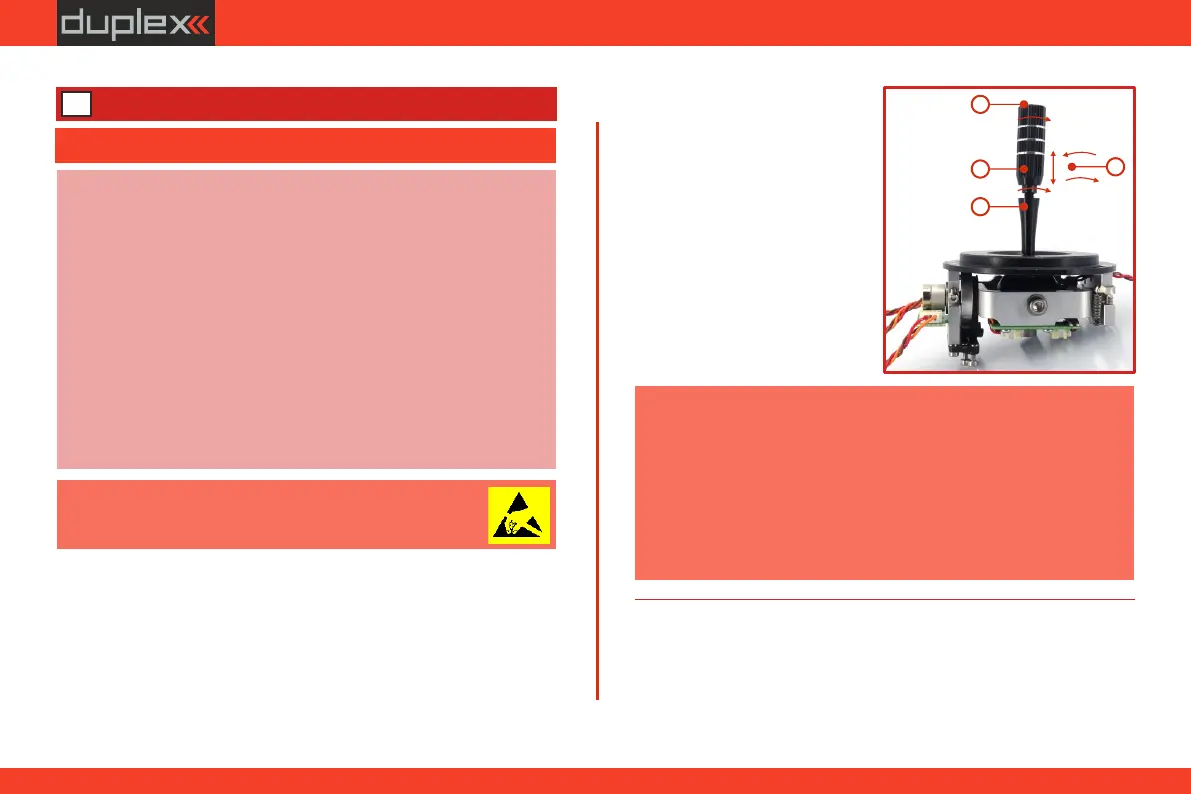
5.1 Swivel Control Stick Adjustment.2
In order to customize the feel of your radio you may adjust the angle
of the stick control assemblies.
2. Turn the stick end clockwise
t o s h o r t e n o r c o u n t e r
clockwise to lengthen the
overall stick length.
4. Finally secureby tightening
both parts to each other.
3. Adjust the lower part to
support the top part of the
stick end.
5 Transmitter hardware - description
1. Switch off the transmitter and remove the 10 screws that secure
the radio back cover. Next, remove the radio back cover.
35