– 108 –
1
3
2
A
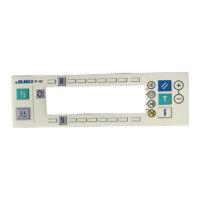
1) Press in the direction of arrow mark the click of
section
A
of cord outlet cover
2
assembled in
the rear of operation panel
1
and remove the
cover.
2) Turn LCD screen display brightness adjustment
variable resistor
3
to adjust the brightness (con
-
trast) of LCD screen.
2
2
1
9. MAINTENANCE
(1) Replacing the power fuse
1) Conrm that the sewing machine has stopped,
and turn OFF the power with the power switch.
2) Conrm that the power switch has been turned
OFF, and draw out the power cord from the power
receptacle. Then, wait for ve minutes or more.
3) Remove four screws tightening the rear cover
of the electrical box and slowly remove the rear
cover.
4) Hold the glass portion of the fuse to be replaced
and remove the fuse.
5) Use the fuse with the specied capacity.
1
2A / 250V Time-lag type (HF0078020P0)
2
10A / 250V Time-lag type (HF001301000)
WArNING :
To prevent personal injuries caused by electric shock hazards or abrupt start of the sewing
machine, carry out the work after turning OFF the power switch and ascertaining that the motor has
completely stopped. To prevent personal injuries, when a fuse has blown out, be sure to replace it
with a new one with the same capacity after turning OFF the power switch and removing the cause
of the blown-out of the fuse.
(2) Adjusting the contrast of the operation panel display
Light Shade
To prevent the operation panel from
breakage, do not touch the circuit board
pattern and the connector terminal.

 Loading...

