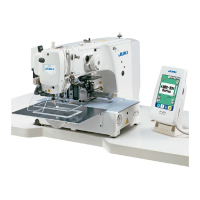
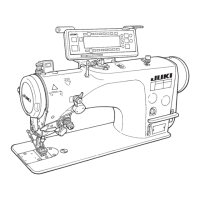
6. HoW To uSE THE oPErATIoN PANEL
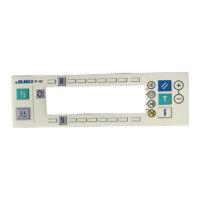
6-1. Names and functions of the respective sections
Switch Description
1
Re-sewing switch
This switch is used to continue sewing from the step on the
way after replacing bobbin thread when bobbin thread has
run out during program stitching step.
2
Teaching switch
This is the switch to set the setting of the number of stitches
with the value of number of stitches which has been actu-
ally sewn.
3
Needle up/down compen-
sating switch
This is the switch to perform needle up/down compensating
stitching. (Needle up/down compensating stitching and one
stitch compensating stitching can be changed over with function
setting No. 22.)
4
Screen changeover
switch
This is the switch to change over the screen.
5
With/without reverse feed
stitch at sewing start switch
This is the switch to turn ON/OFF automatic reverse feed
stitch at sewing start.
* This switch cannot be used with the sewing machine
which is not provided with automatic reverse feed stitch-
ing device.
1 4 5
!7
7
!1 !2 !4 !5
!6!3!0
8
96
!7
2
3
1
Re-sewing switch
2
Teaching switch
3
Needle up/down compensating switch
4
Screen changeover switch
5
With/without reverse feed stitch at sewing start switch
6
With/without reverse feed stitch at sewing end switch
7
Material edge sensor switch
8
One-shot automatic sewing switch
9
With/without automatic thread trimmer switch
!0
Thread trimming prohibiting switch
!1
Backlight switch
!2
Reset switch
!3
Information switch
!4
+ switch
!5
–
switch
!6
Counter/speed changeover switch
!7
General-purpose switch
!8
Power display lamp
!8

 Loading...

