1-25
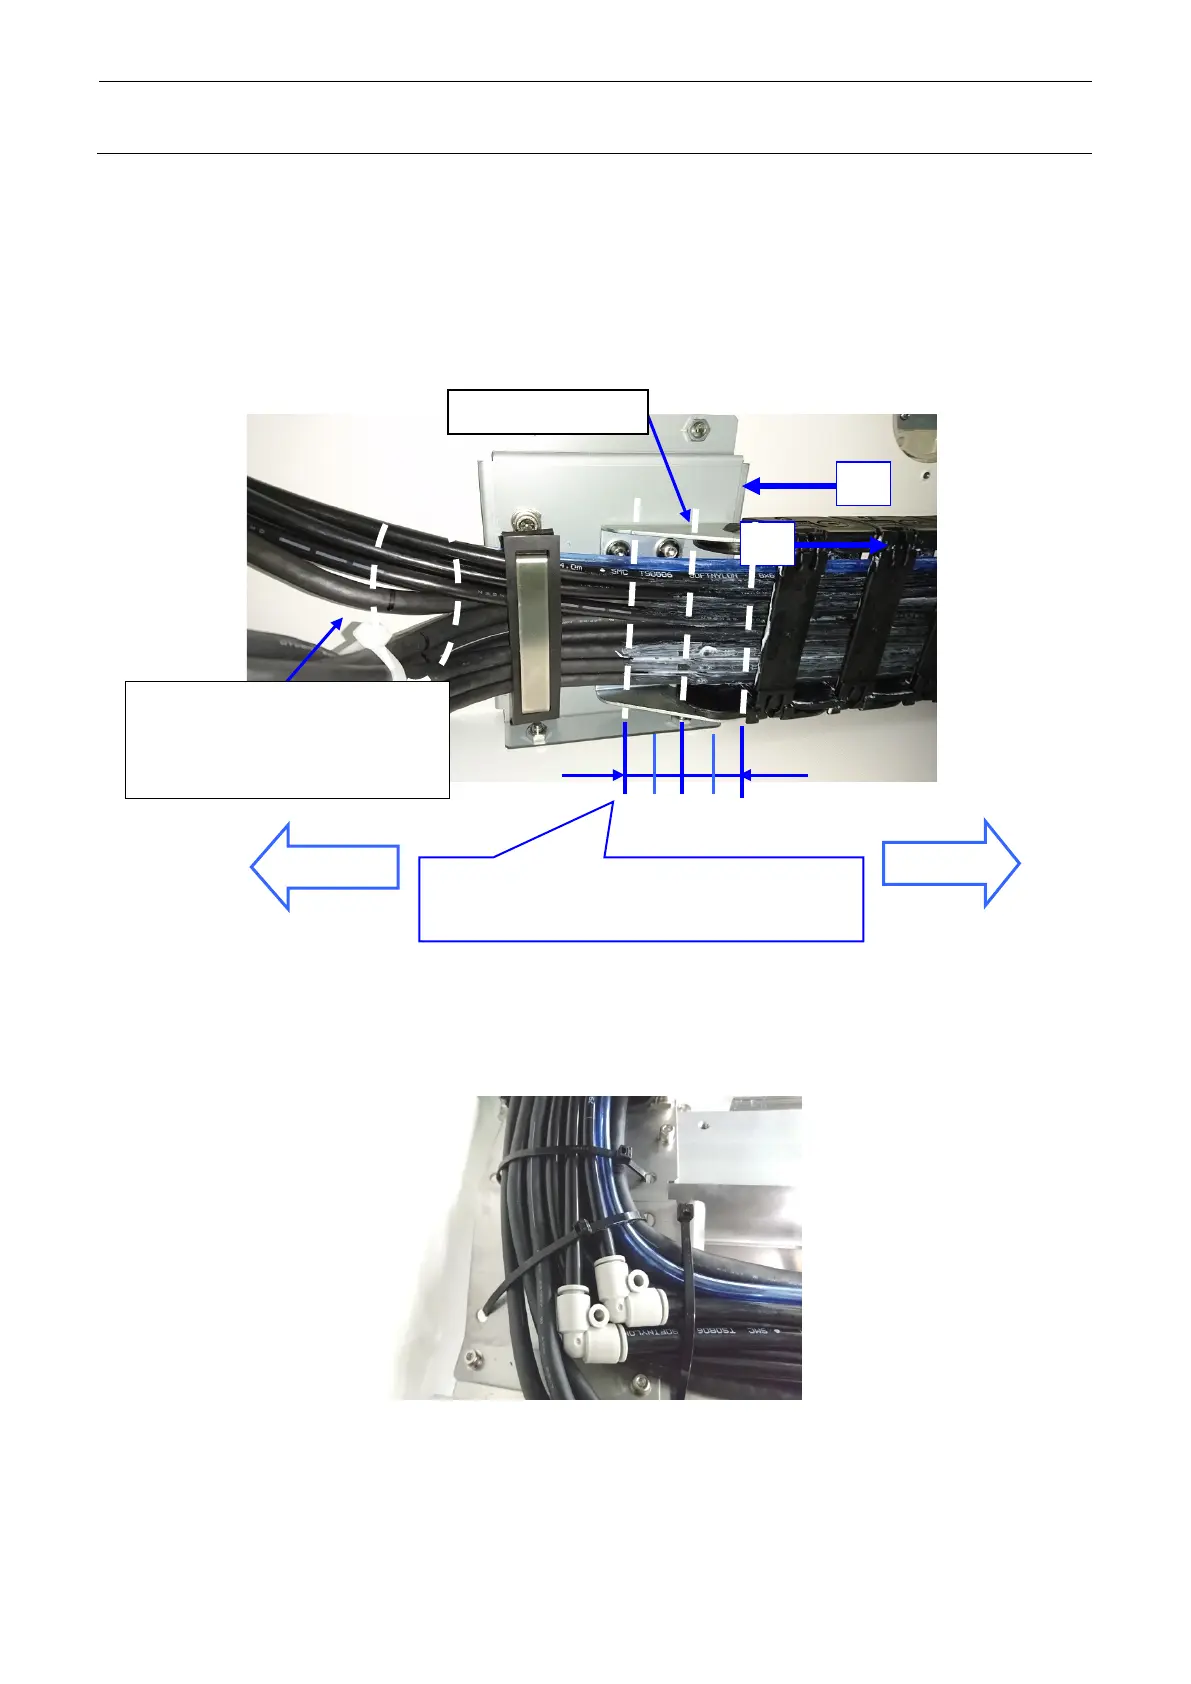
4) Pull the Y veyor-cable, XY veyor-cable in the direction and put the white marking at the
movable end (rear side) of the Y-cableveyor in the cable arrangement direction.
5) Push in the cables in the direction and put the white marking at the movable end (rear
side) of the Y-cableveyor in the cable arrangement direction.
6) Adjust the cable position so that the center position between two markings is located at the
end (movable end) of the Y-cableveyor, and then secure the cables.
Figure 1-4-5-5
7) According to the Figure below, connect each connector and secure the cables with the
tie-up bands.
Adjust that the center position between two
markings (white lines) of the XY and Y veyor-cables
is located at the end of the cableveyor.
XY VEYOR-CABLE ASM
OPTICAL FIBER CABLE 7M
Air tube
Figure 1-4-5-6


 To Next Page