1-54
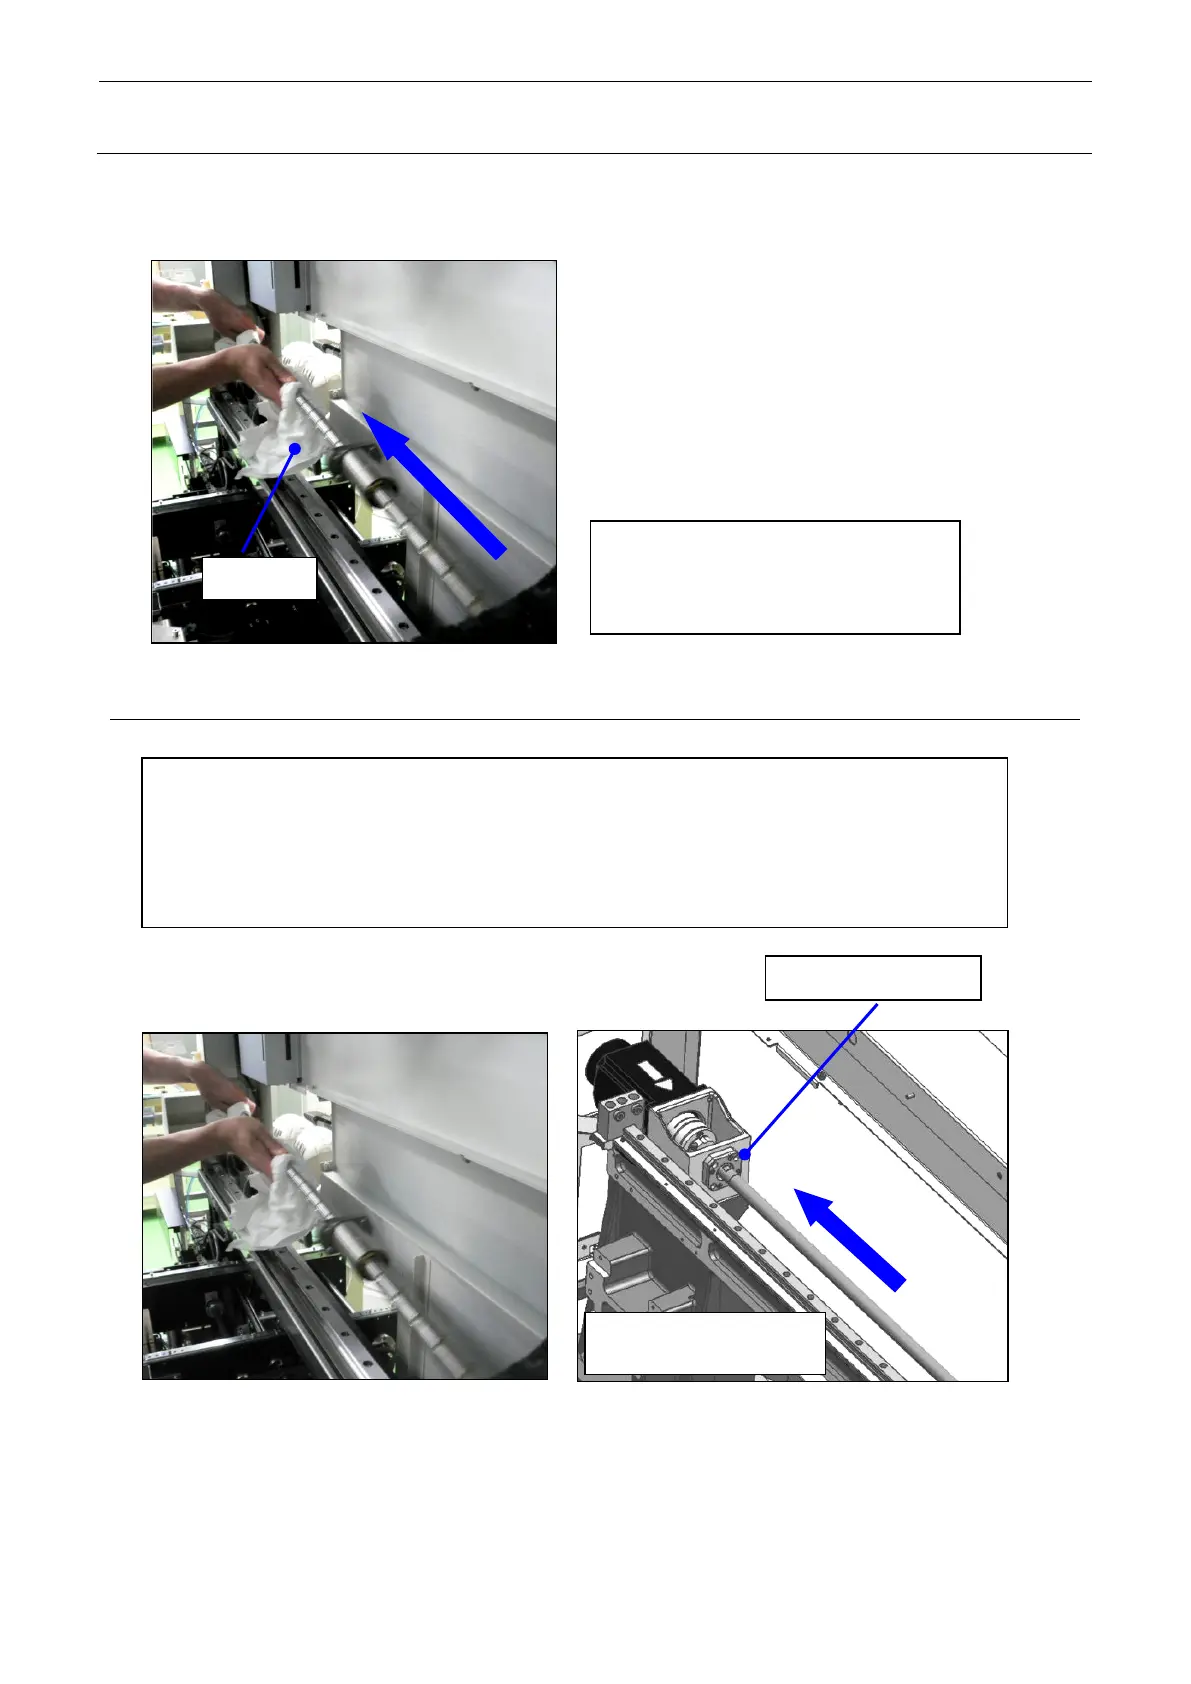
(12) Pull out the Y ball screw.
∗ Do not touch the ball screw by bare hand. (Doing so may cause the ball screw to rust.)
1-7-3. Mounting the Y Ball Screw
(1) Put a new Y ball screw.
After the lock nut and spacer on the
front have been removed, pull out the
ball screw while holding the ball screw
shaft by your left hand.
Put the ball screw nut in the Y_BS_CONNECTOR in the reverse order of step 1-7-2 and secure
it temporarily at four locations with SM6062002TN.
(∗ At this time, be sure to use new screws.)
After temporarily fixing, insert the Y ball screw so as to abut Y_MOTOR_FRAME.
(∗ Do not insert the Y ball screw into the coupling since the lock nut and collar are mounted in
the later work.)
Insert in the direction
indicated by an arrow.