Figure 41: Removing the Fan Tray
Installing an MX5, MX10, MX40, and MX80 Fan Tray
To install the fan tray (see Figure 42 on page 103):
1. Attach an ESD grounding strap to your bare wrist and connect the strap to one of the
ESD points on the chassis.
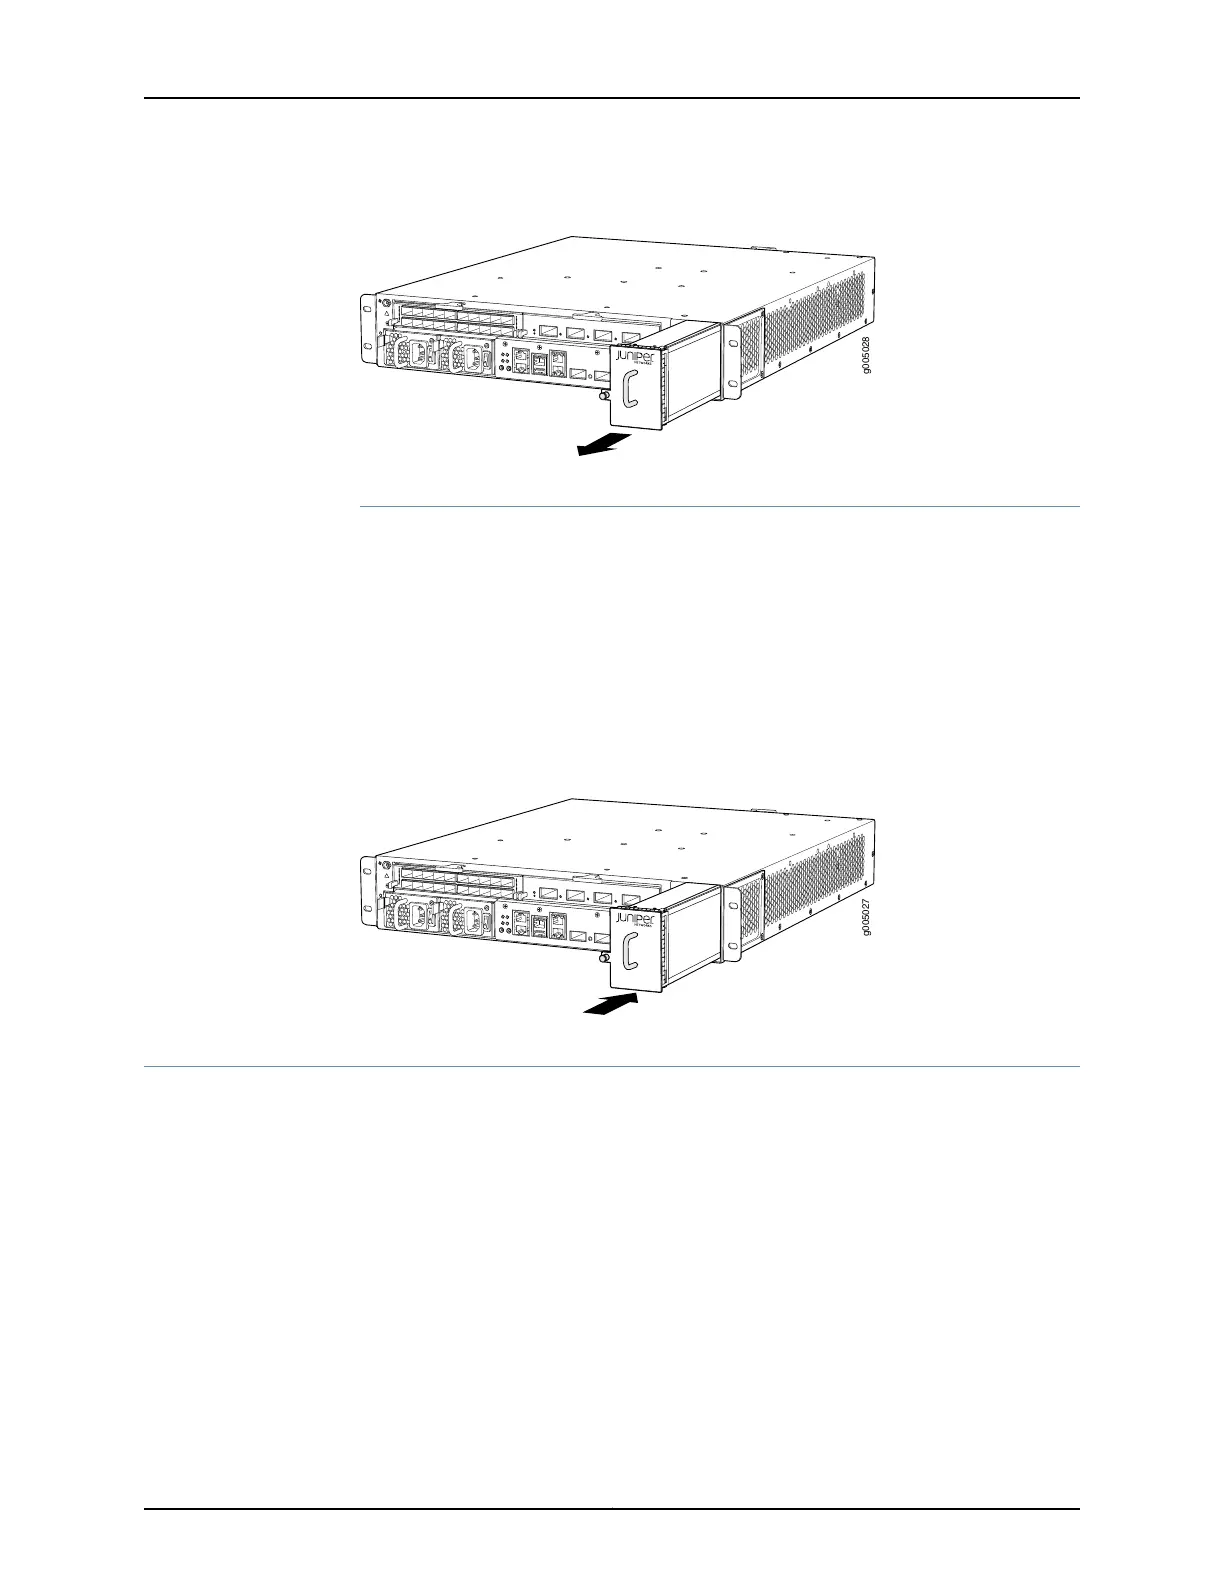
2. Grasp the fan tray handle, and insert it straight into the chassis.
3. Tighten the captive screw on the fan tray faceplate to secure it in the chassis.
Figure 42: Installing the Fan Tray
Maintaining the MX5, MX10, MX40, and MX80 MICs and Transceivers
•
Maintaining the MX5, MX10, MX40, and MX80 MICs on page 103
•
Replacing an MX5, MX10, MX40, and MX80 MIC on page 104
•
Replacing an MX5, MX10, MX40, and MX80 SFP or XFP Transceiver on page 111
•
Maintaining Cables That Connect to MX5, MX10, MX40, and MX80 MICs on page 113
Maintaining the MX5, MX10, MX40, and MX80 MICs
Purpose For optimum router performance, verify the condition of the MICs.
103Copyright © 2019, Juniper Networks, Inc.
Chapter 4: Maintaining Components