Installing the MX5, MX10, MX40, and MX80 Cable Management Bracket
The cable management bracket attaches to the left side of the router. To install the cable
management bracket (see Figure 28 on page 79):
1. Attach an ESD grounding strap to your bare wrist and connect the strap to one of the
ESD points on the chassis.
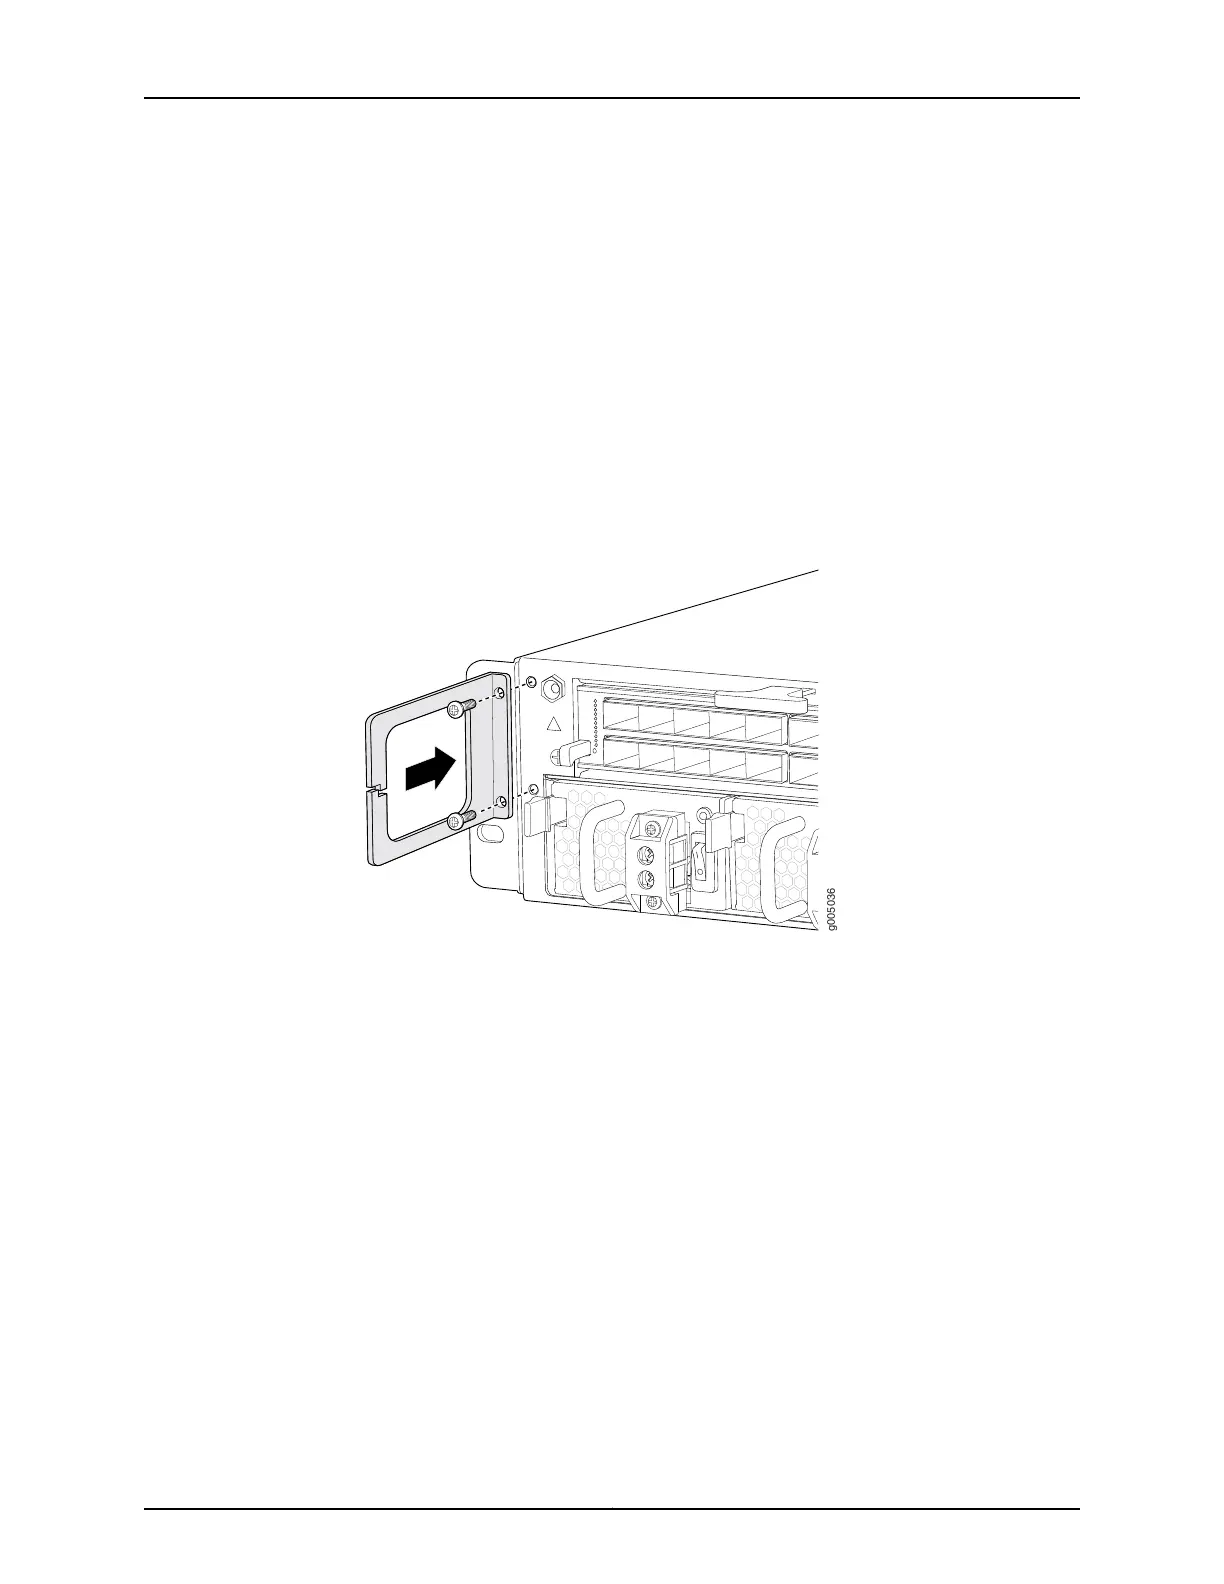
2. Position the cable management bracket on the left side of the front of the chassis.
3. Tighten the screws at the bottom and top of the bracket.
Figure 28: Installing the Cable Management Bracket
Moving the Mounting Brackets for Center-Mounting MX5, MX10, MX40, and MX80 Routers
Two removable mounting brackets are attached to the mounting holes closest to the
front of the chassis (see Figure 29 on page 80). You can move the pair of brackets to
another position on the side of the chassis for center-mounting the router.
To move the mounting brackets from the front of the chassis toward the center of the
chassis (see Figure 30 on page 80):
1. Remove the four screws at the top and bottom of the bracket.
2. Pull the bracket away from the chassis.
3. Align the bracket with the two sets of mounting holes located toward the center of
the chassis.
4. Insert the four screws at the top and bottom of the bracket and tighten each partially.
79Copyright © 2019, Juniper Networks, Inc.
Chapter 3: Initial Installation and Configuration