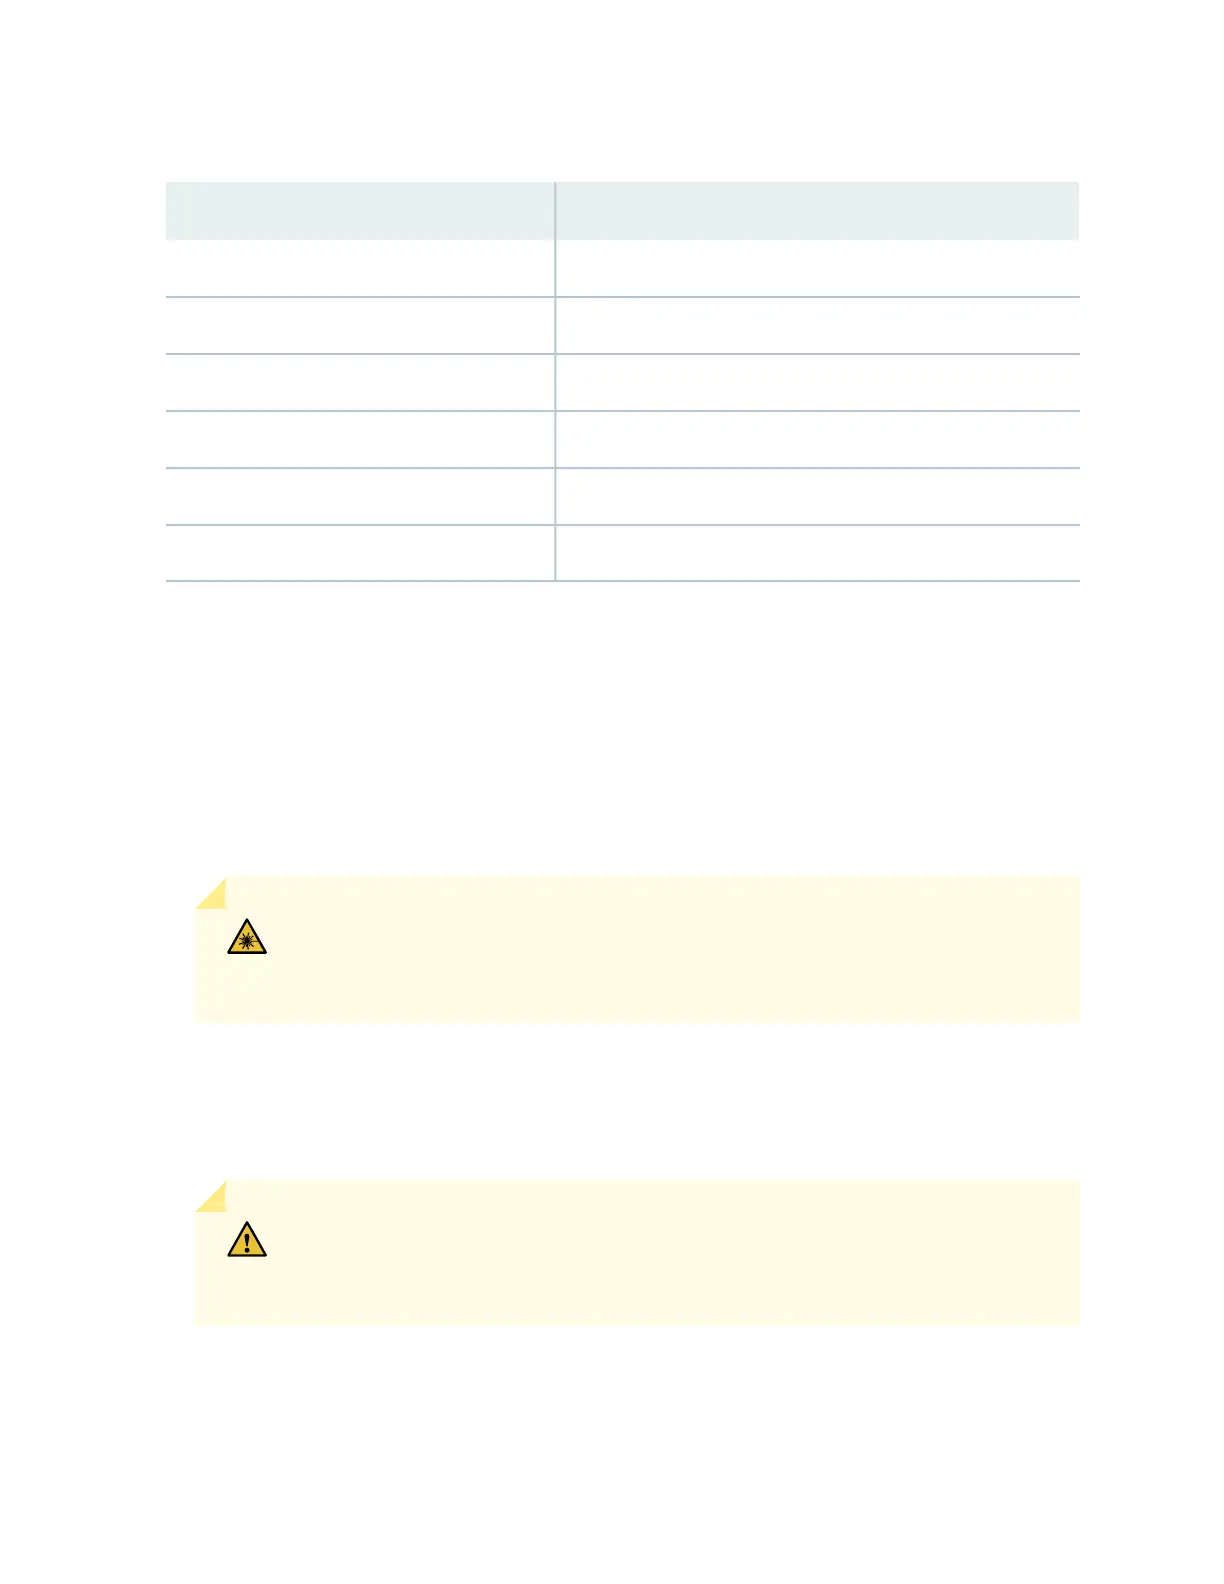
Table 36: Extended Temperature SFP, SFP+, and XFP Transceivers (continued)
DescriptionSKU
1000BASE-T SFP copper transceiverSRX-SFP-1GE-T-ET
10GBASE-ER XFP optical transceiverSRX-XFP-10GE-ER-ET
10GBASE-LR XFP optical transceiverSRX-XFP-10GE-LR-ET
10GBASE-SR XFP optical transceiverSRX-XFP-10GE-SR-ET
10GBASE-ER SFP+ optical transceiverSRX-SFP-10GE-ER
10GBASE-LR SFP+ optical transceiverSRX-SFP-10GE-LR
To replace an SFP, SFP+, or XFP transceiver:
1. Have ready a replacement transceiver or a transceiver slot plug, an antistatic mat, and a rubber safety
cap for the transceiver.
2. Attach an ESD grounding strap to your bare wrist and connect the strap to one of the ESD points on
the chassis.
3. Label the cables connected to the transceiver so that you can reconnect them correctly later.
WARNING: Do not look directly into a fiber-optic transceiver or into the end of a
fiber-optic cable. Fiber-optic transceivers contain laser light sources that can damage
your eyes.
4. Remove the cable connector plugged into the transceiver.
5. Carefully drape the disconnected cables to prevent the cable from developing stress points.
CAUTION: Avoid bending fiber-optic cable beyond its minimum bend radius. An arc
smaller than a few inches in diameter can damage the cable and cause problems that
are difficult to diagnose.
6. Pull the ejector handle out from the transceiver to unlock the transceiver.
204