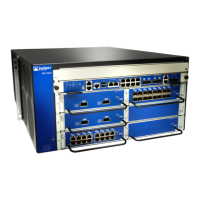
6. Using both hands, slide the replacement power supply straight into the chassis until the power supply
is fully seated in the chassis slot. Make sure the tab on the right edge of the power supply clicks into
place. The power supply faceplate should be flush with any adjacent power supply faceplate.
NOTE: Be sure to have the power supply oriented correctly. The tab must be on the right and
click into place when fully seated. If the power supply does not insert easily or does not become
flush with the chassis, you might have inserted the power supply upside down.
7. Attach the power cord to the power supply. If the power supply is correctly installed and functioning
normally, the power supply powers up immediately.
NOTE: You must have an SFB and a Routing Engine installed in the services gateway for the
power supply to turn on automatically.
NOTE: If you were moving this power supply from one slot to another, wait at least 60 seconds
before inserting it into the new slot.
RELATED DOCUMENTATION
Required Tools and Parts for Replacing Hardware Components on the SRX3600 Services Gateway | 200
Replacing AC Power Supply Cables on the SRX3600 Services Gateway | 232
Replacing AC Power Supply Cables on the SRX3600 Services Gateway
WARNING: Before working on an AC-powered services gateway or near power supplies,
unplug the power cord.
232

 Loading...