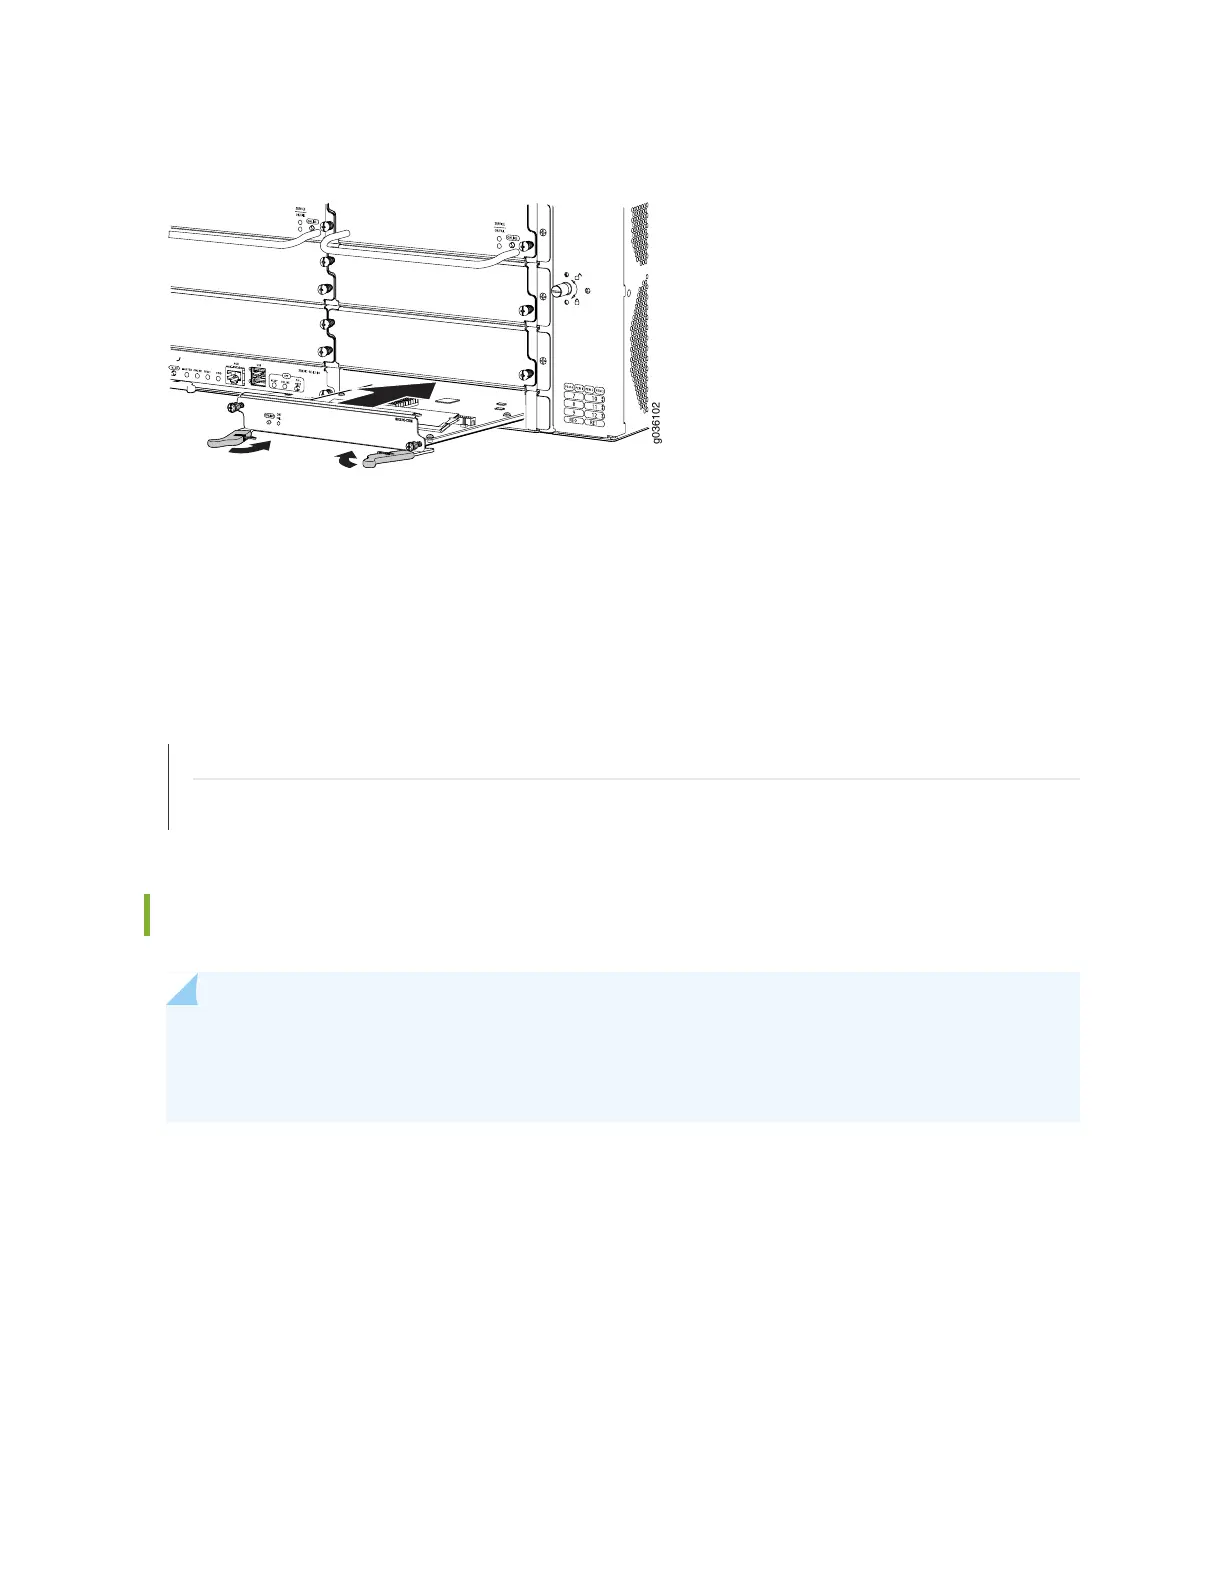
Figure 50: Installing the SCM in the SRX3600 Services Gateway
7. Press both of the ejector handles inward to seat the SCM.
8. Tighten the screws on either side of the SCM faceplate.
RELATED DOCUMENTATION
SRX3600 Services Gateway SRX Clustering Module | 19
Replacing an SCM on the SRX3600 Services Gateway | 220
Installing an AC Power Supply in the SRX3600 Services Gateway
NOTE: For the services gateway to meet NEBS and ETSI standards, all four AC power supplies
must be Revision 09 or later. See “SRX3600 Services Gateway NEBS and ETSI Compliance” on
page 316 for more information.
132