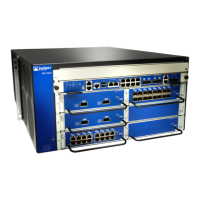
15. Slide the transceiver until the connector is seated in the SFB or CFM slot. If you are unable to fully
insert the transceiver, make sure the connector is facing the right way.
16. Close the ejector handle of the transceiver.
17. Remove the rubber safety cap from the transceiver and the end of the cable. Reconnect the cables into
the transceivers.
18. Verify that the status LEDs on the SFB or CFM faceplate indicate that the SFP or XFP is functioning
correctly. You can also verify that the SFB or CFM is functioning by issuing the show chassis fpc
pic-status command.
RELATED DOCUMENTATION
Required Tools and Parts for Replacing Hardware Components on the SRX3600 Services Gateway | 200
Replacing a CFM Card on the SRX3600 Services Gateway | 216
206

 Loading...