35
4
5
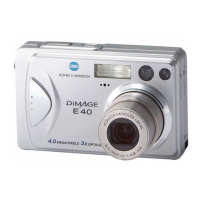
4. Compose the shot on the LCD monitor
and use the zoom buttons to set the
size of the subject. Take care also to
position the auto-focus mark on the
subject you want to focus on.
• If you press the TELE (Telephoto) Zoom
button, the camera zooms in, while if you
press the WIDE (Wide-angle) button, it
zooms out.
• If the subject you wish to focus on is not in
the screen center, use “Shooting with
Focus Lock” (p.41).
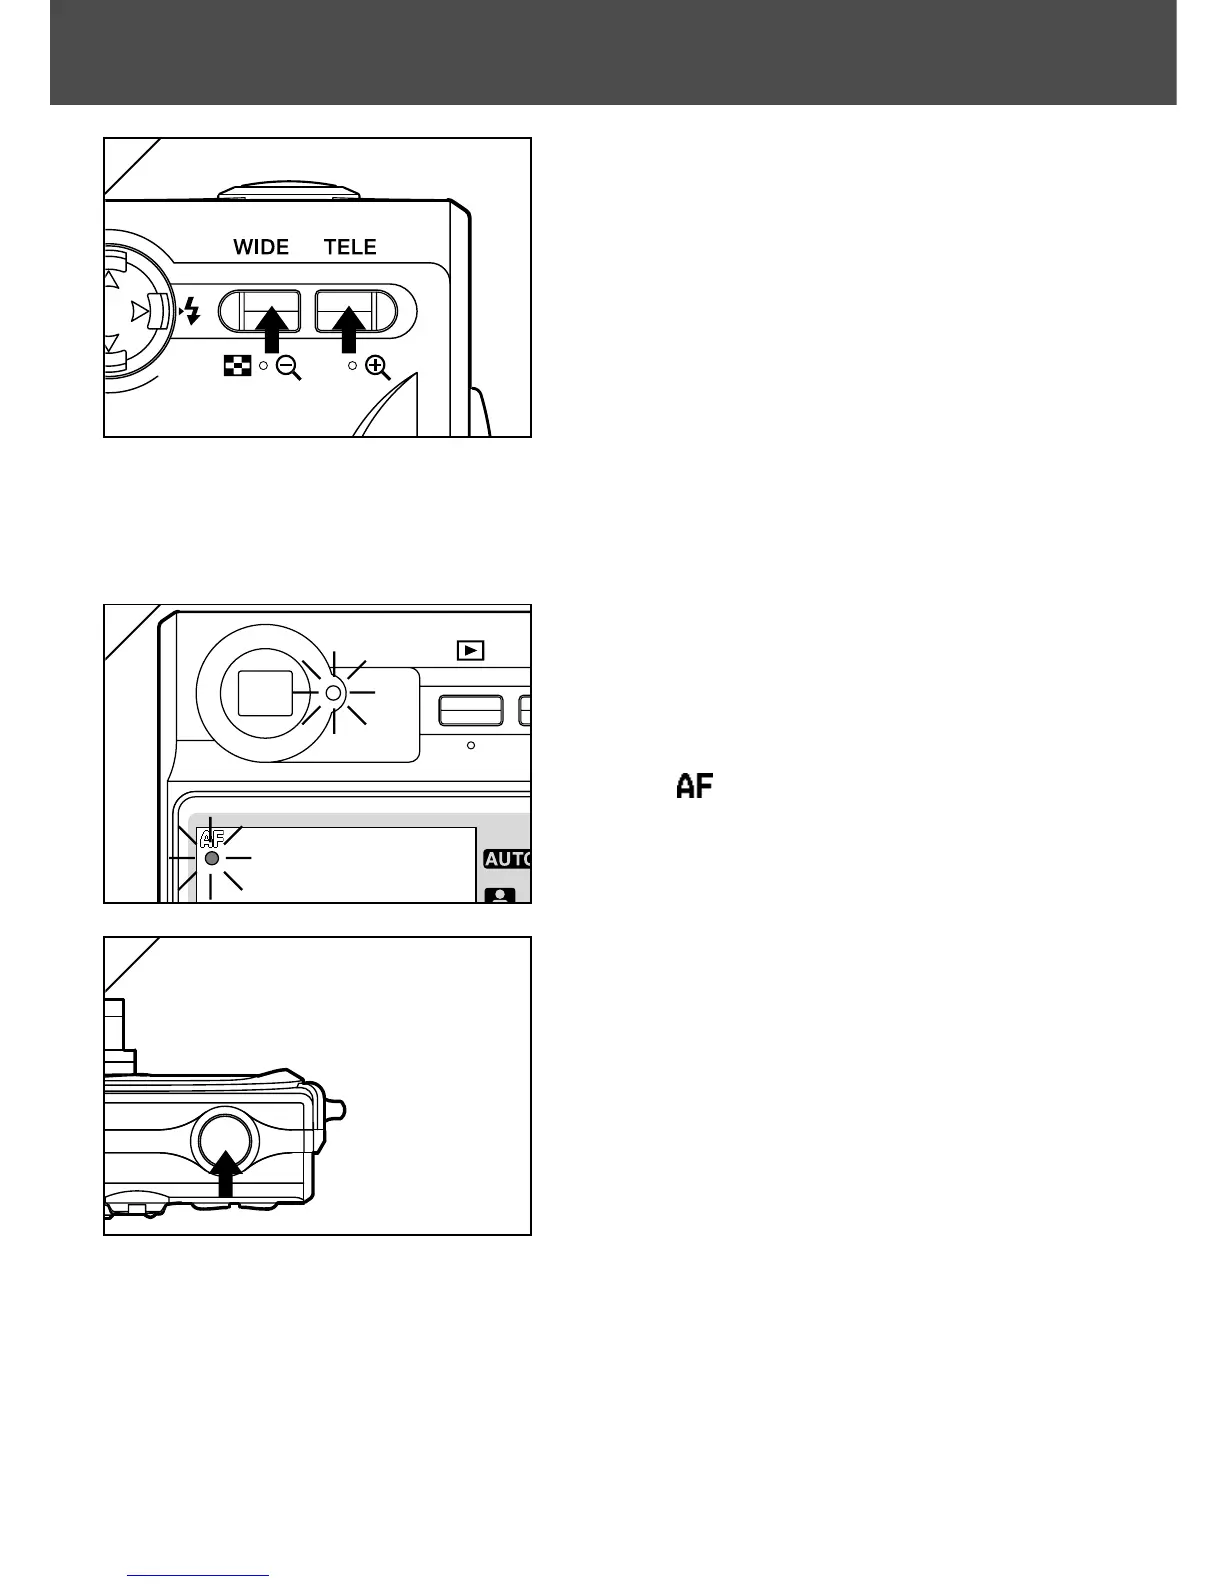
5. Press the shutter button half way and
a green LED lights in the viewfinder and
on the LCD monitor, indicating that the
focus and exposure are locked.
• The icon also appears.
• If it is difficult to focus, the green LED will
flash. See page 37.
6. Take a picture by pressing the shutter
button further. When it makes a sound,
the shot has been taken, and the image
will be recorded on the card.
• If you set the shutter sound to “OFF” in
the Sound settings (p.117), the camera
makes no sound when you press the
shutter button.
6
Taking Pictures (Cont’d)

 Loading...