KARA_SRM_EN_1-0
w w w . l - a c o u s t i c s . c o m
53
5353
53
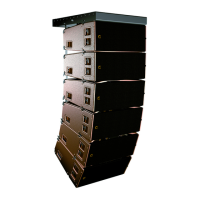
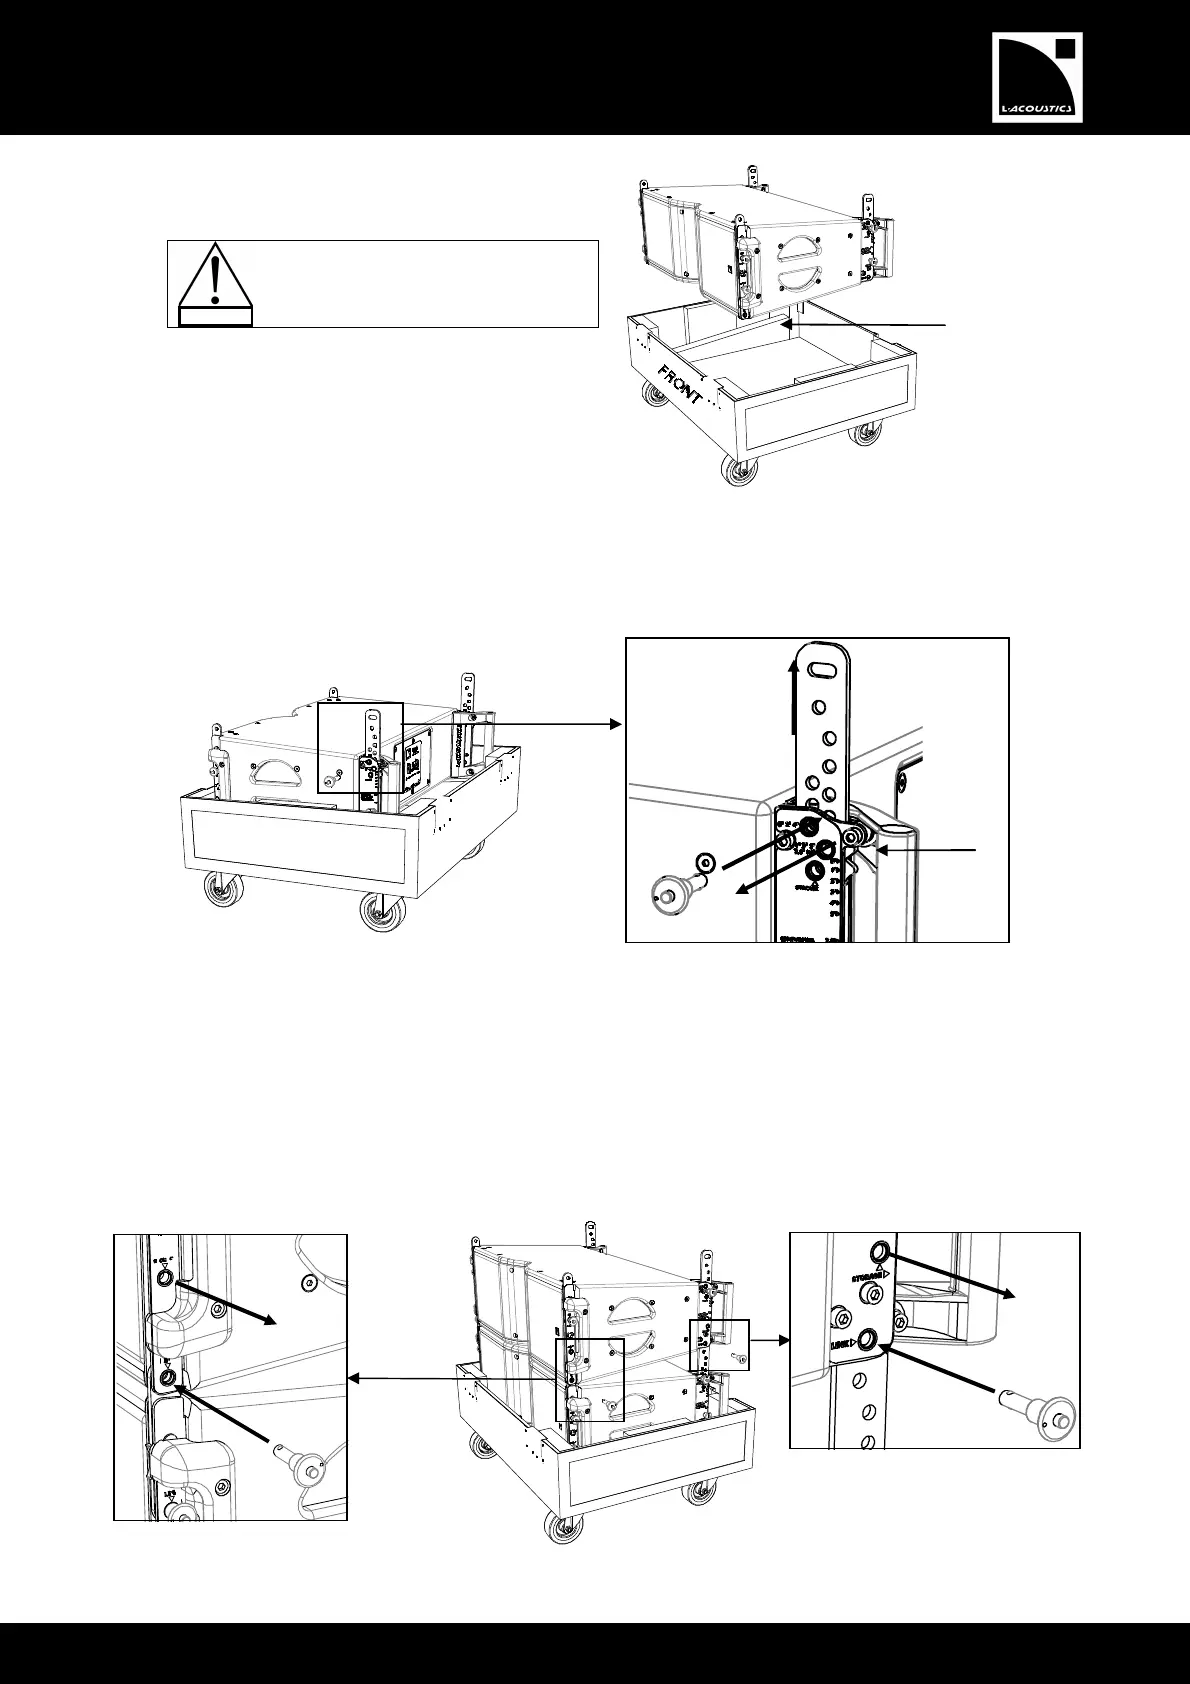
4. Lift up and turn KARA#3 arms pointing up. Put
KARA#3 into the flight-case tray.
Pay attention to the tray position:
both wedges must slope upwards
from front to rear.
Figure 58: Putting KARA#3 into the tray
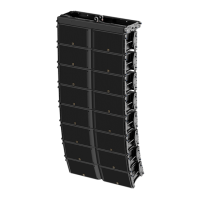
5. Set angle 0° on KARA#3 as follows (repeat on both sides of the enclosure):
a. Remove the rear top R-BLP from its angle hole.
b. Slide the angle arm so as to align the cursor with angle label 0°.
c. Lock the arm in place by re-inserting the R-BLP into angle hole 0°/2°/4°.
Figure 59: Setting angle 0° on KARA#3
6. Separate KARA#2 from KARA#1 by applying step 3.
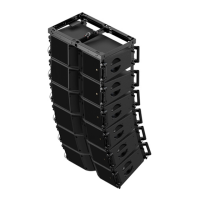
7. Attach KARA#2 to KARA#3 as follows:
a. Lift up and turn KARA#2 arms pointing up.
b. Align the front and rear link points between both enclosures.
c. Secure the link points together by removing the four KARA#2 bottom R-BLP from their storage holes and re-
inserting them into their link holes.
Figure 60: Attaching KARA#2 to KARA#3
KARA#3
c.
KARA#3
 Loading...