EasyManuals Logo
Home>Labconco>Laboratory Equipment>Axiom C1

Labconco Axiom C1 User Manual

Labconco Axiom C1
86 pages
To Next Page IconTo Next Page
To Previous Page IconTo Previous Page
Page #30 background imageLoading...
Page #30 background image
30
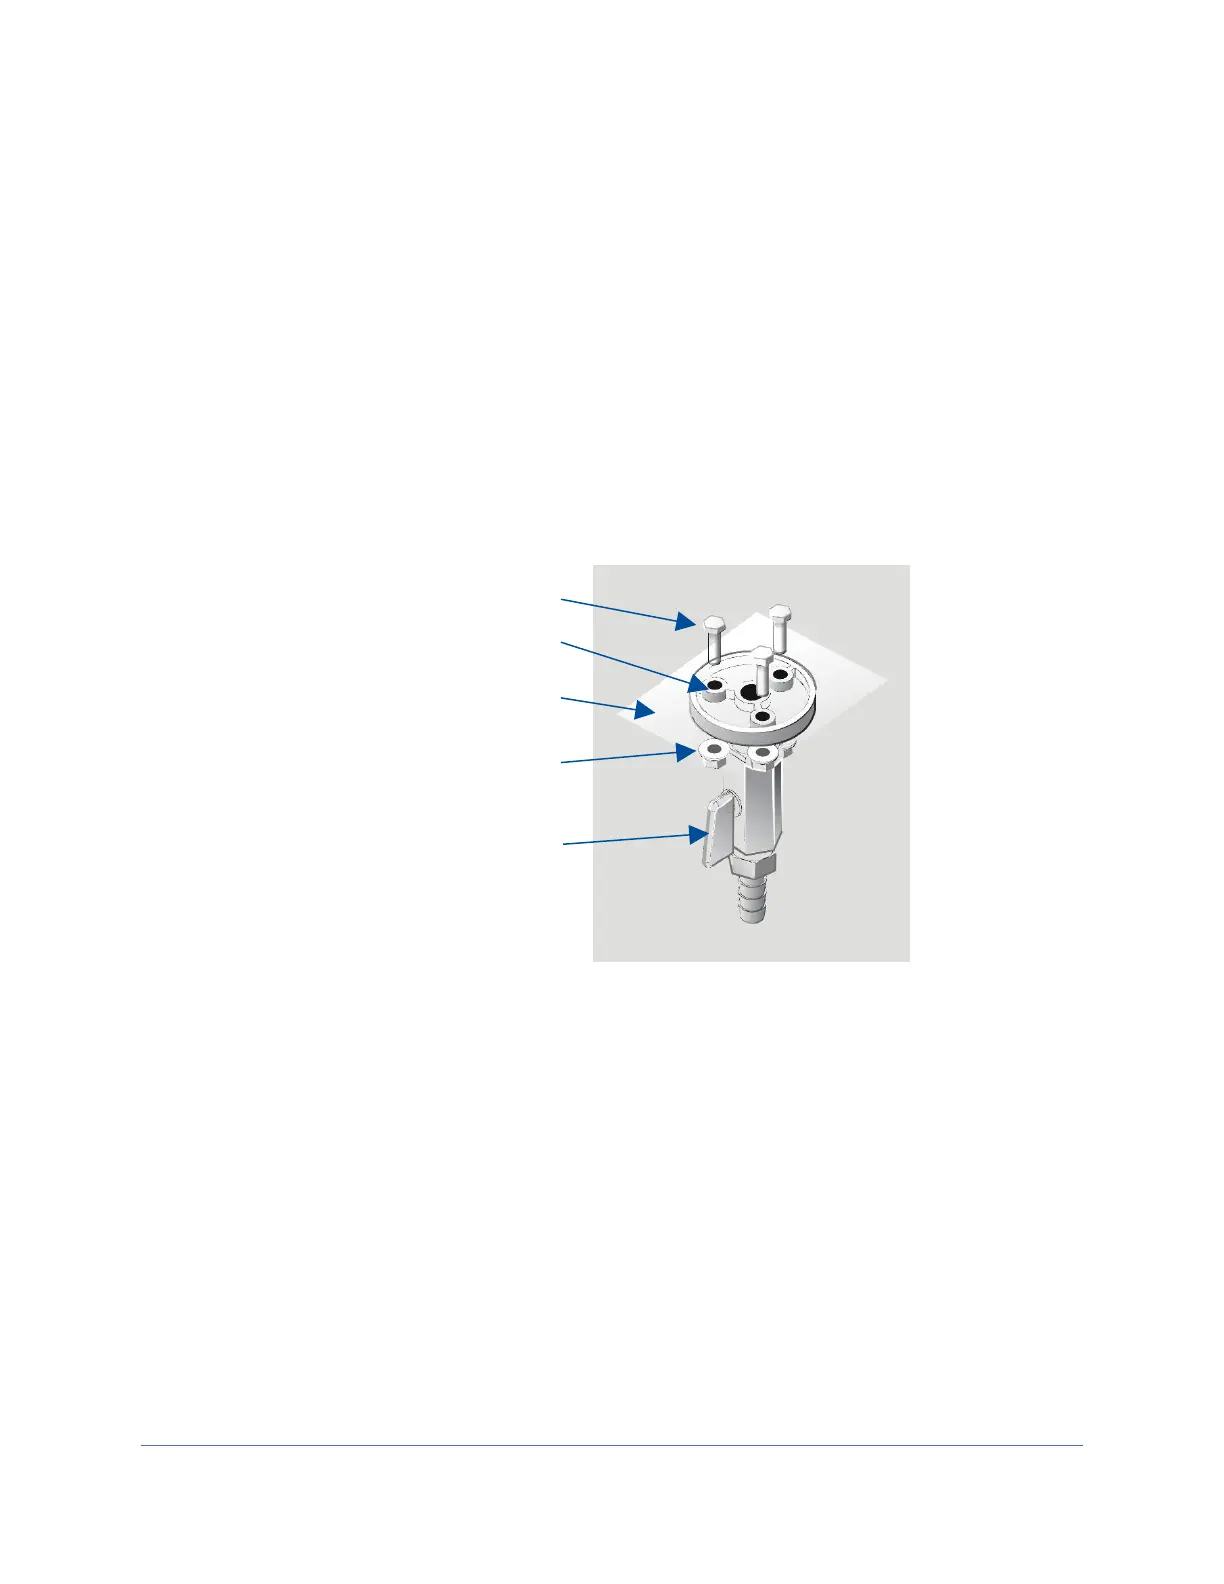
3. Apply a light coating of silicone sealant (not provided) to the mounting surface of the
drain flange. Attach the drain flange under the bottom of the cabinet as shown in
Figure 4-7. Wipe off any excess sealant from the cabinet bottom. Ensure that the
center drain hole is unobstructed.
4. Secure the drain assembly with the hardware provided. Tighten all hardware.
5. Make sure the drain valve is in the closed position.
6. Reinstall the work surface components.
7. Allow the silicone sealant to cure for at least eight hours before exposing it to liquid.
Screws (3)
Drain flange
Cabinet bottom
Drain valve
Nuts (3)
Figure 4-7

Table of Contents

Questions and Answers:

Question and Answer IconNeed help?

Do you have a question about the Labconco Axiom C1 and is the answer not in the manual?

Labconco Axiom C1 Specifications

General IconGeneral
BrandLabconco
ModelAxiom C1
CategoryLaboratory Equipment
LanguageEnglish

Related product manuals