29
Step 2
Connect appropriately rated exhaust ducting to the duct collar provided on the exhaust
cover assembly (see Figure 4-6).
The duct collar provided is sized for 10 inch nominal stainless steel duct. The exhaust
ducting will rest INSIDE the duct collar.
Consult local codes and regulations, as well as the facility’s SOP to ensure the exhaust
ducting chosen meets all applicable requirements, and is installed to applicable
specifications.
The duct collar provides four equally spaced holes through which the exhaust ducting
can be mechanically secured. It is recommended to also seal the transition seam
between the duct stub and the exhaust ducting with an appropriately rated sealant, such
as silicone or polyurethane-based sealant.
An air-tight damper (catalog number 3776800) can be installed into the product’s duct
stub, and the exhaust ducting connected to the air-tight damper. The damper allows for
finer regulation of the exhaust air to the product. It is recommended to install an air-tight
damper onto the duct stub of the product.
Step 3
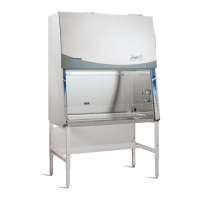
Configure the Axiom Type C1 biosafety cabinet to operate in B-mode. These
instructions are found in the Axiom Type C1 Technical Manual.
Drain Valve Installation (Optional)
A drain valve assembly is provided in the Parts Box. The drain allows for removal of
large amounts of liquid trapped in the area underneath the work surface. The
installation of the drain valve is not required. If not installing the drain valve, this section
may be skipped.
Note: The work surface is heavy. Use caution when handling it.
1. Lift the work surface by lifting on the knobs at the front of the work surface wings.
Secure the work surface to the rear baffle using the work surface latch. Remove the
right work surface wing and locate the cover sealed over the drain mounting holes.
2. Using a putty knife, remove and discard the stainless steel cover that is sealed over
the drain mounting holes. Scrape out remaining sealant around the holes.
NOTE: The drain valve assembly attaches to the underside of the cabinet bottom.
 Loading...
