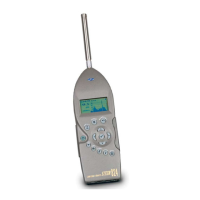
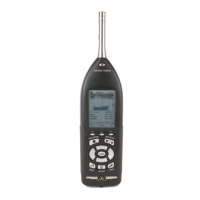
5-12 System 824 Training Manual 2/19/98
Step 3 Press r to advance to the “Time-b” screen.
This screen list the parameter associated with the 824
timer including “Timer Mode” (on/off), and the timer
start and stop dates/times.
Step 4 Press TOOLS T to return to the Tools menu.
Step 5 To change the clock parameters, confirm that
“Clock/Timer” is highlighted in the Tools
menu.
Step 6 Press r to enter the “Clock/Timer” menu.
Within this menu, you can change
the Current Time, Current Date,
Day of Week, Timer Mode, Run
Date, Stop Date, Run Time 1, Stop
Time 1, Run Time 2, and Stop Time
2. These parameters are all changed
in a similar way.
The following is an example of performing a Clock/
Timer modification by editing the “Current Time”.
 Loading...