1)
Connect one end of the 7-pin interface adapter cable to the 7-pin
interface, and connect the other end (there are 6 safety banana head
lines, each safety banana head line is numbered and with positive and
negative terminals, which must be noted during use) to the 6-way
breakout leads as required.
*Remarks: When connecting the 7-pin interface adapter cable to the 7-pin
interface on the sensor module, pay attention to the alignment of the two
red dots and then insert the adapter cable. After successful insertion, you
will hear a beep. When you pull out the adapter cable, do not pull it directly
by force. First, press and hold the cover marked with red dots with your
fingers, slowly dial outward, and then gently pull out the cable.
2)
Insert the other ends (same colors) of the leads into the corresponding
jacks of the actuator (for the specific connection method, see Chapter
4.2).
3)
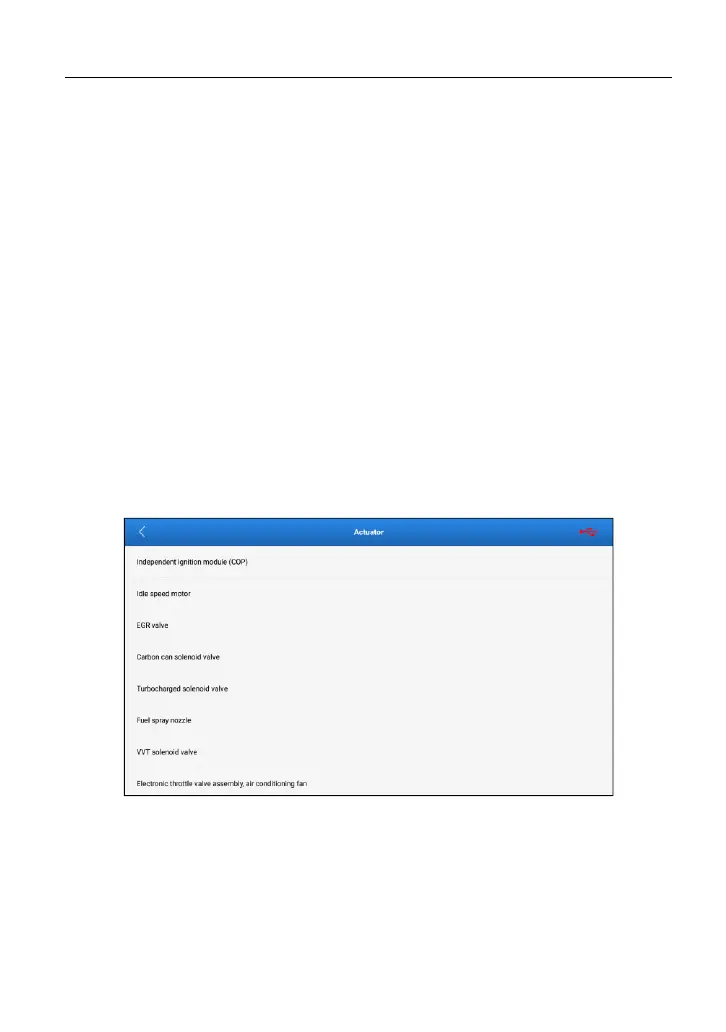
Start the diagnostic tool and access the corresponding sensor module.
Tap Actuator in the job menu.
www.diagtools.eu, Pernavas 43A, Riga, Latvia, LV-1009, +37129416069, info@diagtools.eu