2. Flipburnertoggletotheonposition.This allowsflowof
propaneto the valves. See figure 10.
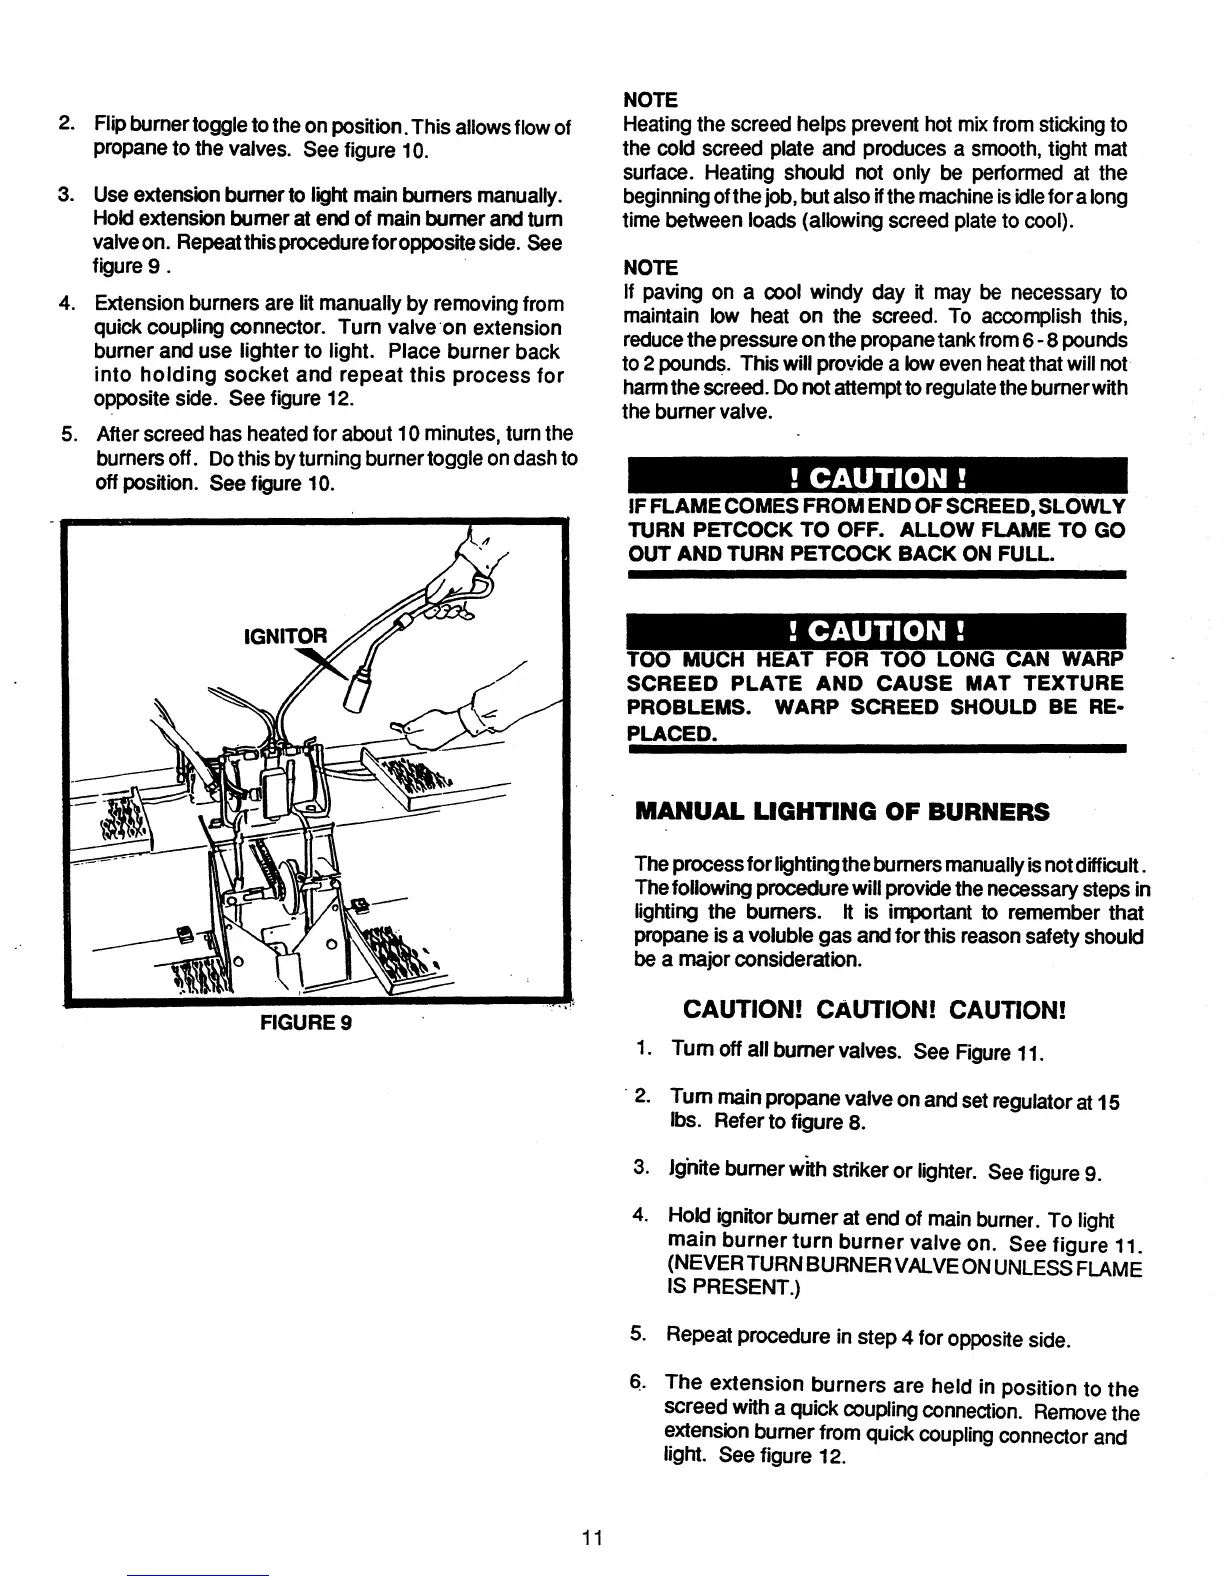
3. Useextensionbumer to light main bumers manually.
Hold extensionbumer at end of mainburnerandtum
valveon. Repeatthisprocedureforoppositeside. see
figure
9 .
4. Extensionburners are lit manuallyby removingfrom
quick coupling connector. Turn valve
'on extension
burner and use lighter to light. Place burner back
into
holding
socket and repeat this process
for
oppositeside. See figure 12.
5. Afterscreedhas heatedfor about10 minutes,turnthe
burnersoff.
Do this byturningburnertoggleondashto
off position. See figure
10.
.....
',",.
FIGURE 9
11
NOTE
Heatingthe screedhelps prevent hot mixfrom sticking to
the cold screed plate and produces a
smooth,
tight mat
surface. Heating should not only be performed at the
beginningofthejob,but also
ifthe
machine
isidleforalong
time between loads (allowing screedplateto cool).
NOTE
If paving on a 0001 windy day it may be necessary to
maintain
low heat on the screed. To accomplish this,
reduce
the pressureonthepropanetankfrom6-8 pounds
to 2 pounds. Thiswill providea lowevenheatthatwill not·
harmthe screed.
Donotattempttoregulatetheburnerwith
the burner valve.
!
CAUTION!
IFFLAMECOMESFROM END OF
SCREED,
SLOWLY
TURN PETCOCK TO OFF. ALLOW FLAME TO GO
OUT AND TURN PETCOCK BACK ON FULL.
!
CAUTION!
TOO MUCH HEAT FOR TOO LONG CAN WARP
SCREED
PLATE
AND
CAUSE
MAT
TEXTURE
PROBLEMS. WARP SCREED SHOULD BE RE-
PLACED.
MANUAL
LIGHTING OF BURNERS
Theprocessforlightingtheburnersmanuallyisnotdifficult.
Thefollowingprocedurewill providethenecessarystepsin
lighting the burners.
It is important to remember that
propaneisa voluble gas andfor this
reason
safetyshould
be a majorconsideration.
CAUTION! CAUTIONI CAUTION!
1. Tumoffallburnervalves. See
Figure
11.
. 2.
Tum
mainpropanevalveon andsetregulatorat 15
Ibs. Referto figure 8.
3.
Jghite
burnerwith striker or lighter. See figure 9.
4. Hold ignitor burner at end of mainburner. To light
main burner
turn
burner valve on. See figure 11.
(NEVERTURNBURNERVALVEON
UNLESS
FLAME
IS PRESENT.)
5. Repeat procedure in step 4 for opposite side.
a.
The extension burners are held in position to the
screed with a quick coupling
connection.
Remove
the
extension burner from quick couplingconnectorand
light. See figure 12.