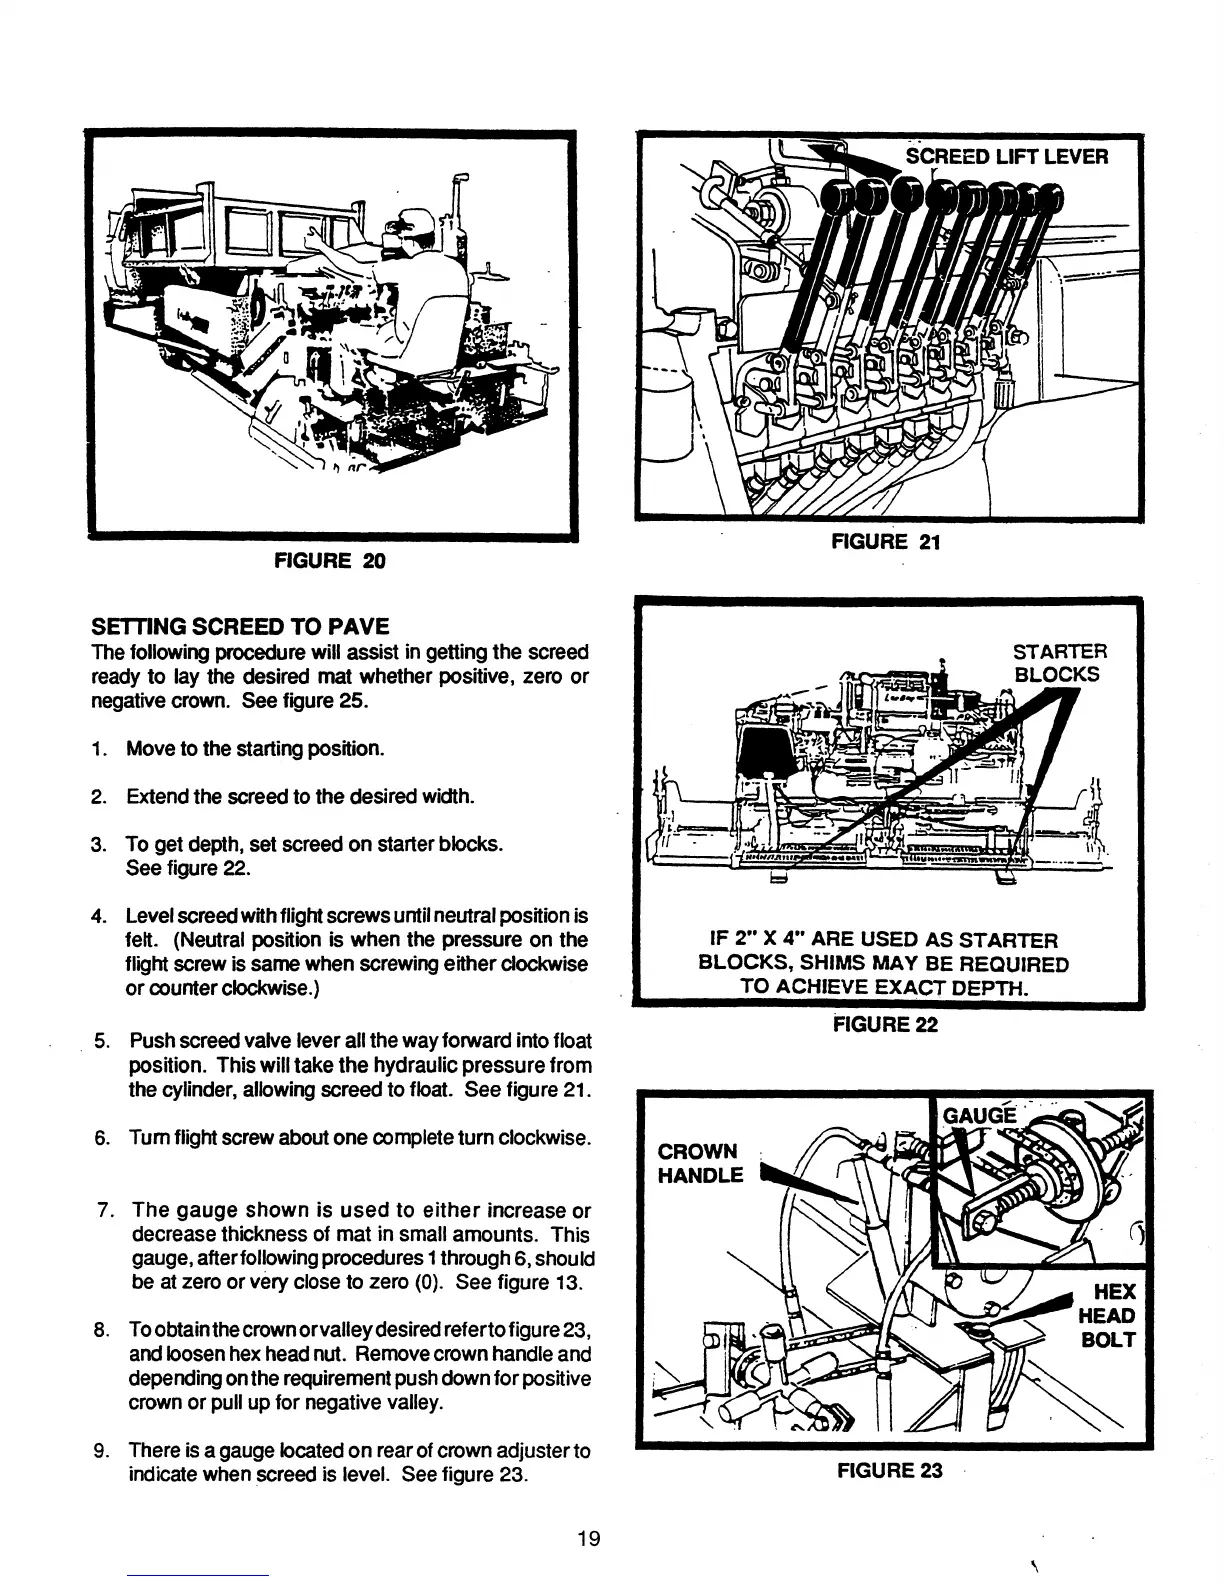
FIGURE 20
SETTING SCREED TO
PAVE
Thefollowing procedurewill assist in gettingthe screed
ready
to lay the desired mat whether positive, zero or
negative crown. See figure
25.
1. Moveto the startingposition.
2. Extendthe screedto the desired width.
3. To get depth,set screedon starterblocks.
See figure 22.
4. Level screedwith flightscrews until neutral positionis
felt. (Neutral position is when the pressure on the
flight screwis samewhen screwingeither clockwise
or counterclockwise.)
5. Pushscreedvalve leverallthewayforward intofloat
position. Thiswilltakethe hydraulic pressurefrom
the cylinder,allowingscreedto float. See figure 21.
6. Tum flight screwaboutone completeturn clockwise.
7. The gauge shown is used to either increase or
decreasethickness of mat in small amounts. This
gauge,afterfollowingprocedures1through6,should
be atzero or
very closeto zero (0). See figure 13.
8. Toobtainthecrownorvalley desiredrefertofigure23,
andloosenhexheadnut. Removecrownhandleand
depending onthe requirement pushdownfor positive
crownor pull up for negativevalley.
9. Thereis a gaugelocatedon rearofcrownadjusterto
indicatewhenscreed is level. Seefigure 23.
19
FIGURE 21
IF
2"
X
4"
ARE USED AS STARTER
BLOCKS,
SHIMS
MAY
BE REQUIRED
TO
ACHIEVE
EXACT
DEPTH.
FIGURE 22
CROWN
HANDLE
FIGURE23
.
,