ELECTRICAL SYSTEM OPERATION UNITY MOTORHOME
106
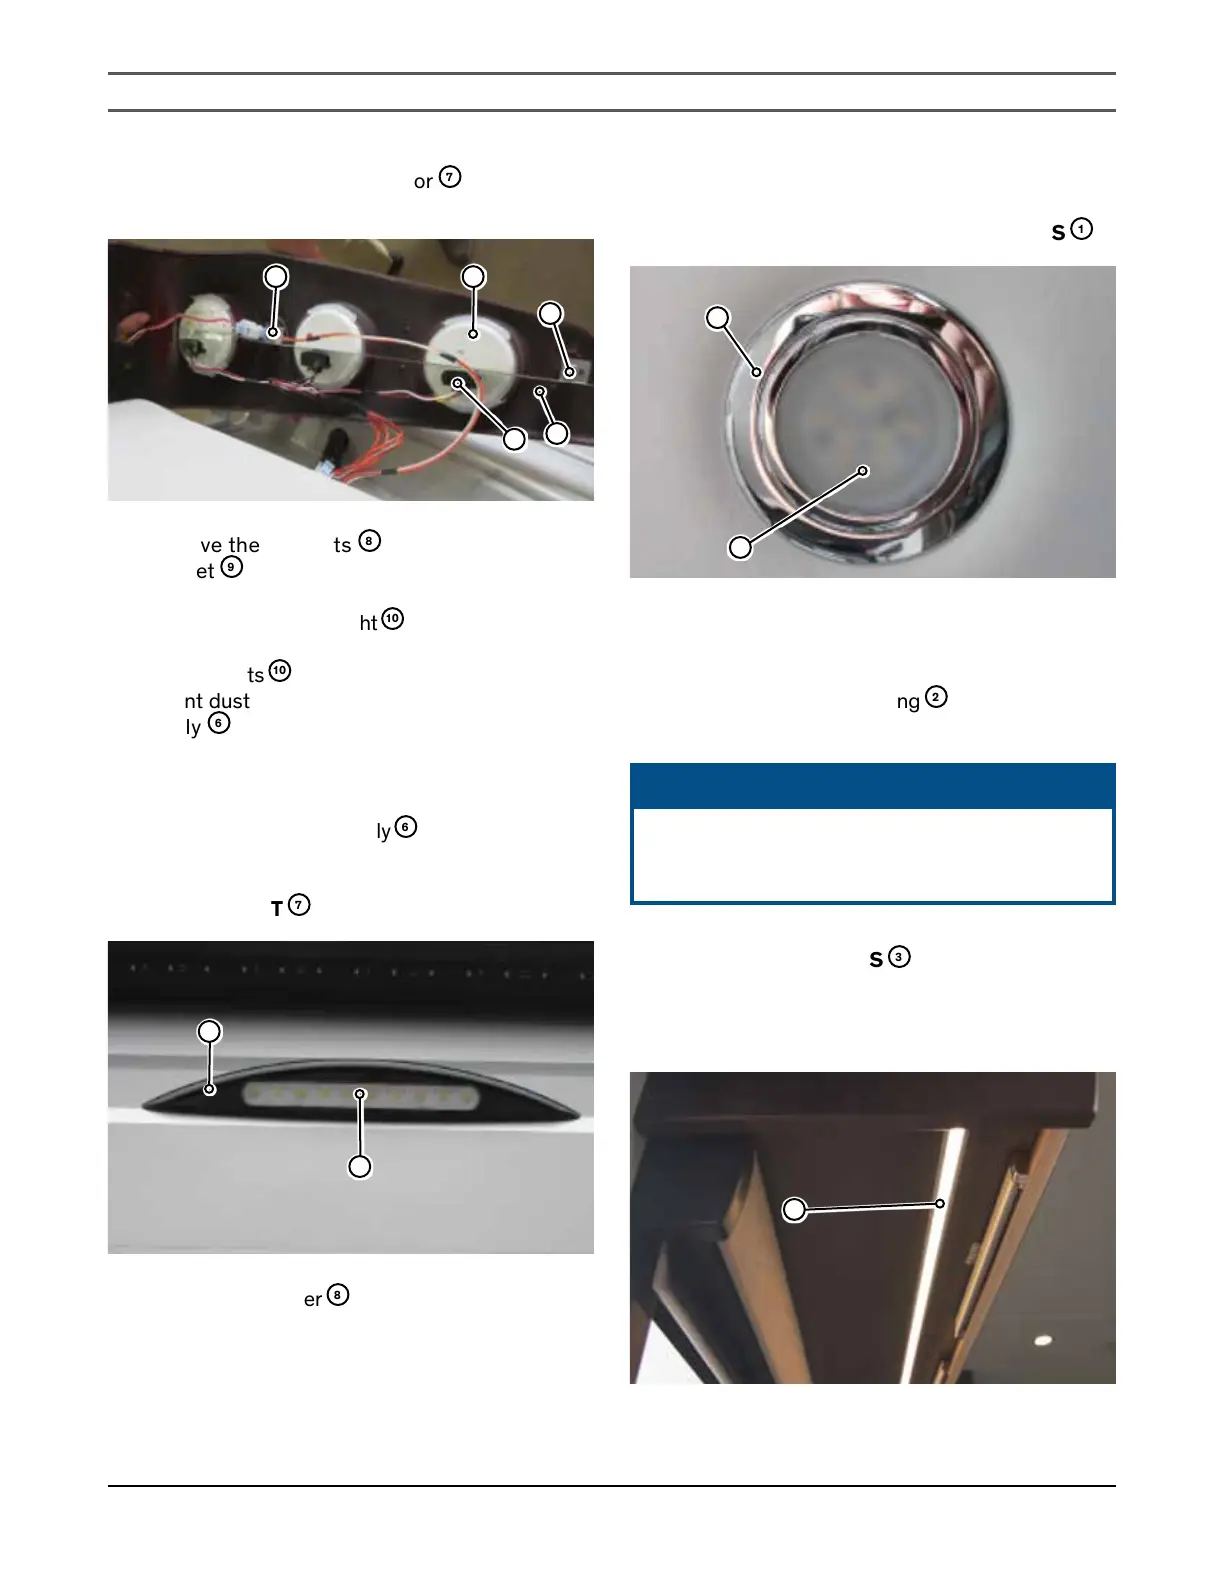
3.
Unclip the electrical connector
7
from the light
you are replacing.
8
9
10
8
7
4.
Remove the two nuts
8
securing the support
bracket
9
to the light assembly and remove the
support bracket.
5.
Remove the defective light
10
and install a new one.
NOTE: The lights
10
are sealed with a bead of silicone
to prevent dust and moisture from entering the light
assembly
6
. Carefully remove the silicone when
changing the light and apply a new bead before
reinstalling the light assembly.
6. Reinstall the light assembly
6
by following Step 5
to Step 1 in reverse order.
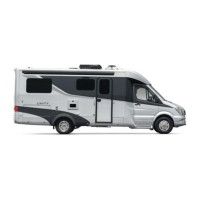
EXTERIOR LIGHT
7
7
8
1. Unclip plastic cover
8
.
2. Remove and replace light.
3. Install cover.
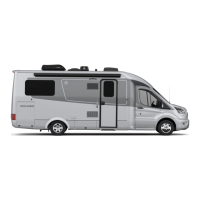
INTERIOR LIGHTING
CEILING AND OVERHEAD CABINET LIGHTS
1
1
2
NOTE: This is a sealed LED unit and must be replaced
as complete unit.
1. Pull down on the light fitting
2
.
2. Install a new light into the opening.
ᘐ NOTICE
LED lights are not serviceable. If any light stops
working, have the entire light replaced by a
qualified service technician.
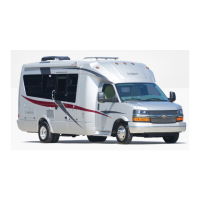
UNDER CABINET LIGHTS
3
Under cabinet lights are not serviceable. If the under
cabinet light stops working, have the entire unit replaced
by a qualified service technician.
3