6.Slidethenewhot-swapharddiskdriveintothedrivebayfromthefrontuntilitsnapsintoposition
andthencompletelyclosethehandle.
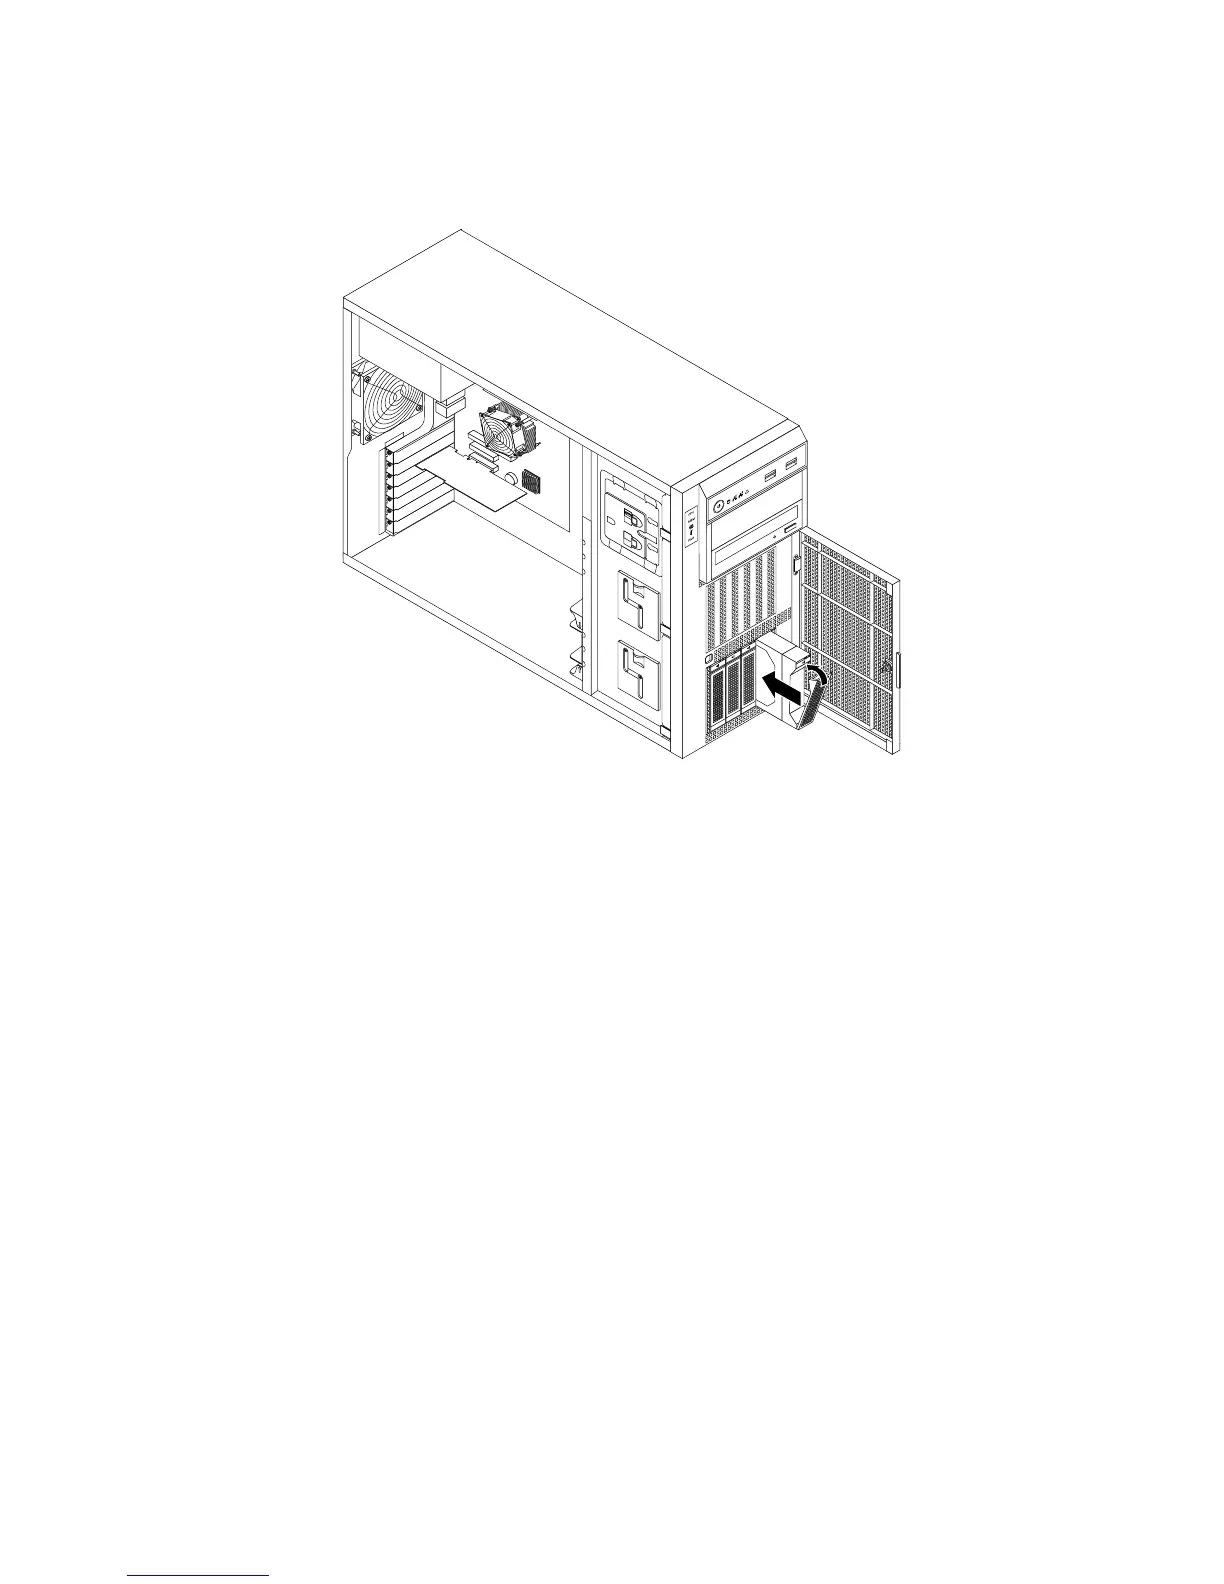
Figure69.Installingthehot-swapharddiskdrive
7.Checkthehot-swaphard-disk-drivestatusLEDstomakesurethattheharddiskdriveisoperating
correctly.Youmighthavetorestarttheserverforthenewlyinstalleddrivetoberecognized.See
“Hot-swaphard-disk-drivestatusLEDs”onpage32.Iftheharddiskdriveisfaulty,youneedtoreinstall
orreplaceituntilitisoperatingcorrectly.
8.Closeandlockthefrontdoor.
9.Dooneofthefollowing:
•Ifyouareinstallingahot-swapharddiskdrive,savetheremovedhard-disk-drivedummytrayin
theeventthatyoulaterremovethehot-swapharddiskdriveandneedadummytraytocoverthe
drivebay.
•Ifyouarereplacingahot-swapharddiskdriveandareinstructedtoreturntheoldhot-swaphard
diskdrive,followallpackaginginstructionsanduseanypackagingmaterialsthataresuppliedto
youforshipping.
Whattodonext:
•Toworkwithanotherpieceofhardware,gototheappropriatesection.
•TocongureRAID,goto“ConguringRAID”onpage73.
Removingorinstallinganon-hot-swapharddiskdrive
Thistopicprovidesinstructionsonhowtoremoveorinstallanon-hot-swapharddiskdrive.
Thistopicappliesonlytoservermodelsthathavenon-hot-swapharddiskdrivesinstalled.See“Features”
onpage7
formoreinformationaboutthesupportednon-hot-swapharddiskdrives.
132ThinkServerTS430HardwareMaintenanceManual