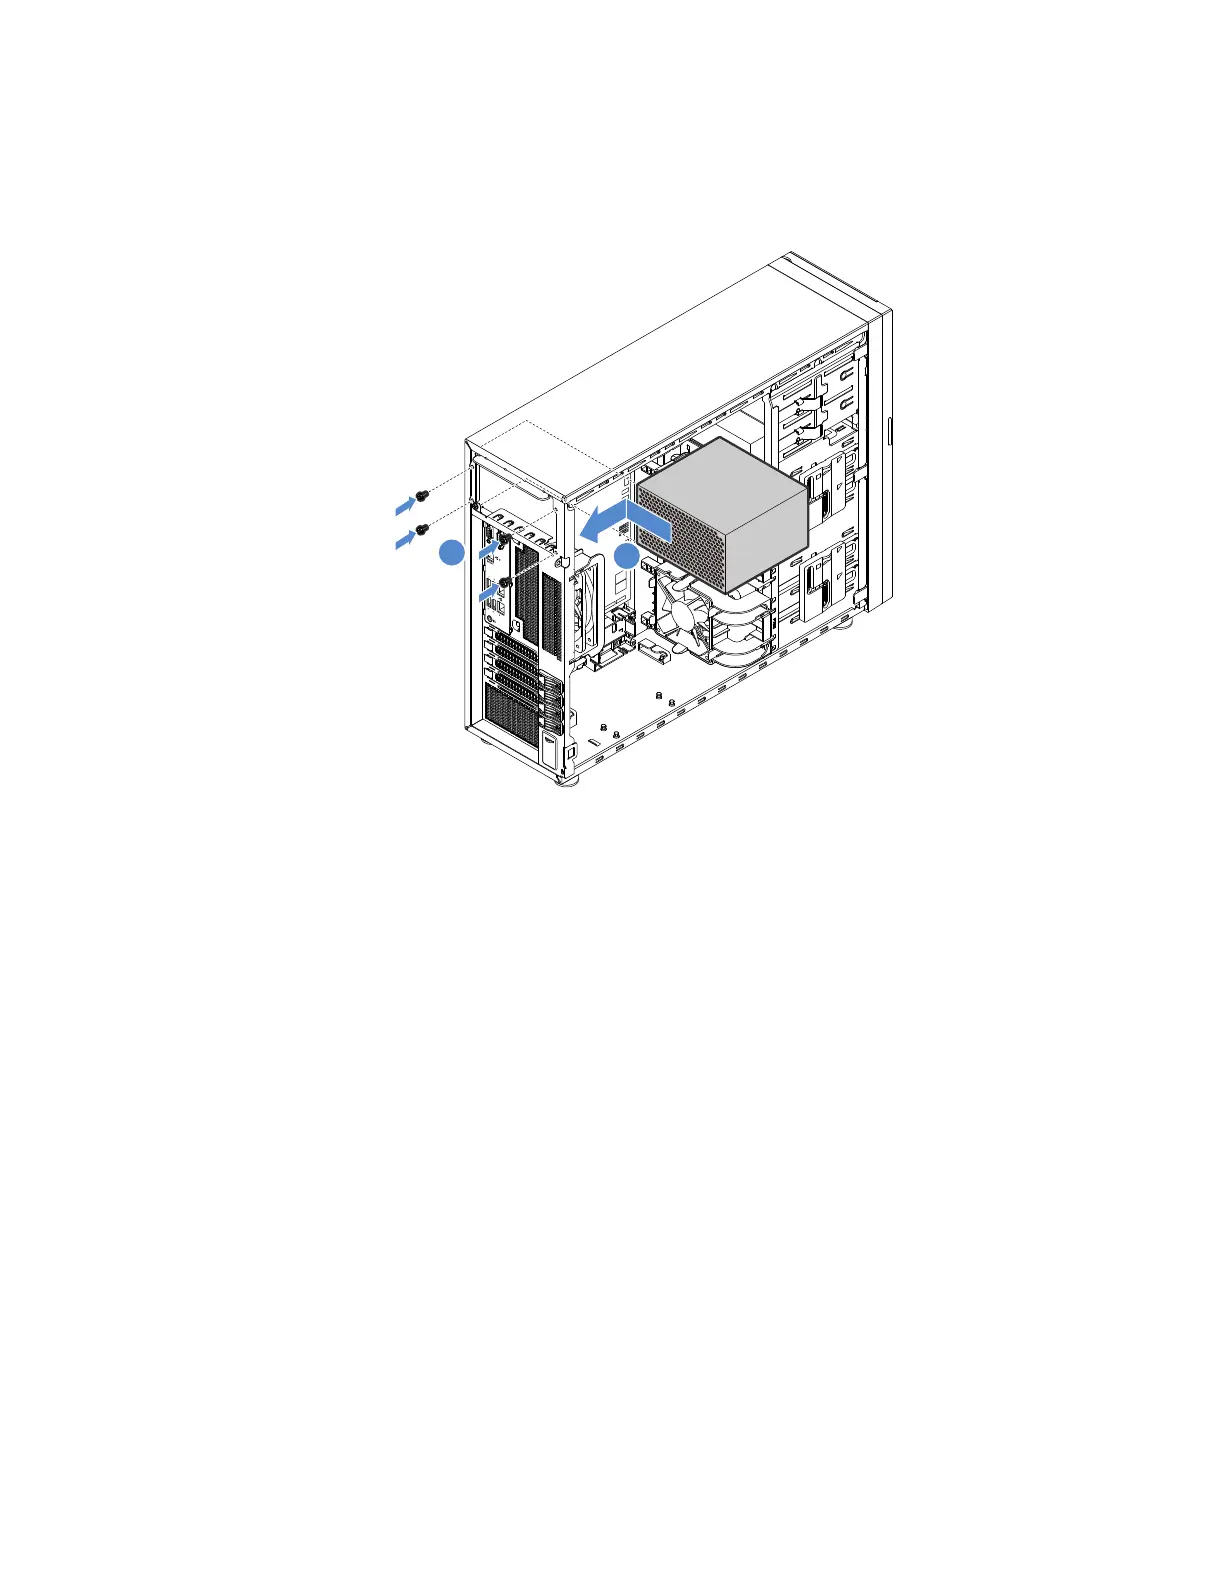
3.Installthenewnon-hot-swappowersupplyintothechassissothatthefourscrewholesinthenew
non-hot-swappowersupplyarealignedwiththecorrespondingholesintherearofthechassis.Then,
installthefourscrewstosecurethenewnon-hot-swappowersupplyinplace.
Figure57.Installingthenon-hot-swappowersupply
4.Connectcablestothenewnon-hot-swappowersupply.Then,properlyroutethecablesandsecurethe
cableswiththecableclipsandtiesinthechassis.
Intrusionswitch
Thistopicappliesonlytoservermodelsthathavetheintrusionswitchinstalled.
•“Removingtheintrusionswitch”onpage87
•“Installingtheintrusionswitch”onpage88
Removingtheintrusionswitch
Toremovetheintrusionswitch,dothefollowing:
1.Prepareyourserverandremovetheservercover.See“Preparingyourserverinadvanceandremoving
theservercover”onpage57.
2.Locatetheintrusionswitch.Then,disconnecttheintrusionswitchcablefromthebranchconnectoron
thefrontpanelconnector2.
Chapter5.Replacinghardware87