© Copyright Lenovo 2017 Chapter 4: Removing and Replacing Components 75
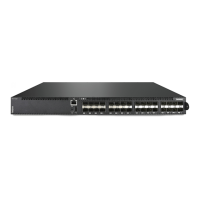
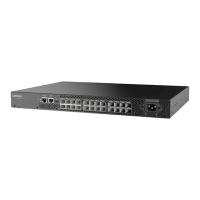
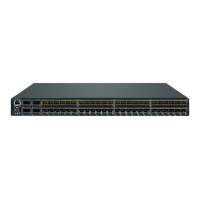
Replacing the NE1032T
Preparing and Returning the NE1032T
IfreplacingtheNE1032T,removeallassociatedcomponentsandoptions
accordingtotheinstructionsinthischapter.Removeandretainclips,cords,cables,
modules,capsorblanks,air‐ductoption(ifinstalled),andanymounting
hardware.Theseitemscanthenbereinstalledonthereplacementunit.
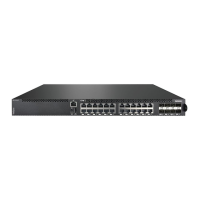
WhenyouremovetheNE1032T
fromtherack,recordtheproductMachine
Type‐Model(MTM)numberandserialnumbertouseforthereplacementswitch.
See“BeforeInstallingtheNE1032T”onpage 34tolocatetheproductinformation
labelsontheswitchorthroughtheswitchfirmwareinterface.
Toreturnthechassistocustomerserviceforreplacement,
seeAppendixA,
“GettingHelpandTechnicalAssistance“tohelpyougatheralltherequired
informationthatisnecessarytoreturnacomponent.Afteryouremovethe
NE1032Tunit,securelypackitforshipping.
Replacepowerandfanmodules.Fordetails,see“RemovingandReplacinga
PowerSupplyModule”onpage 61
and“RemovingandReplacingaFanModule”
onpage 65.
InstallthereplacementNE1032ThardwareasdirectedinChapter 3,“Installing
NE1032THardwareandOptions“).Oncethehardwareisinstalled,configurethe
VitalProductData(VPD)onthereplacementswitchasshowninthefollowing
section.
Configuring Vital Product Data
AfteryouinstallthereplacementNE1032Thardware(thenewunit),youmust
configurethenewunittousetheVPDoftheunitwhichwasremoved(theold
unit),inordertoavoidlosinganylicensedelectronicentitlementdata.The
requiredinformationconsistsoftheoldunit’sMTMandserialnumber,
whichwas
collectedfromtheoldunitaccordingto“BeforeInstallingtheNE1032T”on
page 34.
ToconfiguretheVPDonanewswitch,completethefollowingsteps.
1. LogintothenewNE1032TasdirectedinChapter 5,“Initializingthe NE1032T“.At
theloginprompt,thedefaultusernameisadminand
thedefaultpasswordis
admin.
2. UsethefollowingCLIcommandstoentertheExecutiveconfigurationmode:
NE1032T> enable
NE1032T# configure [device]
NE1032T(config)#
 Loading...