4 Press or repeatedly until the setting you want appears.
5 Press , and follow the instructions on the display.
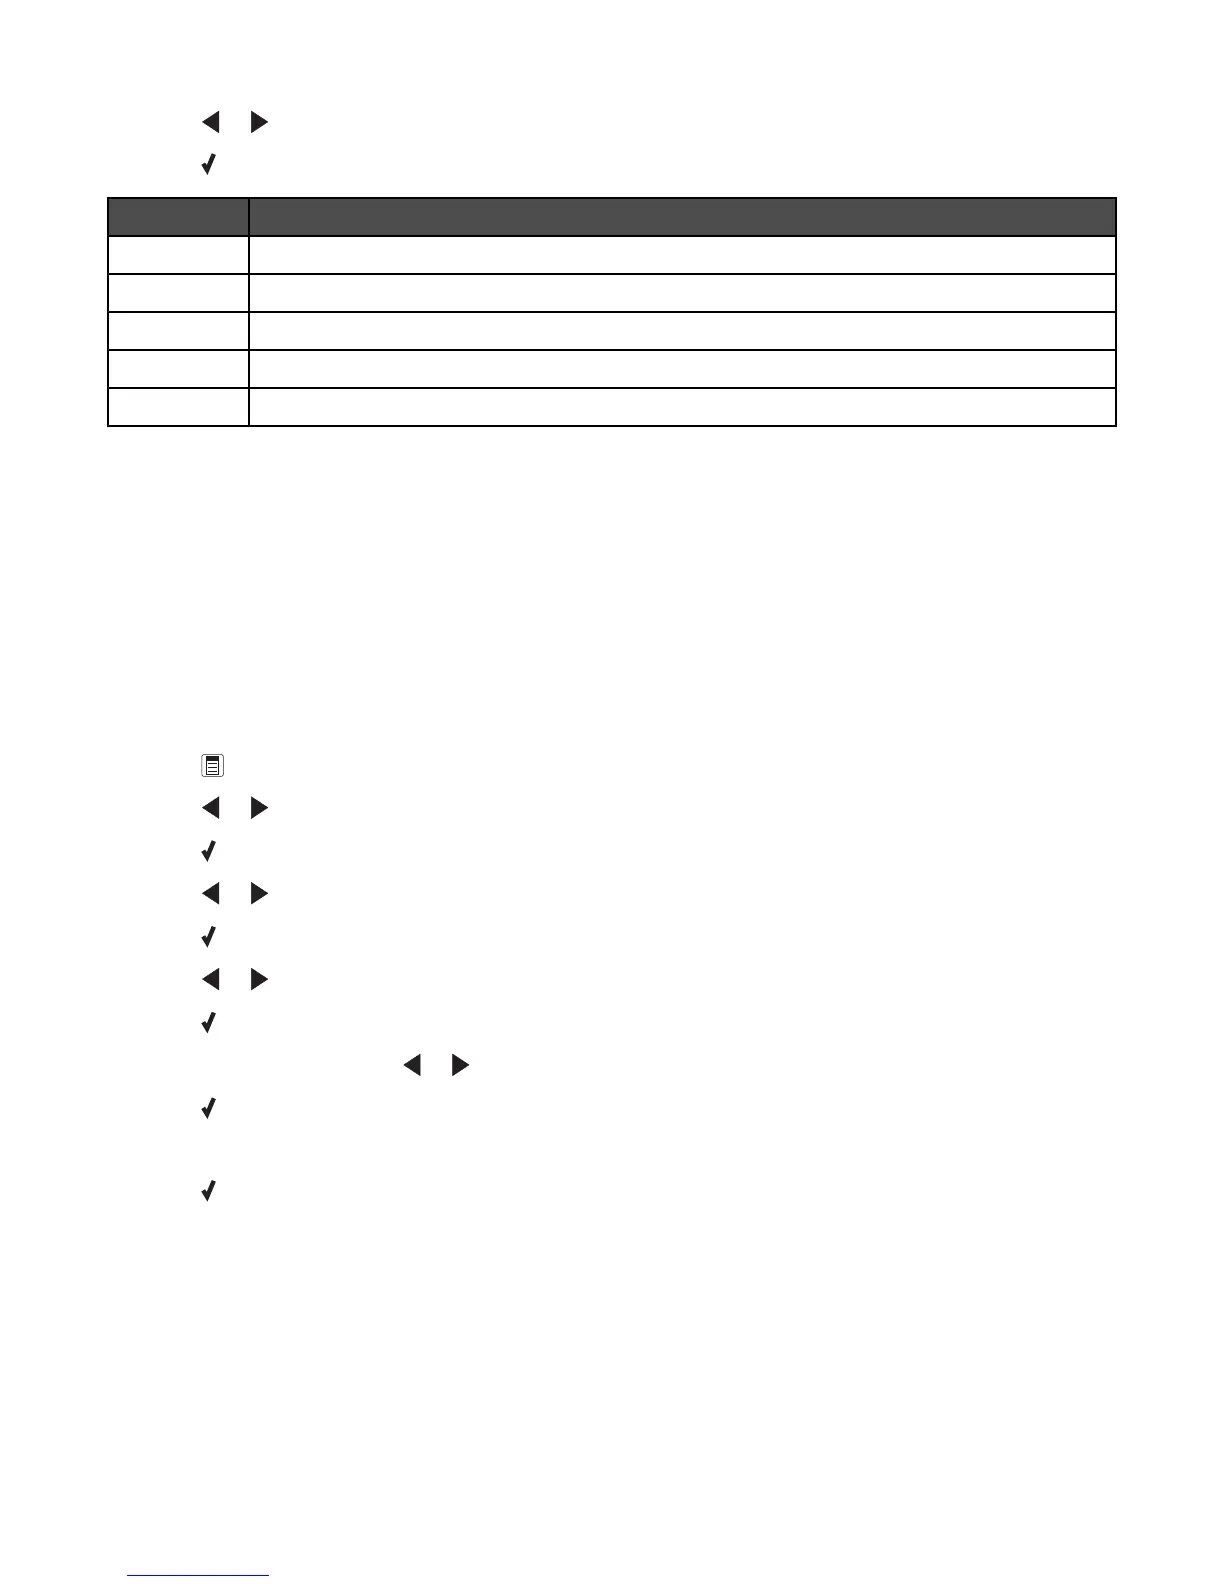
Use this To
View View Phonebook entries.
Add Create a new Speed Dial or Group Dial entry.
Remove Delete a Speed Dial or Group Dial entry.
Modify Edit a Speed Dial or Group Dial entry.
Print Print all Speed Dial and Group Dial entries in the Phone Book.
Note: For instructions on how to add Speed Dial or Group Dial entries to the Phonebook using the computer, see
the related topic, “Setting up speed dial.”
Related topics:
• “Setting up Quick Dial buttons using the control panel” on page 26
Setting up a dialing prefix using the control panel
You can add a prefix of up to eight characters to the beginning of each number dialed. Characters can include
numbers, the symbols * and #, or a three-second pause created by pressing Redial / Pause. The pause appears as
a comma on the display.
1 From the control panel, press Fax Mode.
2 Press .
3 Press or repeatedly until Fax Setup appears.
4 Press .
5 Press or repeatedly until Dialing and Sending appears.
6 Press .
7 Press or repeatedly until Dial Prefix appears.
8 Press .
9 To change the setting, press or repeatedly until Create appears.
10 Press .
11 Enter the prefix to be dialed before each telephone number.
12 Press to save the setting.
Related topics:
• “Using the control panel” on page 95
Faxing using the control panel
25