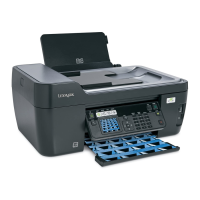
Scanning documents or images for e-mailing
When you want to scan a new item and send it through e-mail:
1 Load an original document facedown into the Automatic Document Feeder (ADF).
2 From the Finder desktop, double-click the Lexmark 5000 Series folder.
3 Double-click the Lexmark 5000 Series Center icon.
4 From the “What is being scanned?” menu, select a document type.
5 From the “How will the scanned image be used?” menu, choose To be viewed on monitor/web page.
6 From the “Send scanned image to” menu, choose an application.
7 Click Scan.
8 Retrieve the scanned image from the application, and send it through e-mail as an attachment.
Related topics:
• “Loading original documents into the Automatic Document Feeder (ADF)” on page 19
Saving a scanned image
1 Make sure the printer is connected to a computer, and both the printer and the computer are on.
2 Load an original document facedown into the Automatic Document Feeder (ADF).
3 From the Finder desktop, double-click the Lexmark 5000 Series folder.
4 Double-click the Lexmark 5000 Series Center icon.
5 From the “Send scanned images to” pop-up menu, choose the application where you want to save the scanned
image.
6 Adjust the settings as needed.
7 Click Scan.
8 Enter the file name, format, and location where you want the scanned image to be saved.
9 Click OK.
Related topics:
• “Loading original documents into the Automatic Document Feeder (ADF)” on page 19
Canceling a scan job
• To cancel a scan job before your document is pulled down into the Automatic Document Feeder (ADF),
press
.
• If you have loaded a document into the Automatic Document Feeder (ADF) and the printer roller has started
pulling it into the printer, but you have not yet initiated your scan job:
1 Pull the control panel up.
2 Gently lift your original document out of the ADF.
3 Push the control panel down until it snaps into place.
• To cancel a scan job in the All-In-One Center, click Cancel on the scanning progress dialog.
Related topics:
• “Using the control panel” on page 95
Scanning
76
 Loading...
