23
Using the Setup Menu
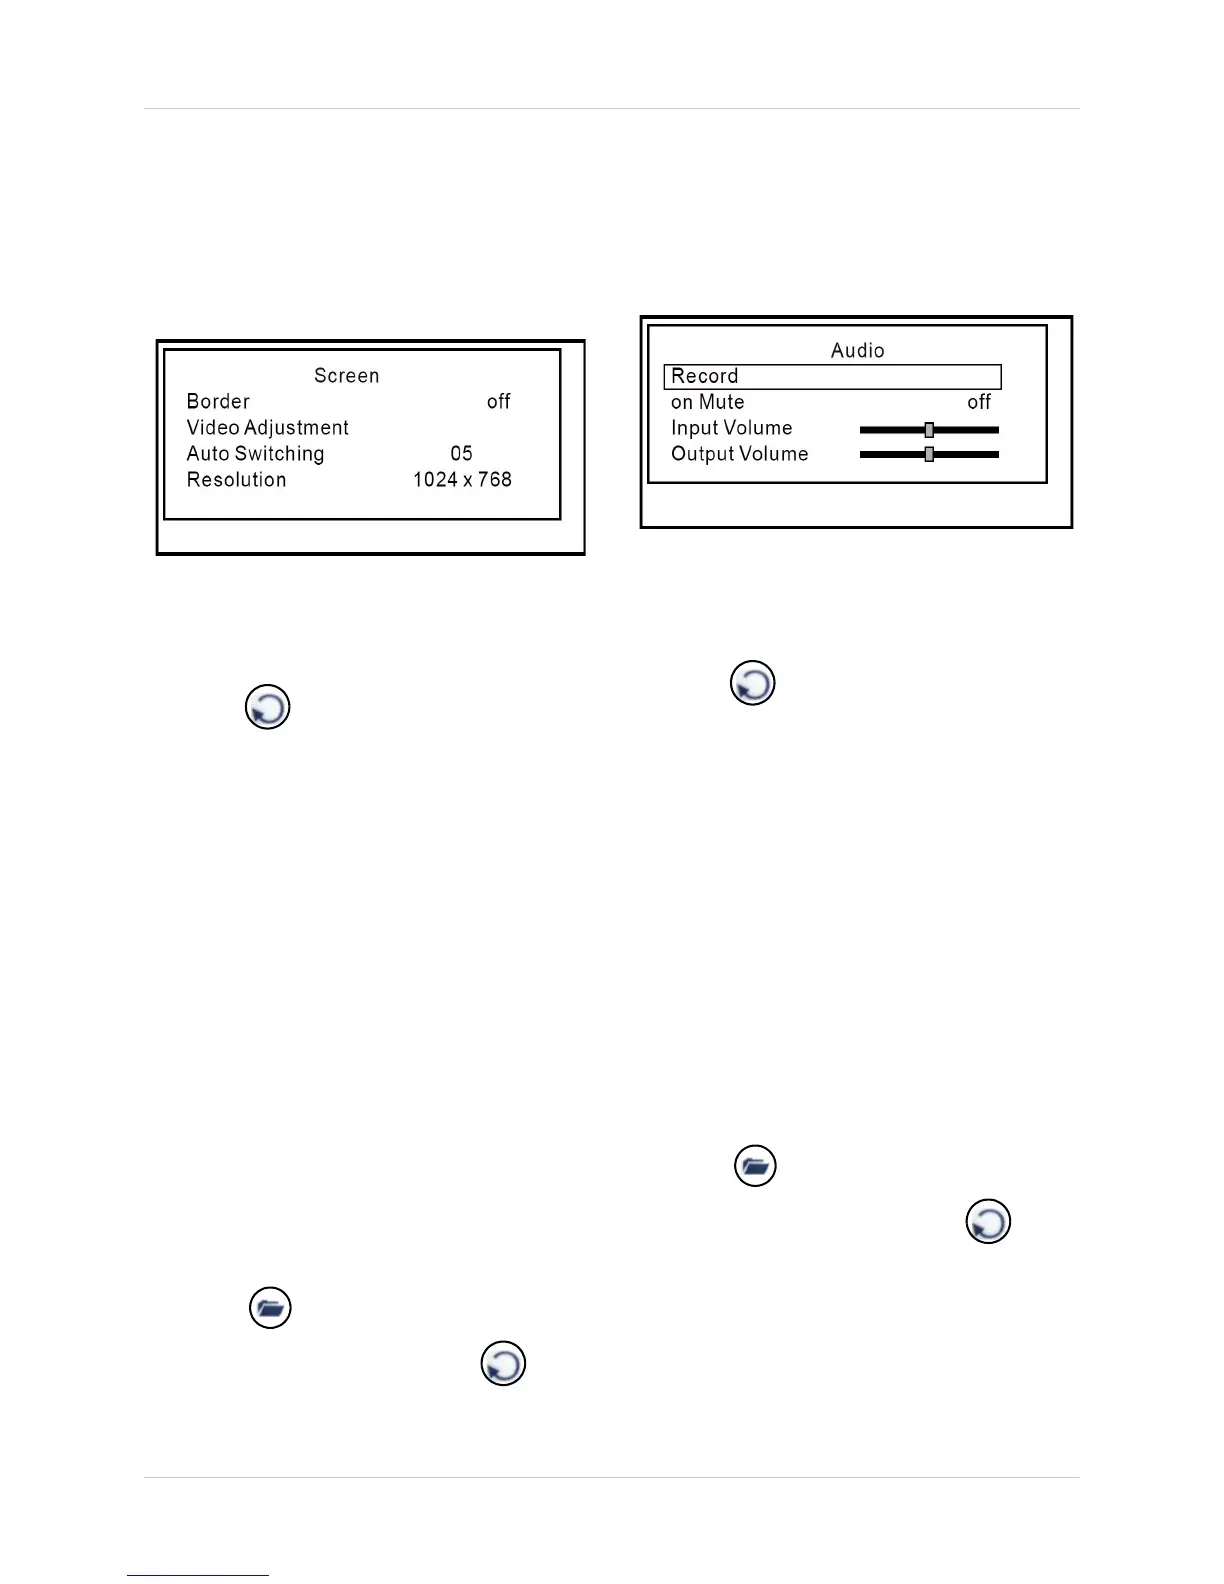
Screen
Use the Screen menu to set resolutions, turn
the channel border on/off, adjust the main
display position, and set the dwell time for Auto
Sequence Mode..
Figure 14.0 Screen menu
To configure screen settings:
1. From the Setup Menu, select Screen and
press
. The Screen menu opens.
2. Select Border and press to select
On/Off. If On, a white border appears in
Quad mode dividing the quadrants of the
main display screen.
3. Select Video Adjustment and press .
The menu disappears. Press
to
adjust the vertical and horizontal position
of the main display.
4. Select Auto Switching and press to
set the dwell time for Auto Sequence
mode from 1~10 seconds or Off. The
higher the time, the longer the single
channel will remain on-screen during Auto
Sequence mode.
5. Select Resolution and press to set
the display resolution at 640x480,
800x600, 1024x768 (default), or
1280x1024.
6. Press until the Exit menu appears.
Select Save & Exit and press to
save your settings.
Audio
Use the Audio menu to enable/disable audio
recording, change audio input/output volume,
and enable/disable mute.
Figure 15.0 Audio menu
To configure audio settings:
1. From the Setup Menu, select Audio and
press
. The Audio menu opens.
2. Select Record and press to turn
audio recording On/Off.
Note: If audio recording is enabled, you
must connect line-in audio (RCA) to the
Audio-In port on the rear panel of the
system.
3. Select Mute and press to Mute On/
Off. If off, all audio on the system will be
disabled (input and output).
4. Select Input Volume and press to
increase/decrease the slider.
5. Select Output Volume and press to
increase/decrease the slider.
6. Press until the Exit menu appears.
Select Save & Exit and press to
save your settings.