31
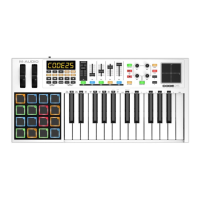
Zone Channel
You can set each zone to a different MIDI channel. Each zone (controls and keys) can then control
a different virtual instrument or synthesizer (set to receive MIDI messages on those channels).
By default, all zone channels are set to Channel “00,” which is the global channel (see
Channels > Global Channel to learn about this). If you want each zone to control only a
specific virtual instrument or synthesizer, you should set each zone to a different channel, and
then set each virtual instrument or synthesizer to receive messages on those channels.
Note: Preset 12 has some keyboard zones and controls set to different channels as it controls
both Hybrid and Loom virtual instruments simultaneously.
To set the MIDI channel for a zone:
1. Press and hold Zone for 1 second to enter Zone Edit Mode. The active Zone Buttons 1–4
will flash.
2. Press one of Zone Buttons 1–4 to edit that zone. Alternatively, you can press multiple
Zone Buttons 1–4 to edit those zones simultaneously.
3. Press and hold Shift and then press the Zone Chan key. The display will show CHN and
the zone’s current MIDI channel.
4. Enter the desired MIDI channel by doing one of the following:
• While holding Shift, use the numeric keys (0–9) to enter a channel (00 or 01–16).
• Use the Preset Down/Up () buttons to select a channel (00 or 01–16).
5. While holding Shift, press the Enter key.
6. To set the MIDI channel for another zone, repeat Steps 2–5.
To exit Zone Edit Mode, press Zone.
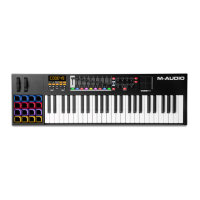
You can also assign other controls to the same MIDI channel as a keyboard zone. This does
not mean the control is assigned to that zone—just that it will use the same channel.
To assign a control to a zone channel:
1. Press Edit to enter Edit Mode. The Edit button will light up.
2. Press or move the desired key or control. The control’s number will appear in the display.
3. Press the
Chan Assign key. The display will show CHN and then show the button’s
number and current MIDI channel or zone channel.
4. Use the numeric keys (0–9) or the Preset Down/Up () buttons to enter the desired
zone (17–20 or z1–z4).
Note: This process is the same as assigning a control to a channel. Values 00 and 01–16
correspond to Code 61’s global channel and the 16 available MIDI channels. Values 17–20
correspond to channels used by Zones 1–4 (z1–z4).
5. Press the Enter key. The button will be assigned to that channel, and you will exit Edit
Mode.
To cancel your changes instead, press Edit. You will exit Edit Mode without saving anything.
Remember to store the preset if you want to save your changes in that preset.