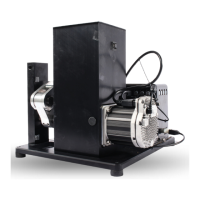
Digital Clutch Setting
The digital clutch should be set at the lowest possible setting to produce quality ammunition.
The Mark 7® Autordrive is shipped with the digital clutch set at 0; this will need to be increased
for operation. Settings “1”, “2” or “3” should accommodate the vast majority of pistol calibers.
Rifle calibers require higher settings.
WARNING – Never put more than 100 primers in your Dillon press.
WARNING – Please be very careful to not over or under index the machine – double
loads and squibs can occur as a result of this situation and it is your responsibility to
know when the press has created this situation. An example is: the digital clutch
engages at the bottom of the stroke –a primer is already inserted in one case and powder
in another. You Jog Up to fix the jam and then activate Run on the press. This would
create a potentially dangerous situation. The correct resolution of this is to turn the
press off, remove the power. Manually manipulate the press to fix the impacted areas,
clear the press, and start the loading process again while discarding the affected rounds.
WARNING – The digital clutch setting will have an effecting change at higher production
rates of the Mark 7® Autodrive. For example, loading .40 S&W at 1400 rounds per hour
with the digital clutch setting of 4, you may be able to reduce the digital clutch setting to
2 loading at 900 rounds per hour. You should always have the digital clutch setting at the
appropriate level for you desired production rate.
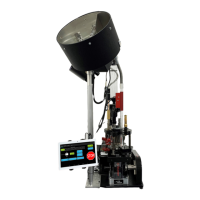
- Clearing Jams
There are many types of jams that can occur when operating the Mark 7® Autodrive. Some are
obvious and some are not.
Because there are some many types of jams in reloading it is beyond the scope of this manual
to cover all types. However, we will cover strategies to employ in clearing jams.
1. When the press stops due to the digital clutch engaging you should first attempt to clear
the issue causing the jam and then use the jog buttons to see if you can clear the jam. If
you run into a jam where you can’t jog up but can see what has caused the jam press
STOP twice, this will put the motor in neutral. The LED on the back of the motor will be a