Instruction Manual
38
– Instruction Manual
(continue)
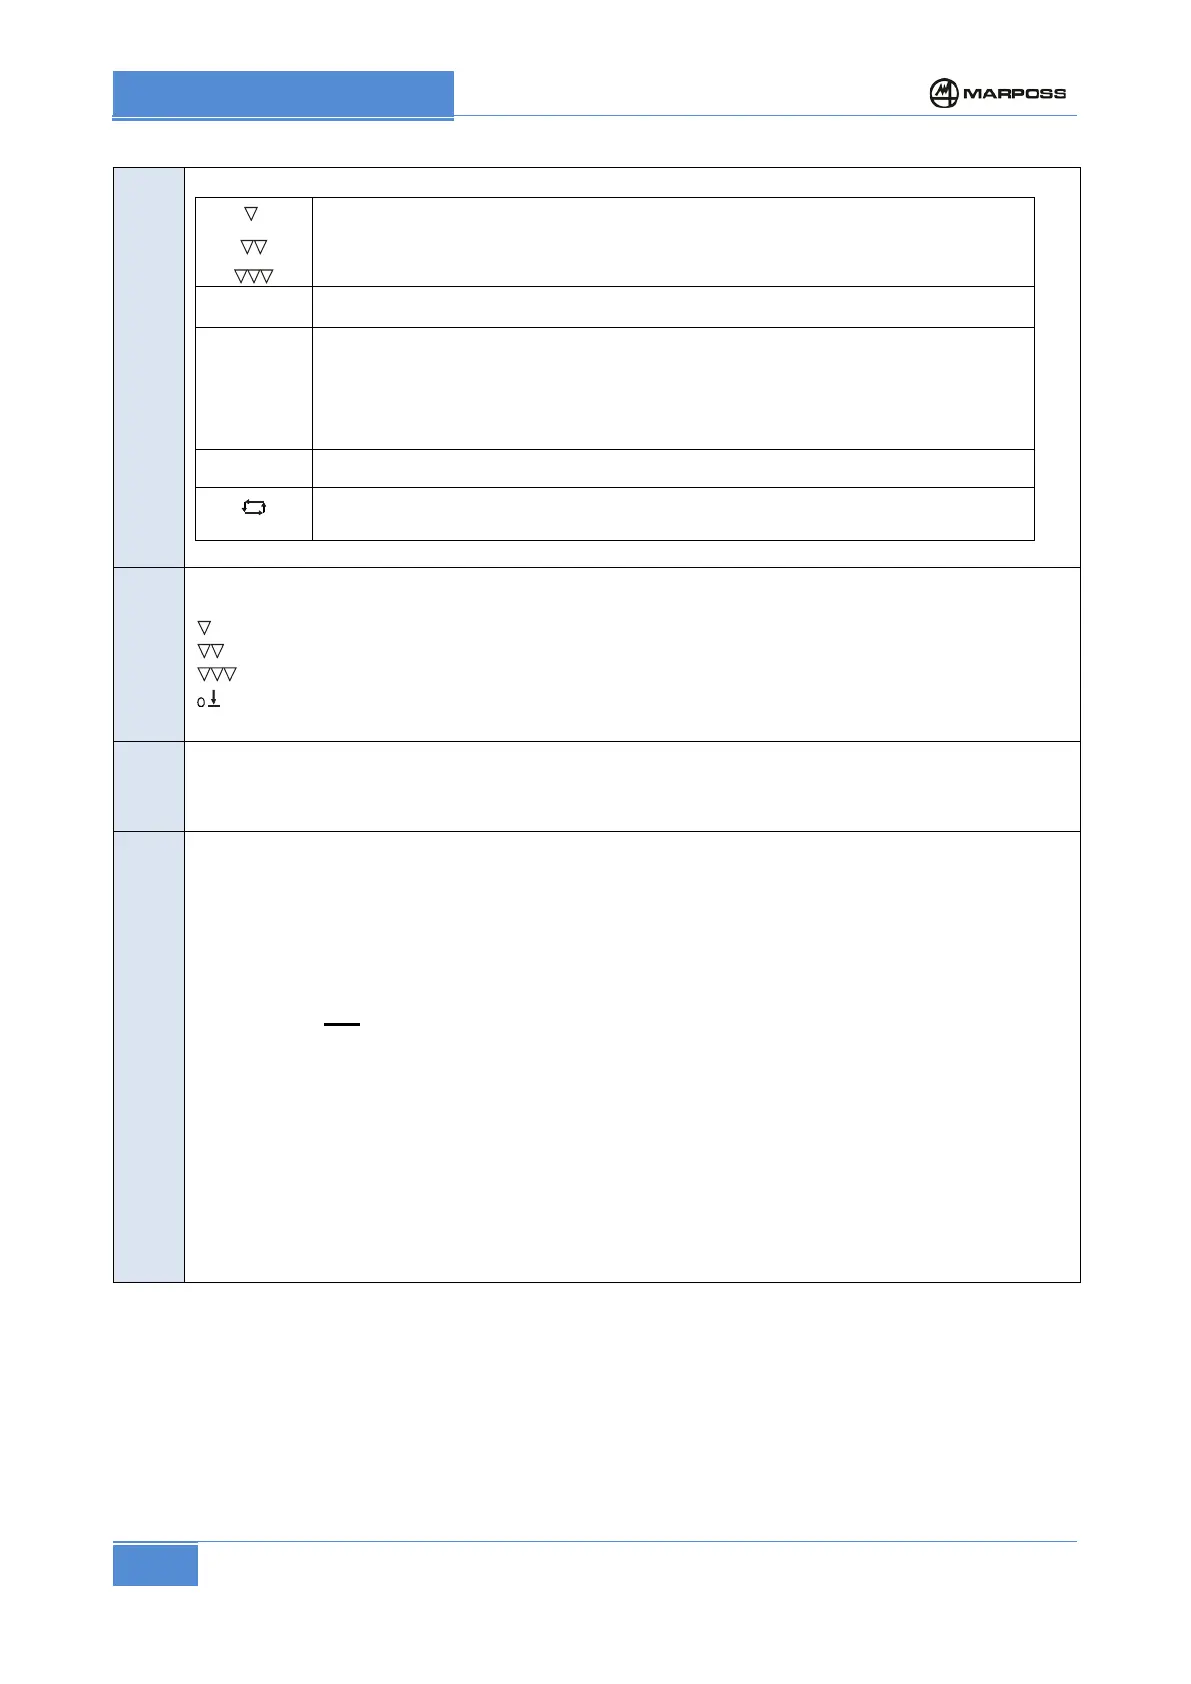
Function selector:
,
display / setting of zero correction value
display / setting of “delay time ”
1, 2, 1+2
selection of contacts for zero-setting execution
- position 1: 1-contact measurement or first contact with 2-contact
measurement
- position 2: second contact with 2-contact measurement
- position 1+2: sum of the two contacts (2-contact measurement)
Adj
Display / setting of zero correction value
Electronic amplifier in Automatic; the control signals are supplied at output.
During the normal operation, the selector must be in this position.
Control led.
They light up to indicate that the relevant control has triggered
3
rd
control
2
nd
control
1
st
control
zero control (final dimension)
7
“Start Cycle” Led. Lit on when the head is at home position. It lights off to indicate the starting of
time delay with subsequent machining cycle.
Pushbuttons with led for zero adjustment.
The adjustment range
+/- 100 µm
resolution 0.2 µm (+/- .004”
resolution .00001”)
or
+/- 500 µm
resolution 1 µm (+/- .020”
resolution .00005”)
depends on the configuration of the electronic unit (see “
Coding plan of
” on page 18).
Zero adjustment can be obtained in two ways:
• by steps: when the pushbutton is pressed there is an increase (+) or decrease (-) of the
needle position corresponding to the resolution value
• continuous: by holding the button pressed the needle position is continuously increased
(+) or decreased (-) for a rapid zero adjustment.
The led corresponding to the button just pressed flashes to indicate that the value is being
changed; otherwise if the led lights up steadily it means that the end of the adjustment range has
been reached.
Press the two pushbuttons simultaneously to move to the center of the adjustment range.