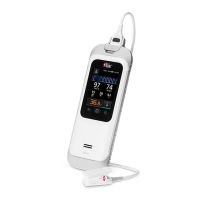
Rad-97 Service Manual Chapter 3: Service Procedures
Masimo Corporation 34 www.masimo.com
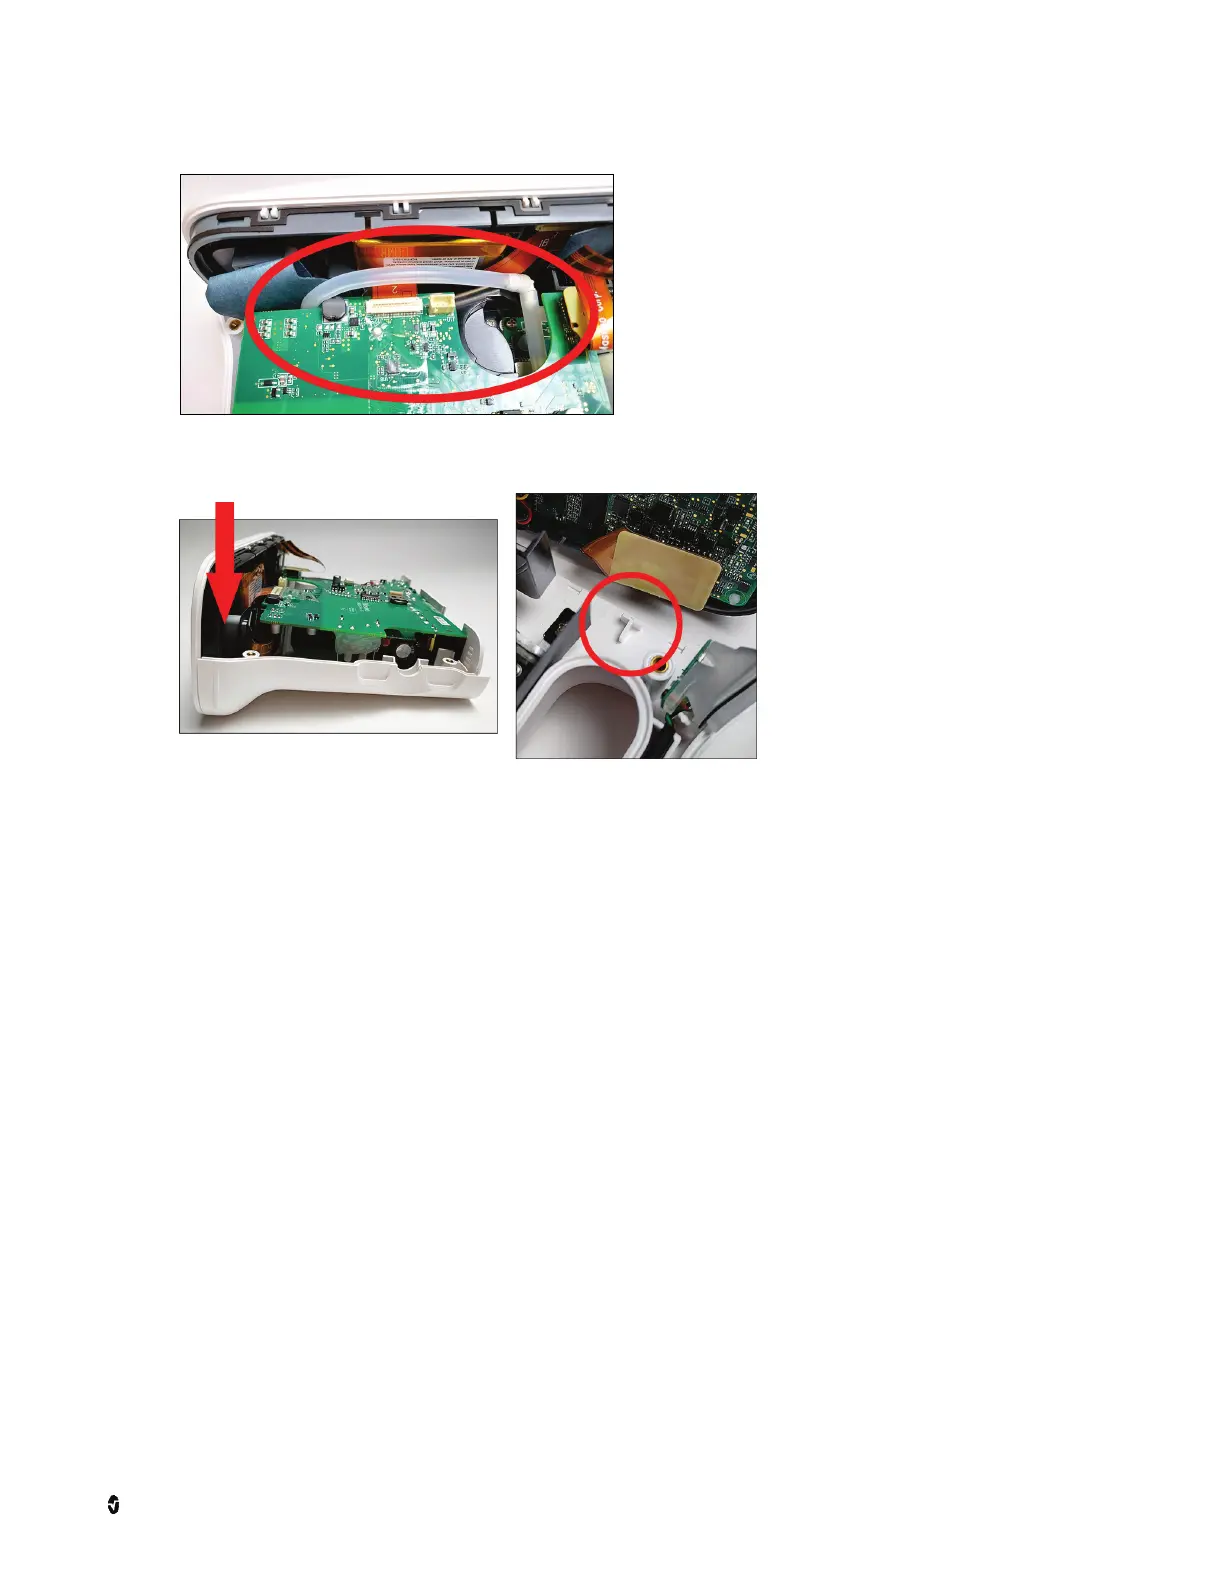
9. On Rad-97 NIBP models, ensure the hose is not pinched, stretched, or will not become restricted or pinched when the case halves are put back together. The
NIBP tube should remain above the circuit board when reassembling the device as shown.
10. On all models, rotate the faceplate and attach to the case at the T connections as shown. Slide down to fully engage the connections in the case.
11. Reassemble the device as instructed in Reassembly on page 17. After performing electrical safety testing and confirming proper operation as instructed in the
reassembly procedure, perform the Gas Gauge Programming procedure. See Gas Gauge Programming on page 34.
Gas Gauge Programming
CAUTION: Electrical Safety Testing must be performed prior to gas gauge programming.
Once the battery replacement procedure is complete, the safety tests (Chapter 4: Electrical Safety Testing on page 49), and all battery tests in the Battery Test section
have been completed (Chapter 5: Performance Verification Procedures on page 53) the Rad-97 software must be updated with the Battery Update USB Drive that is
included in the Battery Replacement Kit.
Update Procedure
To complete the battery software update, perform the following procedure:
1. Charge the device.
2. Power-on the device.
3. Plug the USB drive into the USB port on the back of the device.
• The update will perform automatically.
• A programming splash screen will appear and the device will power-off and power-on. The Home button on the front of the device will illuminate amber and
blink.
CAUTION: Do not power off device during upgrade. Interruption during the programming phase may cause the board to be unusable.
• When the update is complete, the Home button illuminates a steady green along with a single beep sound. The device will then power-off.
4. Remove the USB drive.
Update Verification
Power-on the device and verify the gas gauge programming was successful.
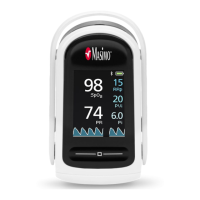
1. Select the battery in the top right corner.