4.3 Advanced Setup (continued)
Keyboard Setup
(optional)
To setup the keyboard follow manufacturer instruction for setup and plug
into analyzer keyboard port. See Section 2.3 for details.
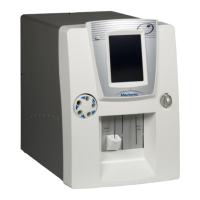
Start by pressing [ADVANCED] from the MENU tab.
Press [SETUP], then [SETUP MENU 2].
Press [REGIONAL SETUP], and then [MORE].
Press [KEYBOARD LAYOUT], and select keyboard type.
Press [EXIT] until Main Menu is reached.
Turn analyzer OFF, and then turn ON again for changes to take effect.
The analyzer is equipped with three different outputs for connection to a
computer (network).
1. USB output with USB device port connector.
2. USB memory stick
3. USB RS232 serial port adapter
To connect to a PC computer using a USB connector, simply plug in USB
connectors between analyzer and computer, and follow below instructions:
Start by pressing [ADVANCED] from the MENU tab.
Press [SETUP], then [SERIAL SETUP], and then [MORE].
To activate the USB connection to a PC computer, press [SELECT
SEND PORT] button, then type in [ 2 ], and then [OK] to save.
To activate the USB connection to a memory stick, press [SELECT
SEND PORT] button, then type in [ 3 ], and then [OK] to save.
To activate the USB connection to the RS232 serial port adapter,
press [SELECT SEND PORT] button, then type in [ 4 ], and then
[OK] to save.
 Loading...