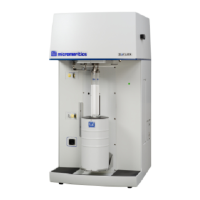
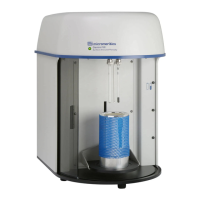
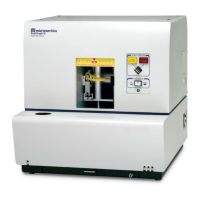
Verifying Operation SediGraph III 5120 Installation
22 Mar 2010
h. Move To Next Beaker; note that the display is updated to reflect the position of
the beaker tray. The picture on the screen should reflect whether or not a beaker is
present.
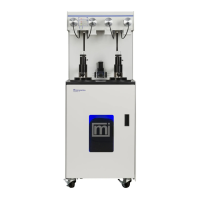
11. For each of the following steps, right-click on the MasterTech pump to display the pop-up
menu, then select:
a. Select Turn On; the MasterTech pump should begin operating (you will hear a
whirring sound and the pump will begin to operate).
b. Select Flow Direction Load; allows suspension to flow from the MasterTech to the
SediGraph. This direction is used to load the sample into the mixing chamber of the
SediGraph.
c. Select Flow Direction Rinse; allows suspension to move from the SediGraph to the
MasterTech. This direction is used to rinse the sample from the stirrer and transfer tube
on the MasterTech.
This concludes verification of operation of the system. If everything performed as described
above, proceed to performing a reference material analysis. If you encountered any problems,
refer to Chapter 9 of the SediGraph III 5120 Operator’s Manual for troubleshooting
procedures.
 Loading...
