Page 12/36
Page 12/36
Page 12/36
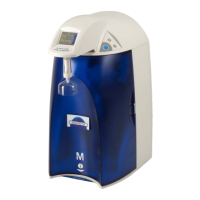
Filling the Integral Reservoir _______________________________
Figure 3
1. Raise the reservoir-locking handle to vertical position. (A)
2. Pull out the reservoir (B) using the locking handle.
3. Remove the reservoir cap (C) by twisting counter-clockwise 1/4 turn.
4. Fill the reservoir, re-install it and secure the locking handle into the body of the system.
Installing the Reservoir Vent Filter___________________________
1. Install the Reservoir vent filter (D) into the reservoir cap.
2. Replace the reservoir cap by twisting clockwise 1/4 turn
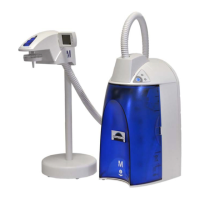
Installating the purification Pack ____________________________
Figure 4
1. Swing the Pack locking handle to the left by pressing on the locking tab (A).
2. Remove the two protective caps on the Simplicity connector (B).
3. Remove the two protective caps on the SimPak cartridge (C), Wet the two O-rings of the
Pack with a few drops of water.
4. Push the SimPak (D) firmly into the unit.
5. Secure the pak in place by closing the locking handle (E). The locking handle should
engage easily. If you need to force the handle, then the pack is not fully positioned into
the pack adapter.
INSTALLATION ___________________________________________
Filling the Integral Reservoir _______________________________
Figure 3
1. Raise the reservoir-locking handle to vertical position. (A)
2. Pull out the reservoir (B) using the locking handle.
3. Remove the reservoir cap (C) by twisting counter-clockwise 1/4 turn.
4. Fill the reservoir, re-install it and secure the locking handle into the body of the system.
Installing the Reservoir Vent Filter___________________________
1. Install the Reservoir vent filter (D) into the reservoir cap.
2. Replace the reservoir cap by twisting clockwise 1/4 turn
Installating the purification Pack ____________________________
Figure 4
1. Swing the Pack locking handle to the left by pressing on the locking tab (A).
2. Remove the two protective caps on the Simplicity connector (B).
3. Remove the two protective caps on the SimPak cartridge (C), Wet the two O-rings of the
Pack with a few drops of water.
4. Push the SimPak (D) firmly into the unit.
5. Secure the pak in place by closing the locking handle (E). The locking handle should
engage easily. If you need to force the handle, then the pack is not fully positioned into
the pack adapter.
INSTALLATION ___________________________________________