Image Optimization 5-43
Move the cursor over the VOI, and move the cursor to the desired area to adjust the VOI
curve.
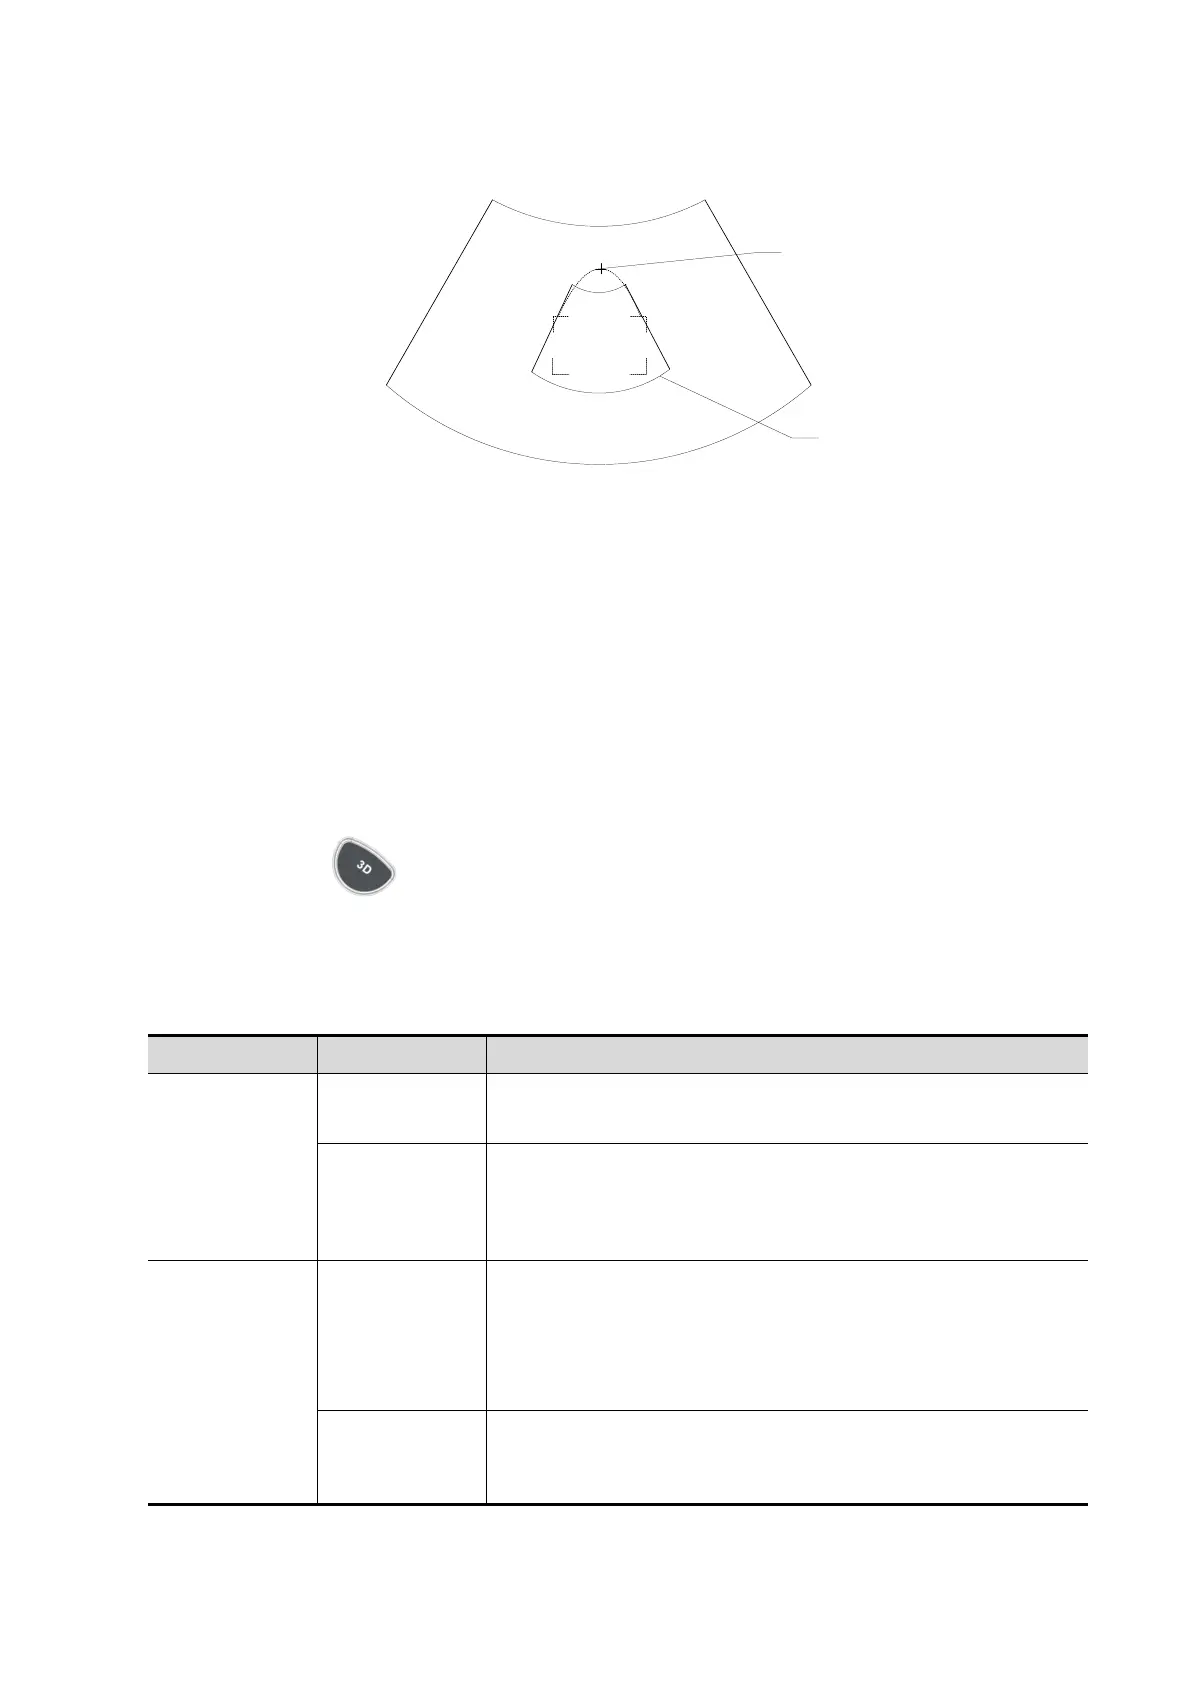
ROI
Cross cursor
on the VOI
curve
To setting the ROI, make sure:
Set ROI on the 2D image with the largest section area of the fetal face.
Set ROI a little larger than the fetal head.
To define a ROI, please try to cut the useless data as to reduce the time for image storing,
processing and reconstruction.
4. Select a render mode on the touch screen, set parameters like [Angle], [Image Quality] on the
touch screen accordingly.
5. Press <Update> on the control panel to start the 3D image acquisition.
The system enters into 3D image viewing status when the acquisition is completed.
In image viewing status, you can perform VOI setting, image editing and other operations. For
details, please refer to ―5.10.3.3 Static 3D Image Viewing‖.
6. Exit Static 3D.
Press <B> or to enter B mode.
5.10.3.2 Static 3D Acquisition Preparation
Parameters description:
Function: to set the range for imaging.
Range: 10-80°.
Function: to adjust the image quality by changing the line
density. Image quality can affect the imaging speed that the
better the image quality, the longer the time.
Range: Low2, Low1, Mid, High1, High2
Function: set Surface as 3D image rendering mode.
This is helpful for surface imaging, such as fetus face/hand or
foot.
Tips: you may have to adjust the threshold to obtain a clear
body boundary.
Function: set Max as 3D image rendering mode, displays the
maximum echo intensity in the observation direction.
This is helpful for viewing bony structures.