31
Taking Pictures (Cont’d)
Taking Pictures using the Viewfinder
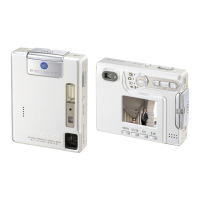
1. Opening the lens cover turns ON the power.
When the power comes ON, the LCD monitor
will be on. If you will be using the viewfinder, to
conserve your battery, press the DISPLAY
button and the LCD monitor will turn off.
• If the surface of the lens is dirty, gently wipe it
clean with a soft, dry cloth.
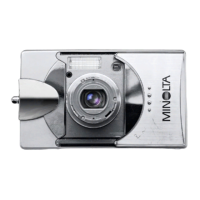
2. Looking through the viewfinder, compose
the photo you wish to take and determine
the size of the subject using the zoom
buttons. Also, put the auto focus mark on
the subject you wish to bring into focus.
• If you press the TELE (Telephoto) Zoom button,
the camera zooms in, while if you press the
WIDE (Wide-angle) button, it zooms out.
• If the subject you wish to focus on is not in the
screen center, use “Shooting with Focus Lock”
(p.34).
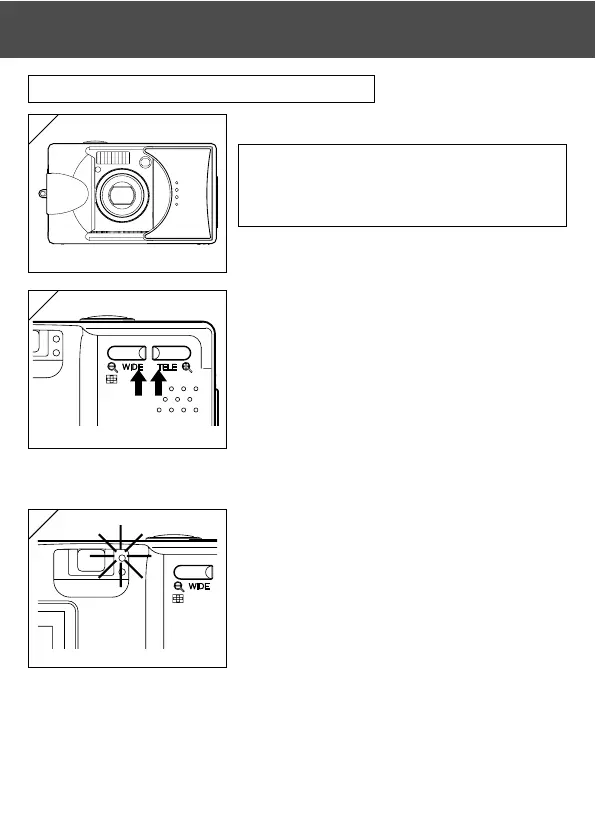
3. Press the shutter button half way and the
green LED will light, indicating that the focus
and exposure are locked.
• If it is difficult to focus, the green LED will flash.
See page 33.
• If the camera senses your shaking, the red
viewfinder LED will flash.
1
3
2
WT
 Loading...