44
Using the REC MenuAdvanced Shooting
- By using the REC menu, you can take pictures with your desired settings.
You can set the camera using the “REC (DETAILS) menu” (default setting),
or “REC (BASIC)” (p.67).
- The settings made with each menu will be maintained, even when power is
turned off, until the settings are changed, unless otherwise described.
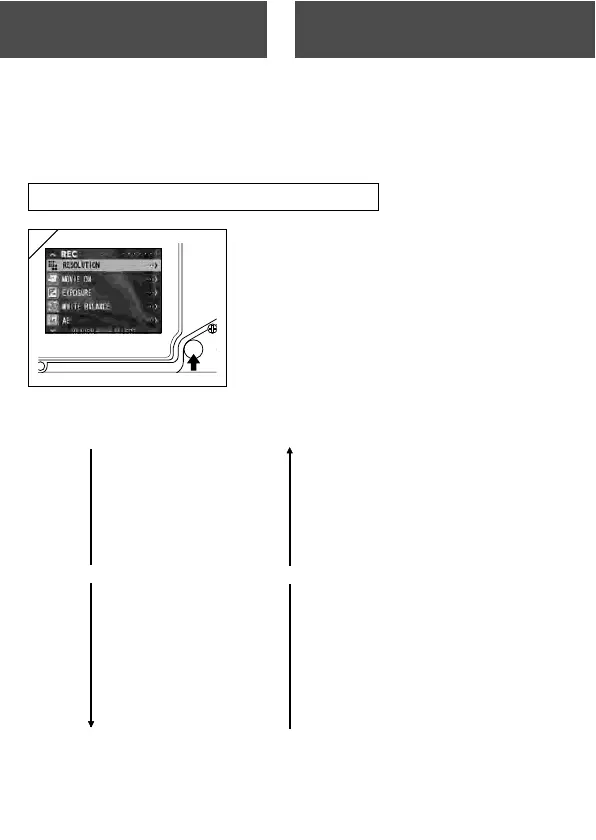
Setting with the REC (DETAILS) Menu
1. Turn the power ON, with the LCD monitor
on (through image display).
Pressing the MENU/SET button will display
the REC menu screen.
2. Select the menu you wish to set by pressing or . Every time the
button is pressed, the menu mode changes as follows;
RESOLUTION (→ p.46)
MOVIE ON (→ p.49)
EXPOSURE (→ p.51)
WHITE BALANCE (→ p.52)
AE (→ p.54)
MONOCHROME (→ p.55)
DIGITAL ZOOM (→ p.56)
MONITOR ADJ. (→ p.57)
VOICE (→ p.58)
ADD REC (→ p.59)
SLOW SHUTTER (→ p.61)
MAN EXPOSURE ON (→ p.62)
QUALITY (→ p.64)
SETUP (→ p.66)
RETURN
1
 Loading...