43
Using the Self-Timer
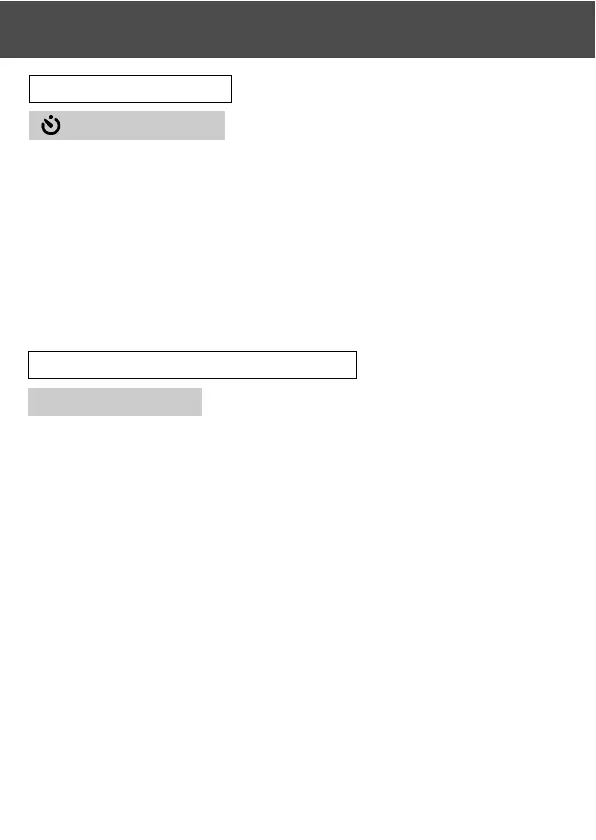
Self-Timer Mode
- Use a tripod.
- When the shutter button is pressed, the self-timer LED comes on, and
after 10 seconds, a picture will be shot.
• If you wish to cancel the self-timer function, close the lens cover.
• After a picture is taken, the self-timer mode (10-second delay) will be cancelled. If
you wish to use the self-timer repeatedly, set the mode every time you take a picture.
• The activation time for the self-timer can be also set at “3-second delay” by using
the set-up menu (p. 103). If you set the self-timer for a 3-second delay, the setting
is effective even after shooting so that you can continue to take a picture using the
self-timer.
Taking photographs by fixing focus
Fixed focus mode
- Use this mode if you want to take photographs using fixed focus.
- Distance can be set to 4m, 2m or 1m.
• This mode is set to OFF as a default. In order to use this mode, select “MACRO” in
custom mode menu and then set the mode setting to ON (p.109,3).
Selecting the Shooting Mode (Cont’d)