2.8.2 Mounting Outdoor Cameras to a Wall
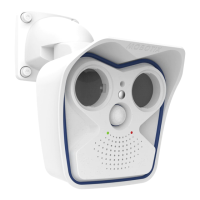
In conjunction with the Outdoor Wall Mount, the D12 can be mounted outside for
enhanced outdoor surveillance. Together with the Outdoor Wall Mount, the MO-
BOTIX D12 reaches protection class IP65 (absolutely dustproof, resistant against
water jets). Operating temperatures may vary between -30°C and +60°C (-22°F to
140°F), making it the ideal camera for the most demanding weather situations. In
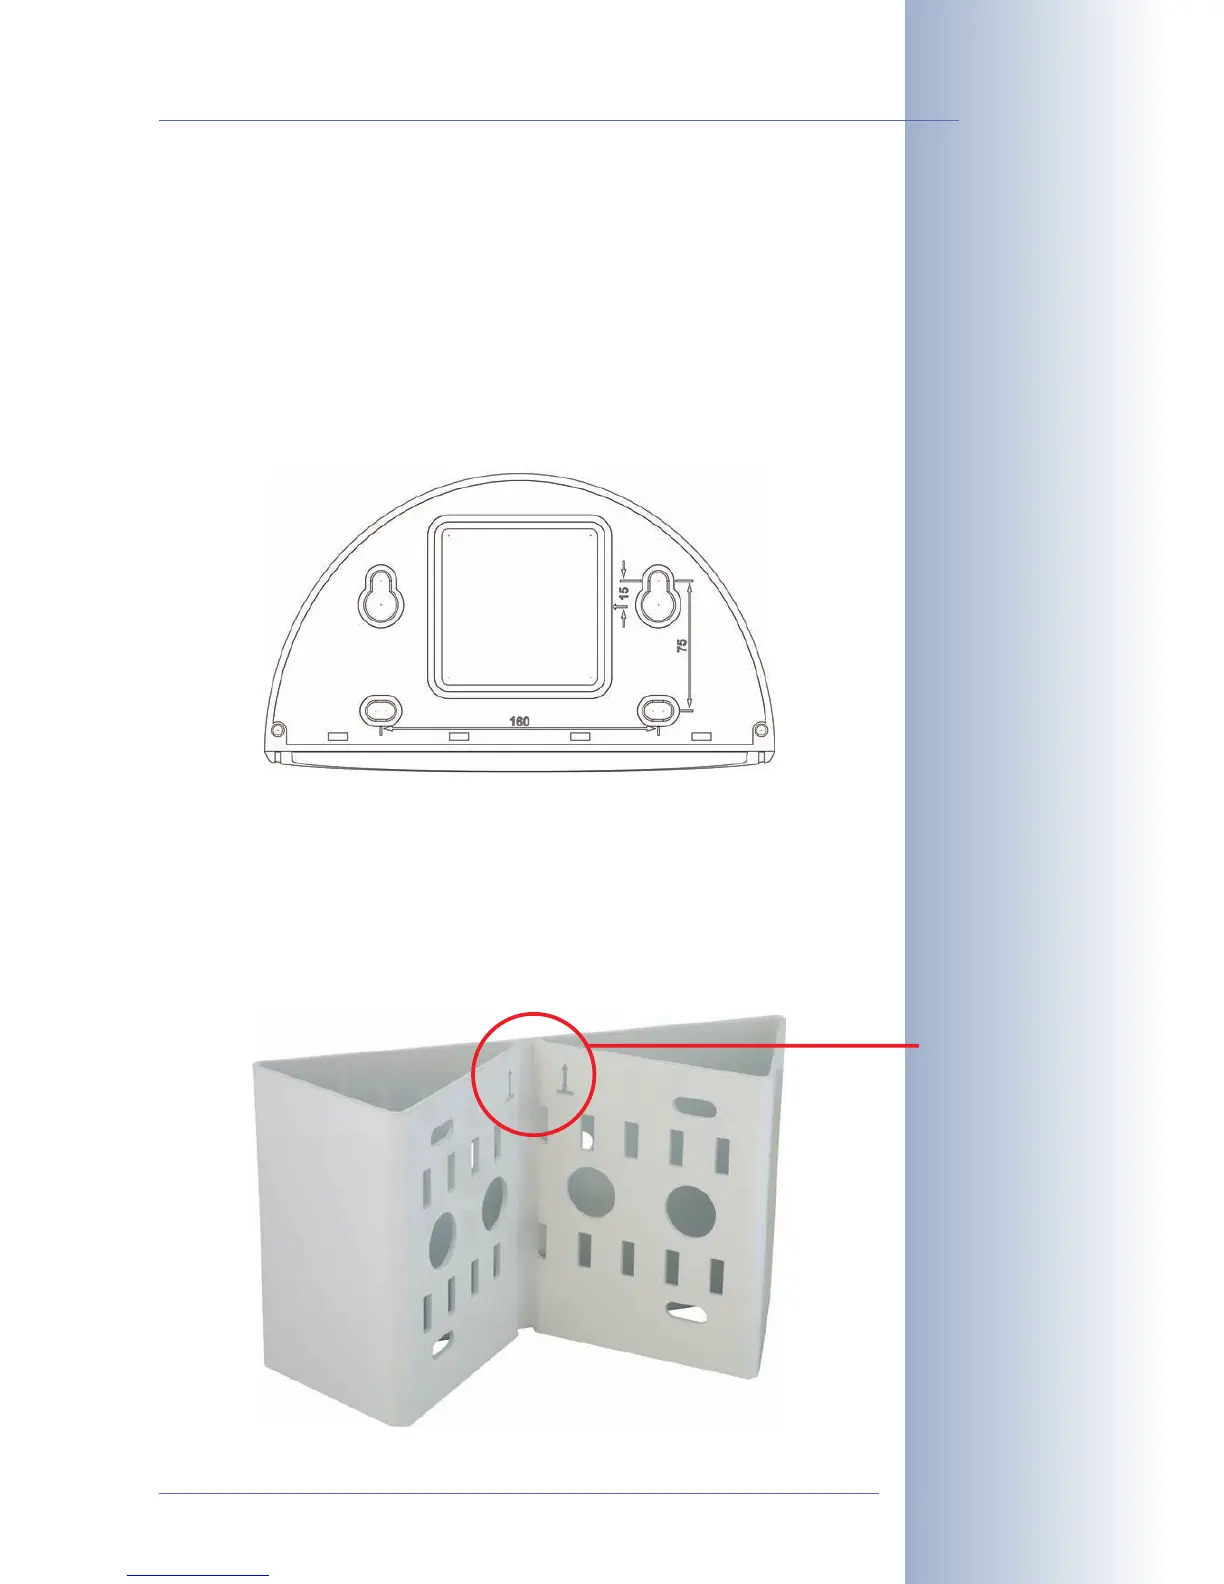
order to mount the MOBOTIX D12 with the Outdoor Wall Mount, you need to pre-
pare the holes for the fixtures. Use the supplied
drilling template
to mark the posi-
tion of the holes for the fixtures and the holes through which the cables will be led
later on (fold-out).
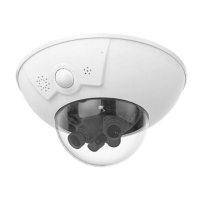
2.8.3 Mounting Outdoor Cameras to a Wall or Pole
If you would like to mount the MOBOTIX D12 to the corner of a building or a pole,
you should consider using the MOBOTIX Corner and Pole Mount. The Corner and
Pole Mount can be used only together with the Outdoor Wall Mount. The supplied
stainless steel straps allow fixing the mount to poles with diameters between 60
and 180mm (2.4 to 7.1in).
© MOBOTIX AG • Security-Vision-Systems • Made in Germany
www.mobotix.com • sales@mobotix.com
53/132
D12 Camera Manual Part 1
Please also observe the
general hints in section
2.15 on mounting the
camera to different sur-
faces!
Find the folded drilling
templates at the end of
the manual!
Make sure that the drill-
ing template is not scaled
down when printing!
Make sure that the
arrows are pointing up-
wards when mounting!