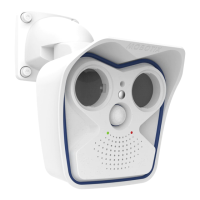
2.13.4Mounting the Dome and the Camera's Outer Shell
Once the wall mount and the camera have been mounted, it's time to mount the
dome:
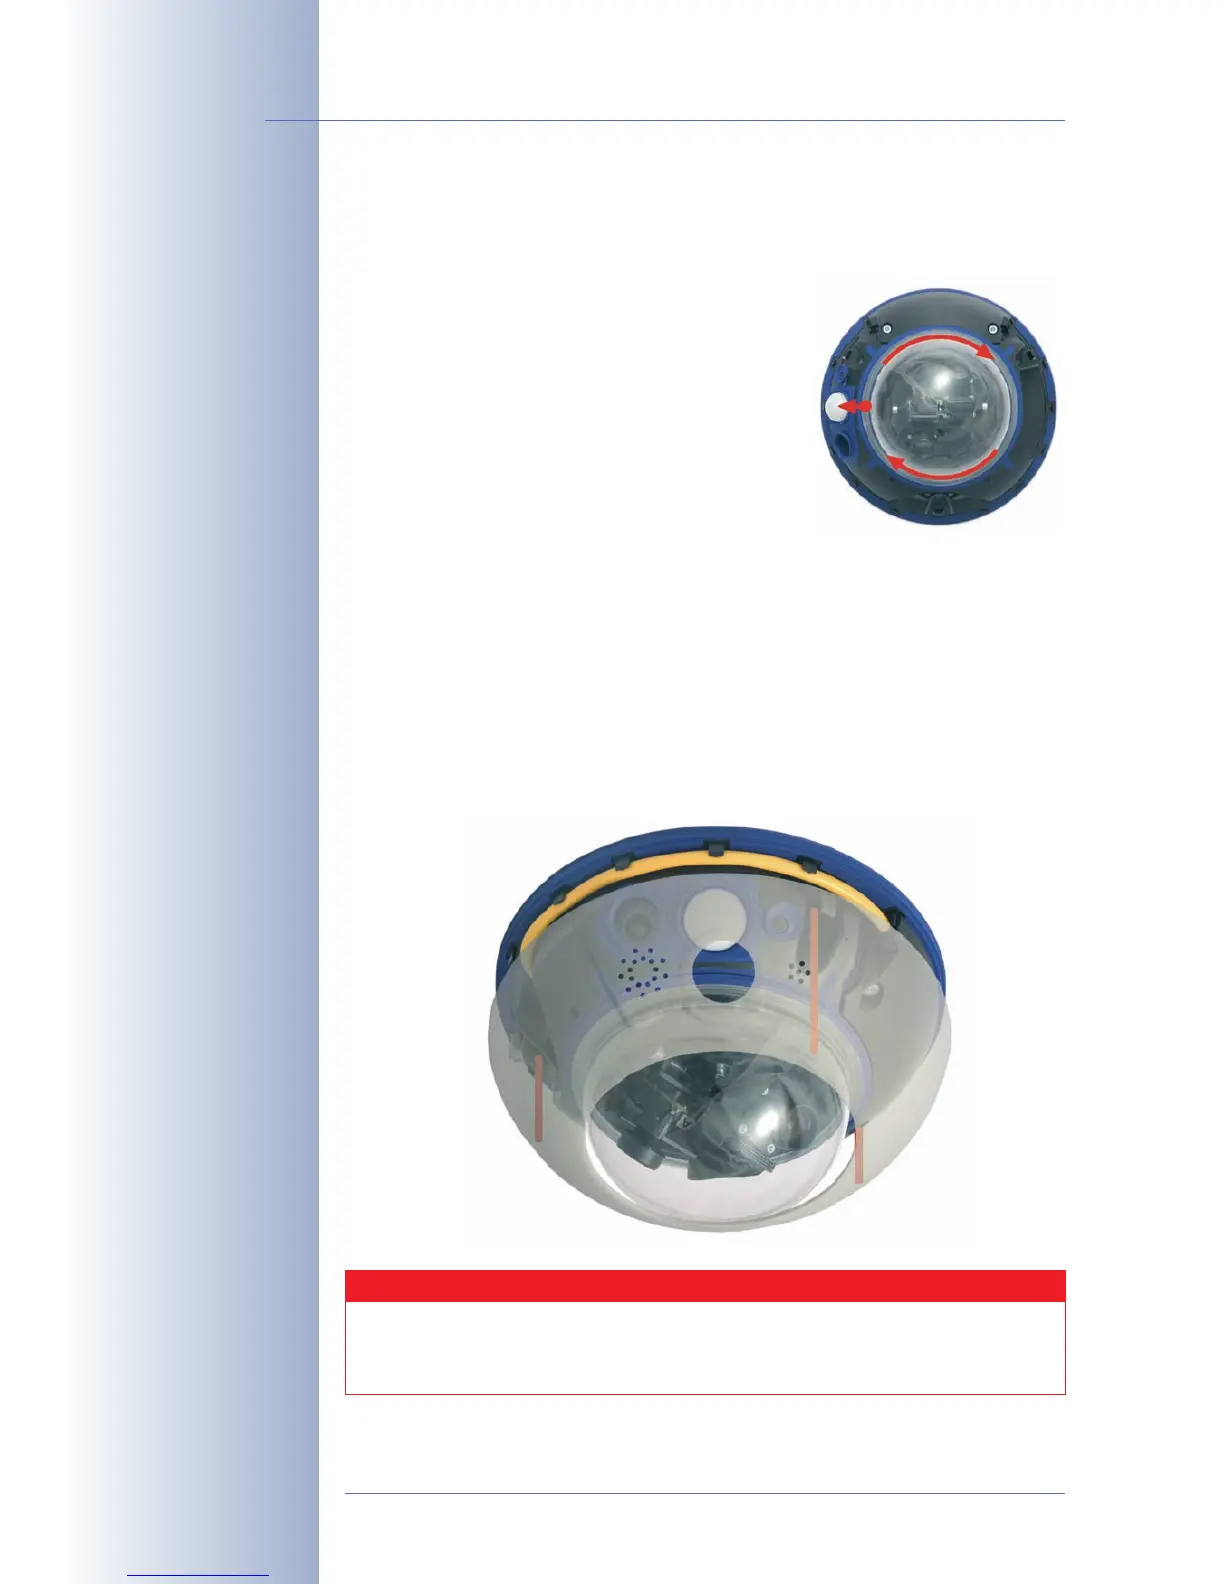
• Take a cotton cloth and mount the dome onto
the camera by turning it in clockwise direc-
tion. This will prevent accidental repositioning
of the lenses through the rest of the mounting
process.
Important: Position the mark of the dome
pointing towards the camera's PIR sensor and
gently seat the dome into the threads. This will
prevent misaligning the threads of the dome!
Note: The camera is delivered with an addi-
tional tinted dome with reduced transparency!
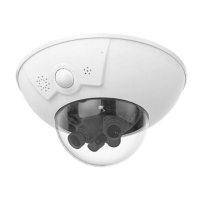
Next, install the camera's outer shell:
• Only mount the outer shell if you have finished setting the lenses' focus and
mounted the camera dome.
• Hold the outer shell so that the round hole of the shell is positioned over the
PIR sensor of the camera. Gently press the shell into the shell's seats in the
camera housing.
© MOBOTIX AG • Security-Vision-Systems • Made in Germany
www.mobotix.com • sales@mobotix.com
70/132
D12 Camera Manual Part 1
Tighten the dome by turn-
ing clockwise
Align the mark of the
dome with the PIR sensor
The outer shell snaps into
its seats at the camera
housing by pressing gently
down on the ring
Dismount the outer shell
using the supplied custom
tool (see section 2.14,
Dis-
mantling the Camera
).
Caution
The MOBOTIX D12D-Outdoor is only weatherproof if the camera hous-
ing has been mounted tightly to the bottom plate and both the camera
dome and the outer shell are properly seated.