2.12.4 Mounting the Camera on the Bottom Plate
In order to mount the camera to the bottom plate, use three of the supplied Allen
screws M4x25mm (item4.9), three washers Ø 4.3mm (item4.10) and the cor-
responding hex nuts.
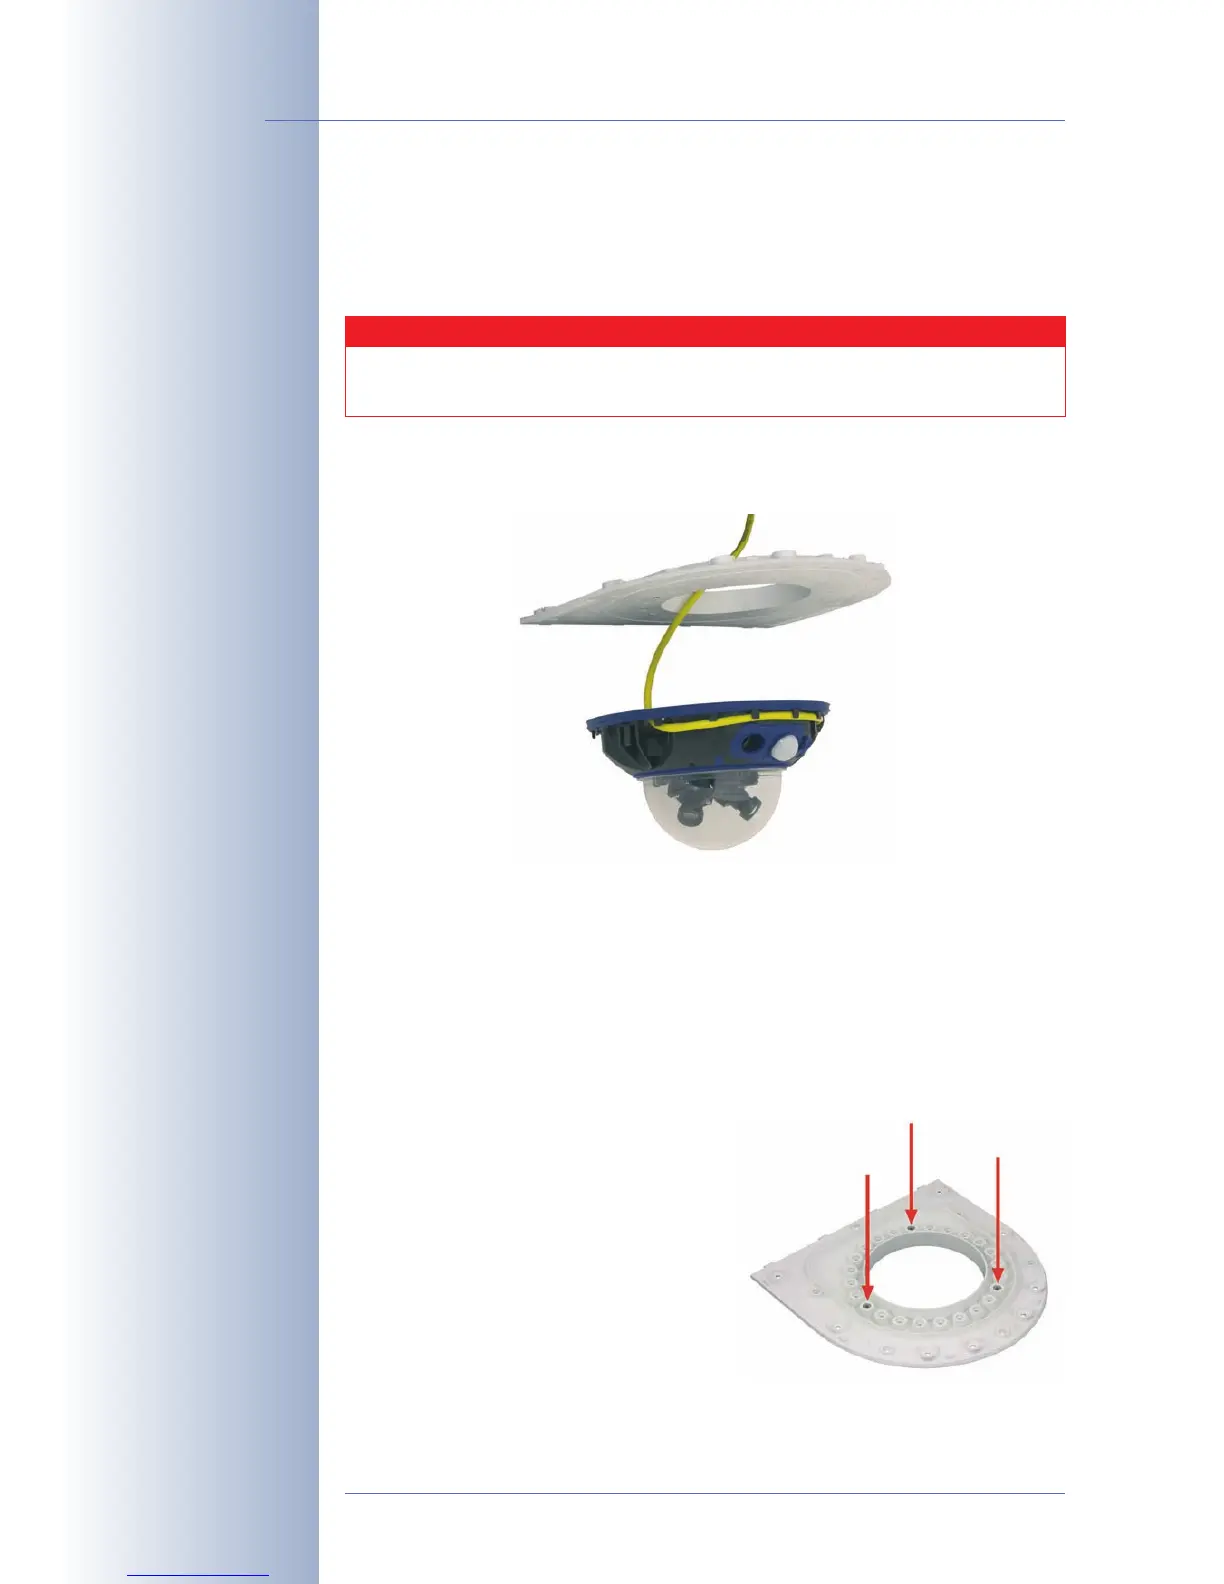
• Guide the connector cables of the camera from below (smooth side)
through the round opening of the bottom plate (item4.2).
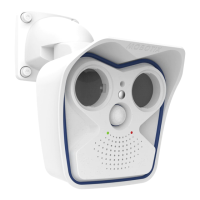
• Position the camera on the underside of the bottom plate so that the PIR sen-
sor points in the desired direction and the hole in the housing to the right of
the PIR sensor is situated above a hole in the bottom plate.
• Insert the first M4 hex nut (item4.8) into the corresponding hole of the bot-
tom plate, then use one Allen screw M4x25mm (item4.9) and a washer Ø
4.3mm (item4.10) and
lightly
fasten the screw.
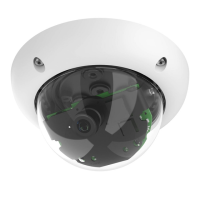
• Turn the bottom plate around and determine the number next to the hex nut
you just inserted (example: PIR points
straight ahead hole should have
the number1). Insert the remaining
M4 hex nuts (item4.8) into the other
holes with the same number (1 in this
case) and use the two Allen screws
M4x25mm (item4.9) with the corre-
sponding washers to mount the cam-
era to the bottom plate.
© MOBOTIX AG • Security-Vision-Systems • Made in Germany
www.mobotix.com • sales@mobotix.com
64/132
D12 Camera Manual Part 1
Mount the camera housing
to the bottom plate
be-
fore
mounting the bottom
plate itself
PIR sensor of the camera
looks straight ahead: Po-
sition 1
Caution
When fastening the Allen screws using the 3mm Allen wrench,
make sure that you do not scratch the camera dome!